Algospecial Liquidity Sweep Indicator MT5 — Free EX5 Download with 0–100 Sweep Score, EQH/EQL Detection & Non-Repainting Dashboard
Most liquidity indicators give you a binary answer: sweep or no sweep. This one grades every sweep 0–100 using six weighted components — wick rejection, ATR penetration depth, volume, body strength, EMA distance and equal-level touches — then tells you the trend, the HTF bias, and exactly how strong the signal is. Free EX5 download, no registration, no repaint.
Table of Contents
- What This Indicator Detects (4 Sweep Types)
- The 0–100 Sweep Score — Why Grading Beats Binary
- Equal Highs/Lows — The Trap Inside the Trap
- Input Parameters Reference
- Accuracy Presets: XAUUSD & USDJPY
- The Dashboard — Your Anti-Counter-Trend Discipline Tool
- Non-Repaint Is Measurable — Here Is How to Prove It
- Fade, Zones & Expiry — Market Memory Decay
- How to Install the EX5 in MT5
- How to Trade It: XAUUSD & USDJPY Charts Explained
- Frequently Asked Questions
1. What This Indicator Detects — 4 Sweep Types, Not Just "Sweeps"
The Algospecial Advanced Liquidity Sweep indicator builds a live map of liquidity levels from confirmed major and minor swing highs/lows, then watches for four distinct stop-run events — each with its own arrow, its own color, and its own score:
| Sweep Type | What Happens | Signal | Color |
|---|---|---|---|
| SSL Sweep (Sell-Side Liquidity) | Candle wick pierces a support liquidity pool, then closes back above it — retail stops below the low are harvested, price reverses up. | Triangle ▲ + "SSL +" label | Green (Lime) |
| BSL Sweep (Buy-Side Liquidity) | Candle wick pierces a resistance liquidity pool, then closes back below — stop losses above the high are triggered, price reverses down. | Triangle ▼ + "BSL -" label | Magenta (Fuchsia) |
| EQL Sweep (Equal Lows) | Two or more confirmed swing lows inside ATR tolerance get swept — the double-bottom stop cluster is raided, bullish reversal follows. | Diamond ◆ + "EQL +" label | Orange |
| EQH Sweep (Equal Highs) | Two or more confirmed swing highs inside tolerance get swept — the double-top stop cluster is raided, bearish reversal follows. | Diamond ◆ + "EQH -" label | Orange |
Additionally, sweeps scoring at or above the Strong Sweep Threshold (default 70) print a circle marker — a visual "this one matters" flag. The sweep candle itself is recolored (green bullish / magenta bearish) so you can spot the exact bar that consumed the level even at a glance. Not just arrows: context.
The confirmation option: enable Require Next-Candle Confirmation and the indicator waits for the following bar to close in the sweep direction before printing a "CF" tag — for traders who refuse to react on the first sign of reversal.
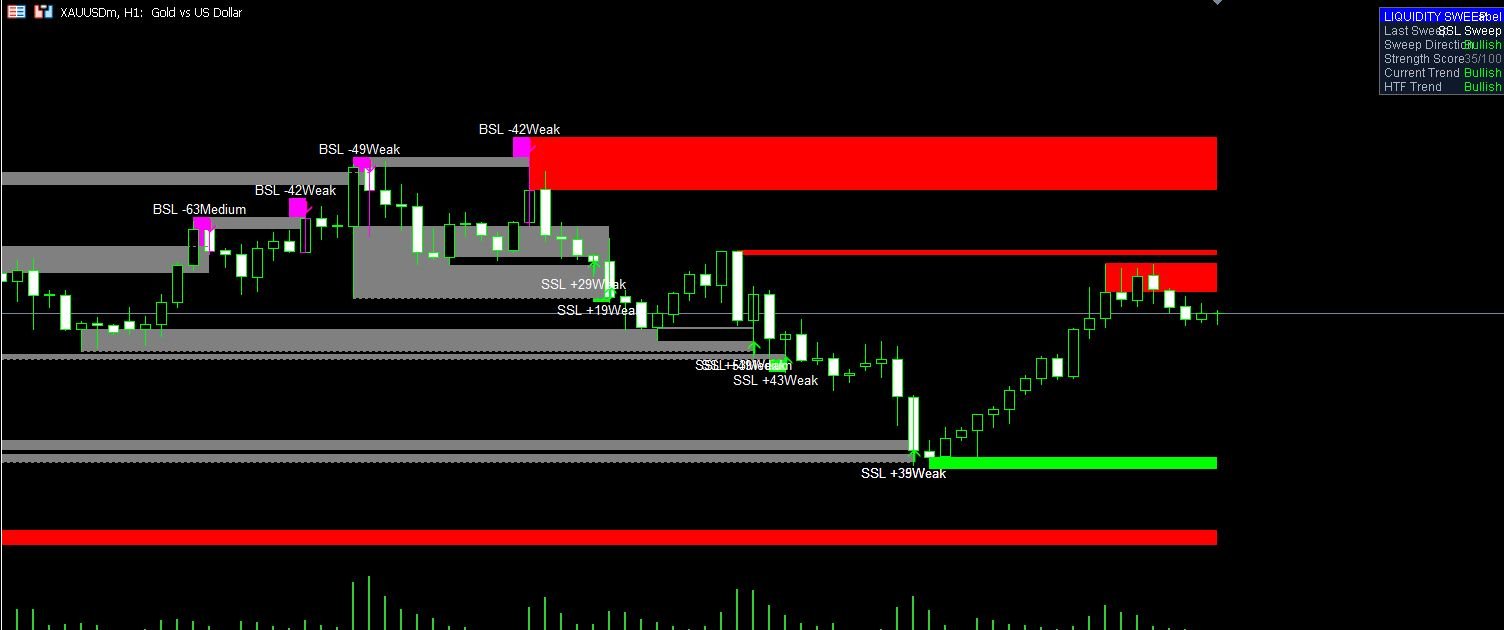
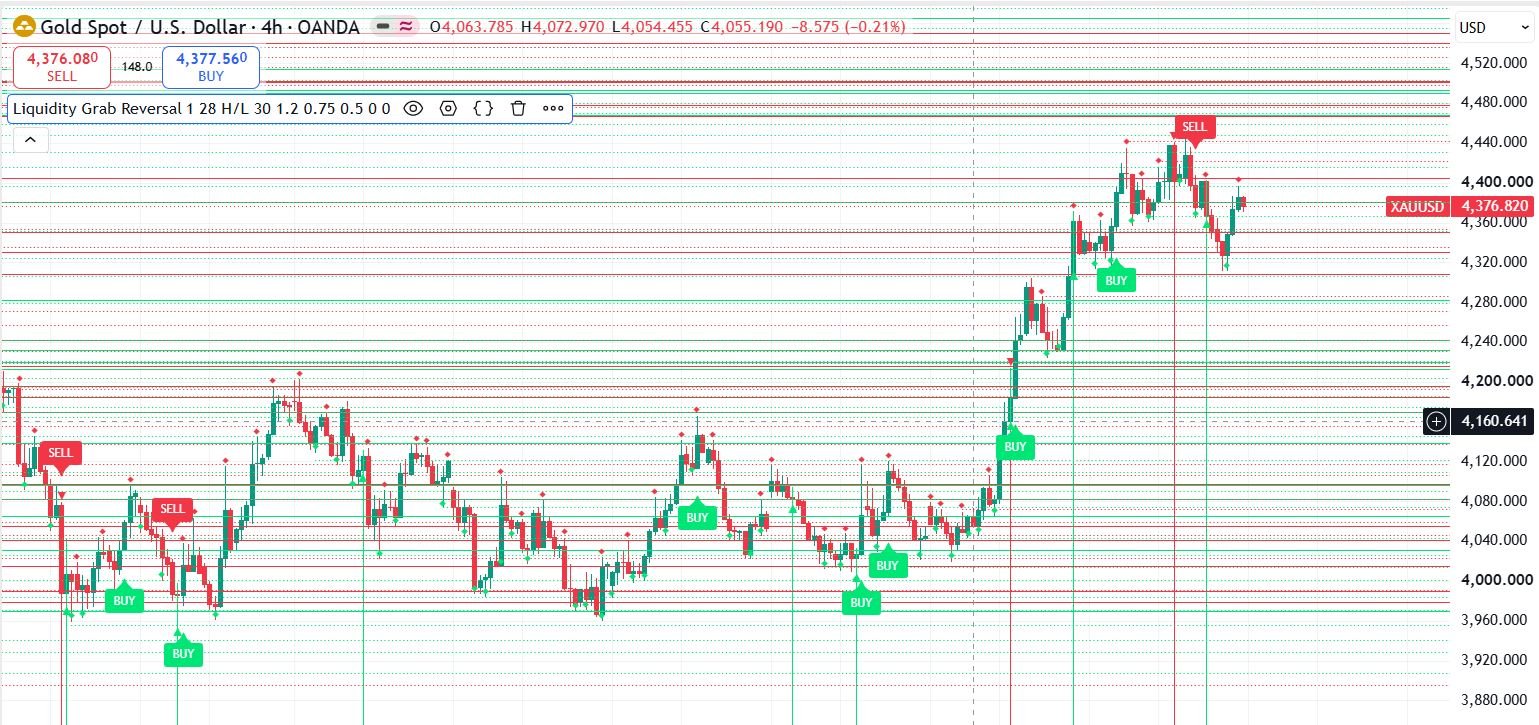
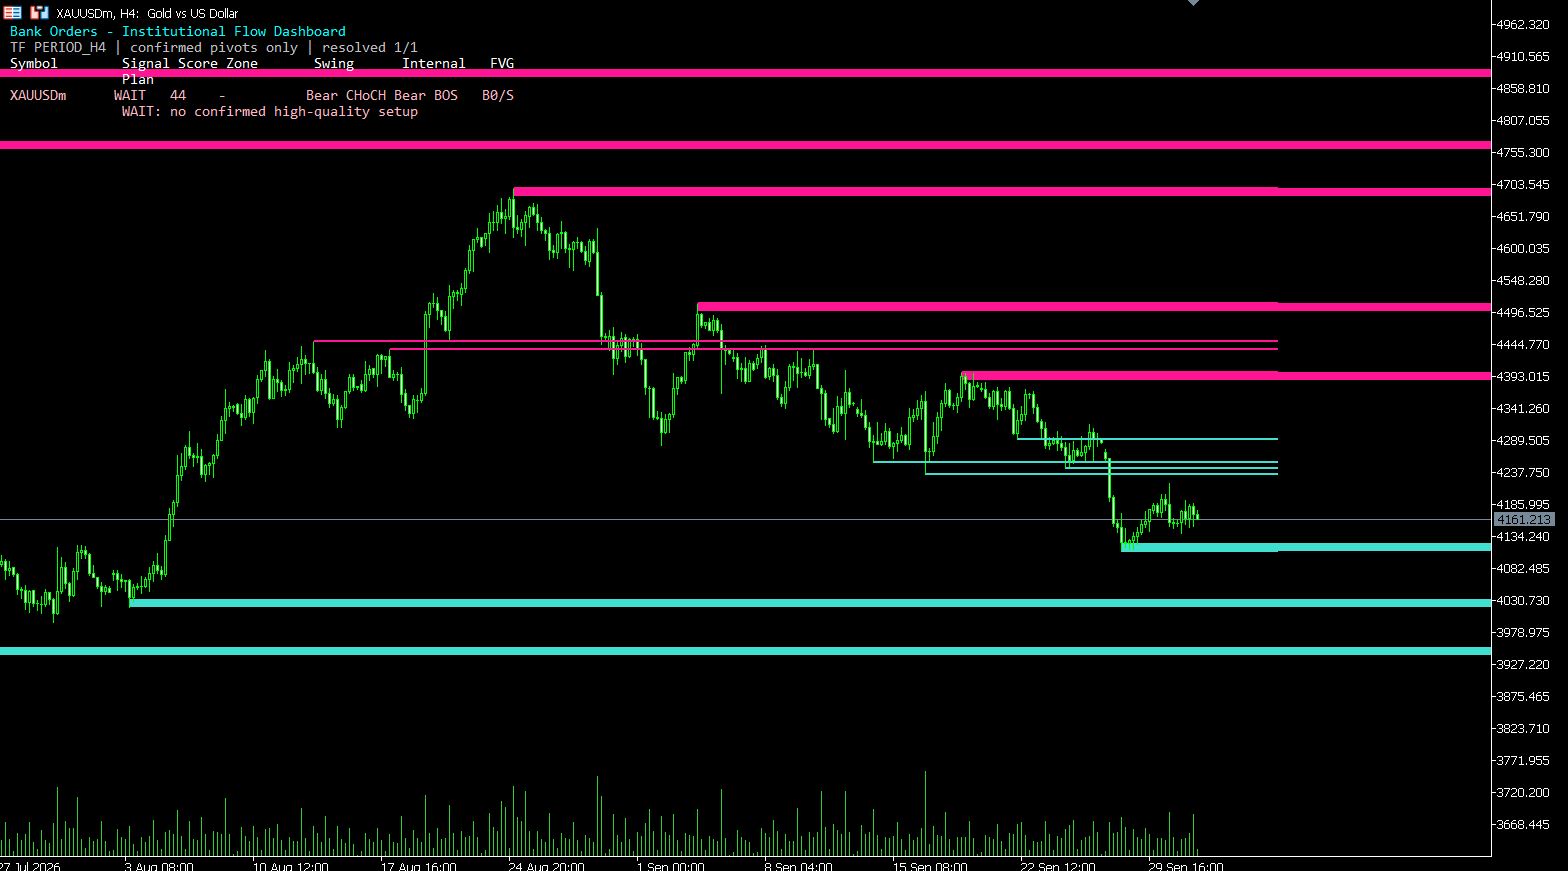
XAUUSD (Gold): buy-side and sell-side liquidity levels with swept zones, score labels and the live dashboard.
2. The 0–100 Sweep Score — Why Grading Beats Binary
Here is the out-of-the-box design decision most "liquidity sweep indicator mt5 free download" tools never make: not every sweep deserves your money. A weak sweep with a 12% wick, dead volume and a runaway body is statistically a continuation, not a reversal. This indicator doesn't print them as equals — it scores them.
Every sweep is graded from 0 to 100 from six components:
| Component | What It Measures | Why It Matters |
|---|---|---|
| Wick Rejection | Protective wick as % of candle range | The raw footprint of reversal pressure |
| ATR Penetration | Sweep depth beyond the level ÷ ATR | Enough depth to clear stops, not so much it becomes a breakout |
| Volume | Tick volume vs 20-bar average | Institutional participation leaves volume footprints |
| Body | Directional body as % of range | Commitment — wick alone can be faked, body + wick cannot |
| EMA Distance | Close distance from fast EMA ÷ 3×ATR | Overextension from value — snap-back potential |
| Equal Touches | How many pivots formed the level (up to 3) | More touches = bigger stop cluster = stronger reaction |
Three Score Presets re-weight the components for your trading personality:
| Preset | Personality | Weight Shift |
|---|---|---|
| Conservative | Fewer, cleaner signals | Wick ×1.2, Body ×1.2, Volume ×0.5 — price-action evidence dominates |
| Balanced (default) | Equal weighting of all evidence | Wick 1.0, ATR 1.0, Vol 0.8, Body 1.0, EMA 0.6, EQ 0.8 |
| Aggressive | More signals, volume-led | Volume ×1.2, Wick ×0.8 — participation leads, wick quality relaxes |
Scores translate into a tier economy: Elite (90+) → Strong (70+) → Medium (50+) → Weak (<50). Most professionals trade only Strong and Elite sweeps and use Medium/Weak as context. The Hide Sweeps Below Min Score toggle enforces this discipline mechanically — set it to 70 and weak noise disappears from your chart entirely.
3. Equal Highs/Lows — The Trap Inside the Trap
Single swing liquidity is where beginner SMC traders place their lines. Equal highs and equal lows are where the smart money actually hunts — because a level touched twice or three times holds a multiplied stop cluster. A double top doesn't just sit above two groups of breakout buyers' stops; it invites a third group who think "resistance held twice, third time breaks." That crowd is the liquidity.
This indicator's EQ engine tracks how many confirmed pivots each level has absorbed (touch counter, capped at 3 for scoring), switches the line to orange dashed the moment a second pivot lands within tolerance, and feeds the touch count directly into the sweep score — so an EQH sweep of a triple-touch resistance mathematically outscores a single-pivot BSL sweep. The chart itself now tells you where the bigger trap lives.
Two tolerance modes decide what "equal" means:
| Tolerance Mode | Formula | Best For |
|---|---|---|
| ATR (default) | Tolerance = ATR × 0.10 | Volatile instruments like XAUUSD — adapts as volatility breathes |
| Percent | Tolerance = Price × 0.10% | Stable pairs like USDJPY where ATR varies little across sessions |
4. Input Parameters Reference
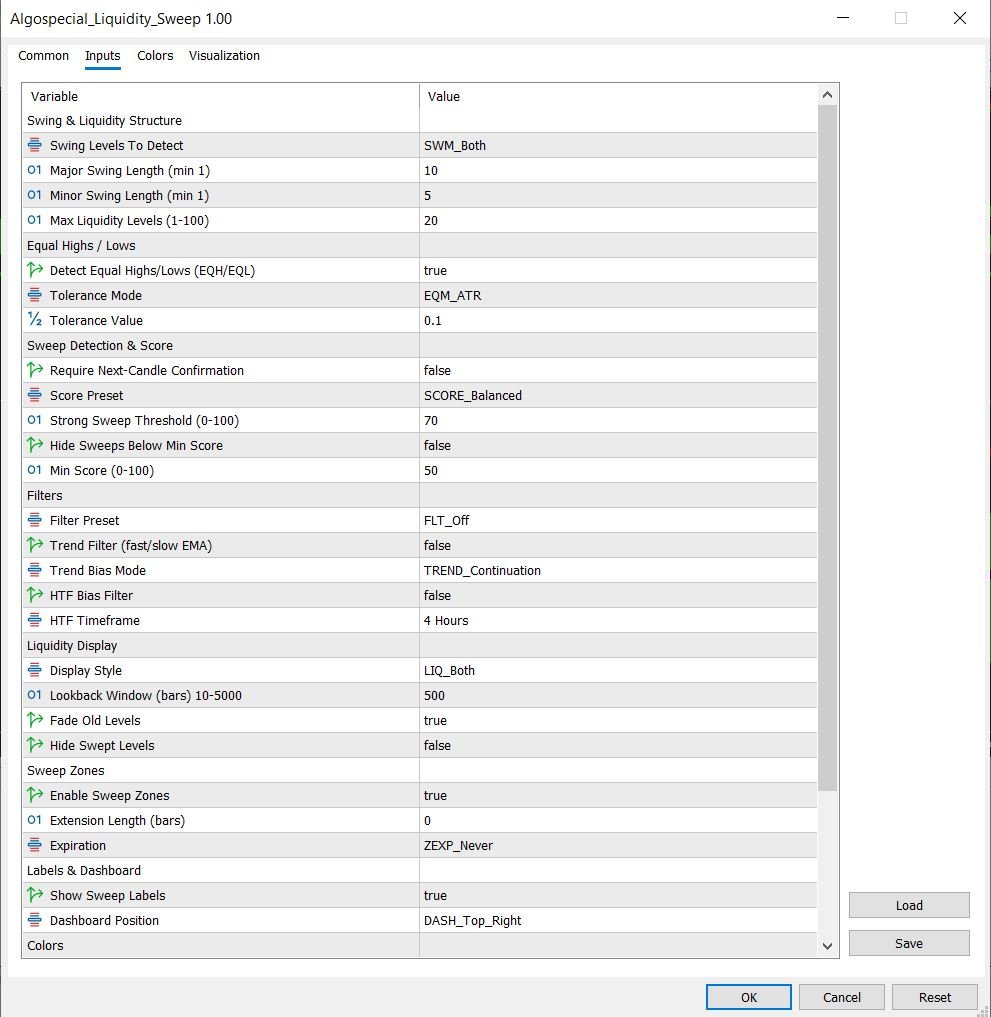
Everything is grouped into seven logical panels, and every group is toggleable. Here is the complete reference:
| Group / Input | Default | Range / Options |
|---|---|---|
| Swing & Liquidity Structure | ||
| Swing Levels To Detect | Both | Major Only / Minor Only / Both |
| Major Swing Length | 10 | min 1 |
| Minor Swing Length | 5 | min 1 |
| Max Liquidity Levels | 20 | 1–100 |
| Equal Highs / Lows | ||
| Detect Equal Highs/Lows (EQH/EQL) | true | bool |
| Tolerance Mode | ATR | ATR / Percent |
| Tolerance Value | 0.10 | double |
| Sweep Detection & Score | ||
| Require Next-Candle Confirmation | false | bool ("CF" label when confirmed) |
| Score Preset | Balanced | Conservative / Balanced / Aggressive |
| Strong Sweep Threshold | 70 | 0–100 (circle marker) |
| Hide Sweeps Below Min Score | false | bool |
| Min Score | 50 | 0–100 |
| Filters | ||
| Filter Preset | Off | Off / Normal / Strict |
| Trend Filter (fast/slow EMA) | false | bool (EMA 50 vs 200) |
| Trend Bias Mode | Continuation | Continuation / Reversal |
| HTF Bias Filter | false | bool (EMA 50 on HTF) |
| HTF Timeframe | H4 | M1–MN1 |
| Liquidity Display | ||
| Display Style | Both | Line / Zone / Both |
| Lookback Window (bars) | 500 | 10–5000 |
| Fade Old Levels | true | bool |
| Hide Swept Levels | false | bool |
| Sweep Zones | ||
| Enable Sweep Zones | true | bool (shaded reversal area) |
| Extension Length (bars) | 0 | int |
| Expiration | Never | Never / 50 Bars / 100 Bars |
| Labels & Dashboard | ||
| Show Sweep Labels | true | bool (SSL/BSL/EQL/EQH + score + tier) |
| Dashboard Position | Top Right | Top/Bottom × Left/Right |
| Colors | ||
| Buy-Side / Sell-Side / Equal / Swept / Bull / Bear | Red / Lime / Orange / Gray / Lime / Fuchsia | color pickers |
5. Accuracy Presets — XAUUSD & USDJPY
The indicator ships neutral. These two configurations are the strongest starting points for the two most hunted instruments:
| Setting | XAUUSD (Gold) | USDJPY |
|---|---|---|
| Swing Levels To Detect | Both | Both |
| Major / Minor Swing Length | 10 / 5 | 14 / 7 |
| Equal Tolerance Mode | ATR × 0.10 | Percent × 0.10 |
| Score Preset | Balanced | Conservative |
| Strong Sweep Threshold | 70 | 75 |
| Hide Below Min Score | ON — Min 60 | ON — Min 65 |
| Filter Preset | Strict | Normal |
| Trend Filter | ON — Continuation | ON — Continuation |
| HTF Bias Filter | ON — H4 | ON — D1 |
| Timeframe | M15 / H1 | H1 |
Gold's wider ATR demands the Strict filter (40% wick, 20% body, 1.2× volume, 0.5 ATR range, 0.10 ATR pierce distance) — calm yen pairs handle Normal without starving you of signals. In Reversal trend mode you deliberately hunt counter-trend sweeps at range extremes — a powerful tactic during pre-news consolidation on gold.
6. The Dashboard — Your Anti-Counter-Trend Discipline Tool
The built-in panel isn't decoration — it solves the #1 execution failure among liquidity traders: forgetting which side of the market you're supposed to trade. It shows six live rows:
| Row | Meaning | Discipline Rule It Enforces |
|---|---|---|
| Last Sweep | SSL / BSL / EQL / EQH Sweep | Know exactly which stop pool was just raided |
| Sweep Direction | Bullish / Bearish | Never trade against the last confirmed sweep without a higher-timeframe reason |
| Strength Score | 0–100 with color coding | If the last score is orange/gray, be patient. Green = institutional conviction |
| Current Trend | EMA 50 vs EMA 200 on chart TF | Bullish trend + bullish sweep = continuation trade. Mixed = pass |
| HTF Trend | Price vs EMA 50 on H4/D1 | The two rows together are a built-in multi-timeframe alignment check |
The dashboard auto-scales with your chart window and survives resizes without waiting for a new tick. When Current Trend and HTF Trend both read Bullish and an SSL sweep prints Strong — that is the exact confluence professional SMC traders wait hours for, now impossible to miss.
7. Non-Repaint Is Measurable — Here Is How to Prove It
Every vendor claims "no repaint." Almost nobody tells you how to verify it. This indicator's architecture makes the claim checkable in five minutes, no trust required:
| Test 1 — Bar Replay | Enable MT5 Bar Replay (F12), step forward bar by bar. Arrows and labels appear only on the next bar after the sweep candle closes — never on the forming candle. Signals already printed never change position. |
| Test 2 — Visual Mode Backtest | Load it in the Strategy Tester's visual mode. Pause at any historical moment. Every arrow visible up to that bar stays identical when you resume. (A repainting indicator shifts arrows during forward playback.) |
| Test 3 — Timeframe Switch | Switch TF away and back. Weak indicators redraw history with new data; this one's levels and sweeps are stored per-bar and remain byte-identical. |
Why it can't repaint, structurally: signal buffers are written only for completed bars (the forming bar's buffers are explicitly cleared on every tick), swing pivots require both left and right confirmation before a level is registered, and the optional CF confirmation adds a second closed-bar gate. Repainting requires evaluating unclosed candles — this code never touches them.
8. Fade, Zones & Expiry — Market Memory Decay
Markets forget. A liquidity level from 400 bars ago does not deserve the same visual weight as one from 20 bars ago. Three mechanisms handle this, and they're genuinely useful beyond cosmetics:
Fade: active levels age through intensity steps (fresh → 25 → 45 → 60 → capped at 70). Equal levels fade slower than singles — a double top stays mentally relevant longer than a random swing. Your eye is automatically trained on recent, high-probability pools.
Sweep Zones: when a sweep fires, a shaded rectangle marks the reversal zone — the sweep candle's range. That zone is your invalidation contract: if price re-enters and closes back through it, the reversal thesis is dead. Optional expiry (50/100 bars) auto-removes stale zones so your chart doesn't become a museum.
Lookback window + level cap: only the last 500 bars' levels are tracked and max 20 at once (FIFO recycling). Most charts with 40 drawn lines are unreadable — and unreadable charts produce hesitation, which produces losses.
One power move most traders never try: a swept level doesn't die — it flips. After an SSL sweep, the old sell-side level (now gray) frequently acts as support on the return leg. Keep swept levels visible and treat gray lines as potential re-test targets for continuation entries.
9. How to Install the EX5 in MT5 (60 Seconds)
| Step 1 | Download Algospecial_Liquidity_Sweep.ex5 (55 KB, free, no registration). |
| Step 2 | In MT5: File → Open Data Folder → open MQL5 → open Indicators → paste the .ex5 file there. |
| Step 3 | Restart MT5 (or right-click the Navigator → Refresh). |
| Step 4 | Drag Algospecial_Liquidity_Sweep from Navigator → Indicators onto any XAUUSD or USDJPY chart. No DLL calls, no special permissions. |
| Step 5 | Apply the preset from Section 5 for your instrument (Inputs tab → OK). |
Distribution policy: this tool ships as a compiled .ex5 only — the MQL5 source is not distributed publicly. This keeps the free version identical for everyone and prevents the usual 47 "modified" broken copies floating around forums. If you need a private, custom version (different scoring, alerts, auto-trading or a full EA), contact us for a custom build.
10. How to Trade It — XAUUSD & USDJPY Charts Explained
The indicator is a setup engine, not a money printer. Here is the execution framework that converts Strong/Elite sweeps into a repeatable system:
| Component | Rule |
|---|---|
| Trade filter | Only sweep signals with score ≥ Strong threshold (circle marker), or Elite. Medium/Weak = watchlist context only. |
| Alignment | Dashboard Current Trend + HTF Trend must agree with the sweep direction. One disagreement = half size. Both against = no trade. |
| Entry | Close of the sweep candle (or the CF bar if confirmation mode is on). No limit orders — the whole point is confirmed rejection. |
| Stop loss | Beyond the sweep extreme (the level itself was swept, so place SL beyond the wick, not at the level). On gold use 0.5–1.0 ATR beyond. |
| Take profit | 2R minimum, or the nearest opposite-side liquidity level on the chart — the indicator already drew your target for you. |
| Invalidation | A close back inside the sweep zone (Section 8). Exit, don't argue with the zone. |
| Position size | 1% risk max. Use our MT5 Lot Size Calculator to convert stop distance to lots. |
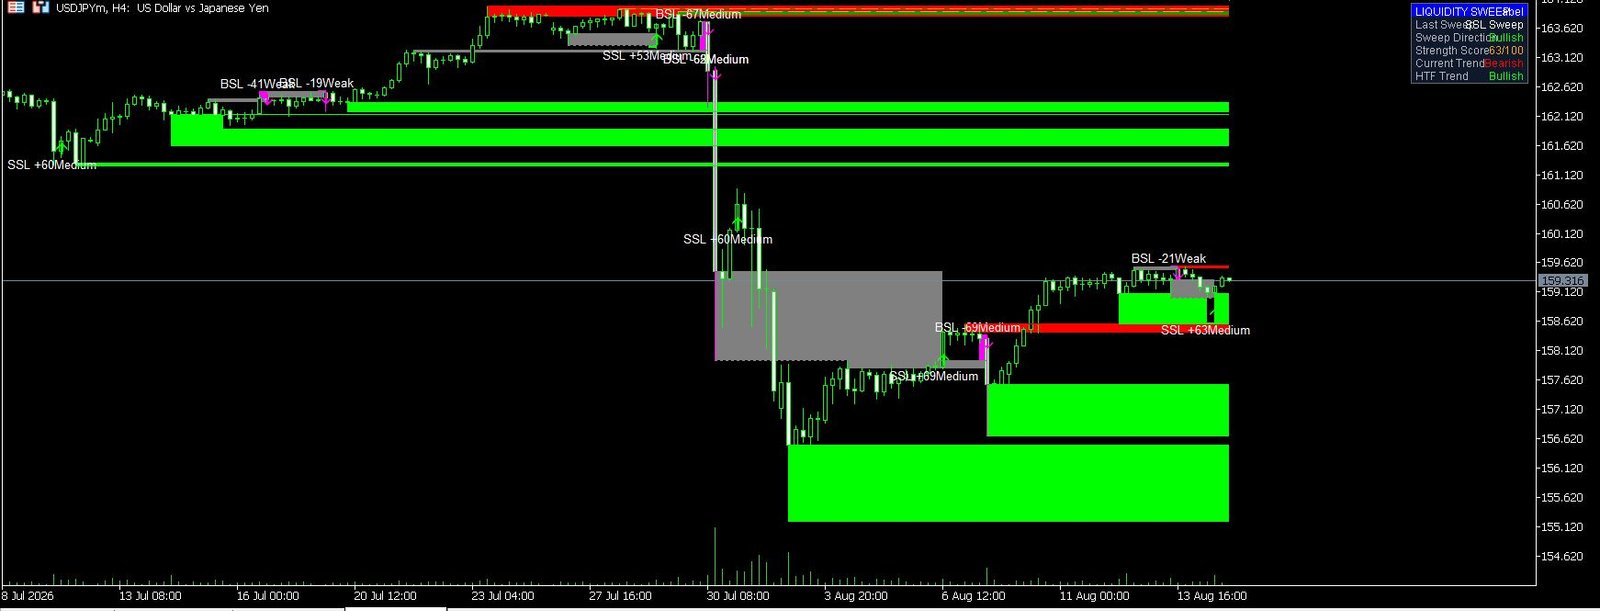
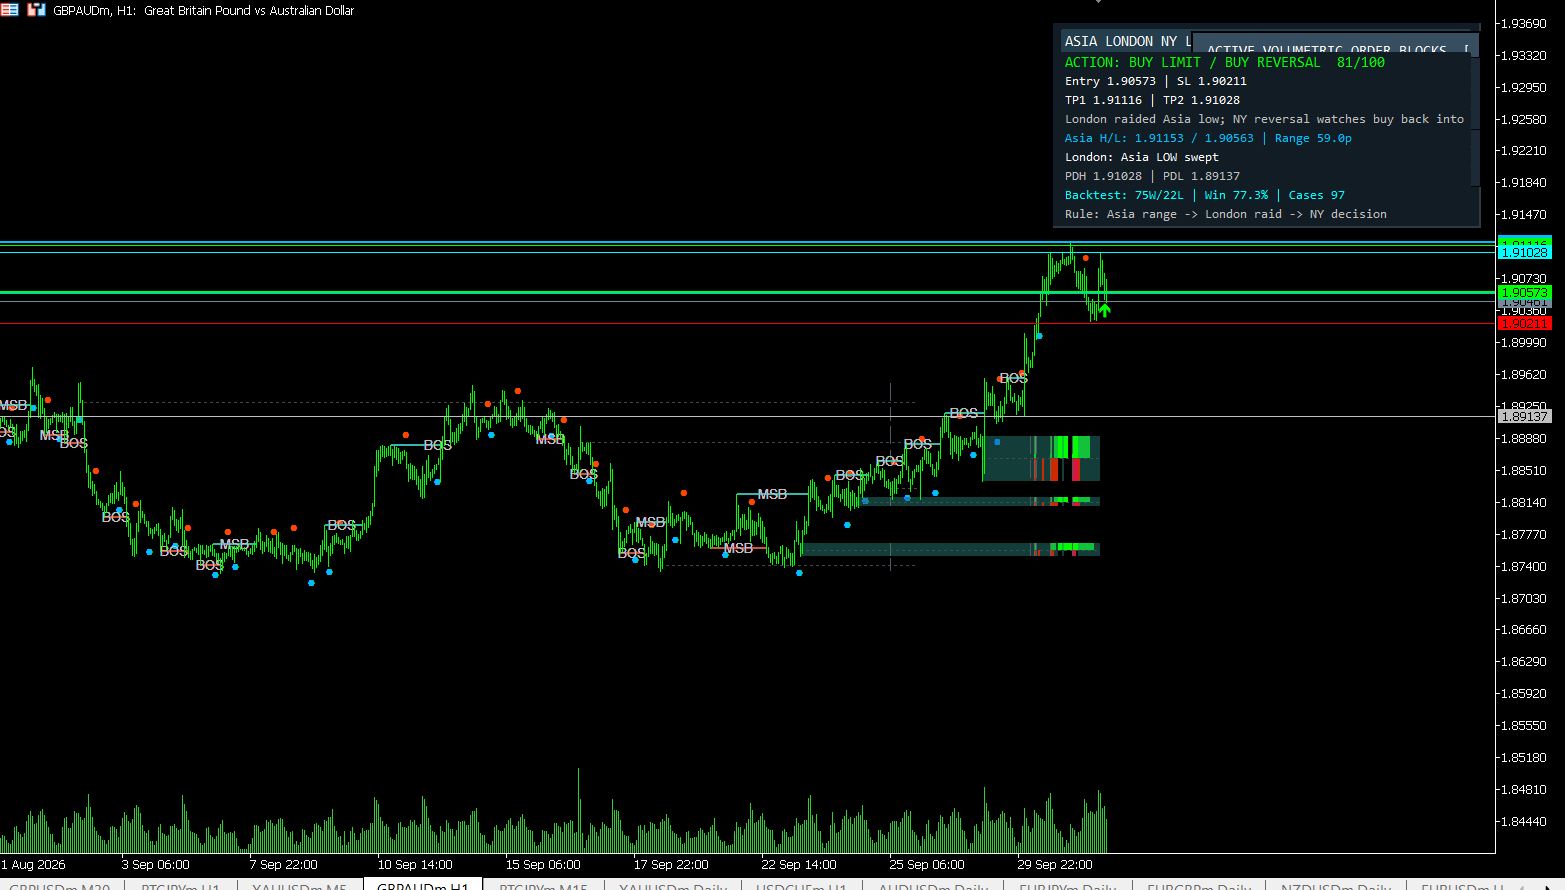
USDJPY: equal highs (orange dashed) raided by a BSL sweep — note the score label and the shaded sweep zone below the rejection candle.
Session note: gold sweeps cluster around London and New York opens; USDJPY's deepest stop pools live around Tokyo and the US session handover. If a Strong sweep prints during dead Asian hours on gold, the dashboard's HTF row will usually tell you whether the big players agree — that's the entire point of the panel.
Frequently Asked Questions
Is the Algospecial Liquidity Sweep indicator really free?
Yes. The compiled .ex5 is a free download with no registration, no trial expiry and no feature lock. All inputs, filters, the dashboard and the scoring system are fully functional in the free file.
Can I get the MQL5 source code?
The source is not distributed publicly — the free download is the .ex5 only, which keeps the tool consistent and safe for everyone. Private or custom versions (extra filters, alerts, auto-trading, full EA conversion) are available as custom development — contact us for a fixed-price quote.
Does the indicator repaint?
No. Signals are written only for completed bars, swing levels require left+right pivot confirmation, and the forming bar's buffers are cleared every tick. Verify it yourself with MT5 Bar Replay or Strategy Tester visual mode — the arrows never move once printed.
What is the difference between SSL/BSL and EQL/EQH sweeps?
SSL (sell-side liquidity) and BSL (buy-side liquidity) are single swing-level sweeps. EQL/EQH are sweeps of equal lows/highs — levels confirmed by two or more pivots within tolerance. Equal levels hold bigger stop clusters, appear orange dashed, and receive a higher score component from the touch count.
What sweep score should I actually trade?
Strong (70+) and Elite (90+) sweeps are the tradeable tier — they carry the circle marker. Medium (50+) is context; Weak signals are noise. Enable Hide Sweeps Below Min Score at 60-70 to enforce this mechanically.
What settings should I use for XAUUSD gold and USDJPY?
Gold: M15/H1, Both swings (10/5), ATR equal tolerance, Balanced score, Strict filter, Trend Continuation ON, HTF H4 ON, hide below 60. USDJPY: H1, Both swings (14/7), Percent tolerance, Conservative score, Normal filter, Trend ON, HTF D1 ON, hide below 65. Full table in Section 5.
Where do I install the .ex5 file in MT5?
File → Open Data Folder → MQL5 → Indicators. Paste the .ex5, restart MT5 or refresh the Navigator, then drag the indicator onto the chart. No DLL permissions required.
Want This Sweep Logic Running as a Fully Automated EA?
The same scoring engine and filters — converted into a self-trading Expert Advisor with position sizing, prop-firm guardrails and news filters. Fixed price, source code included.