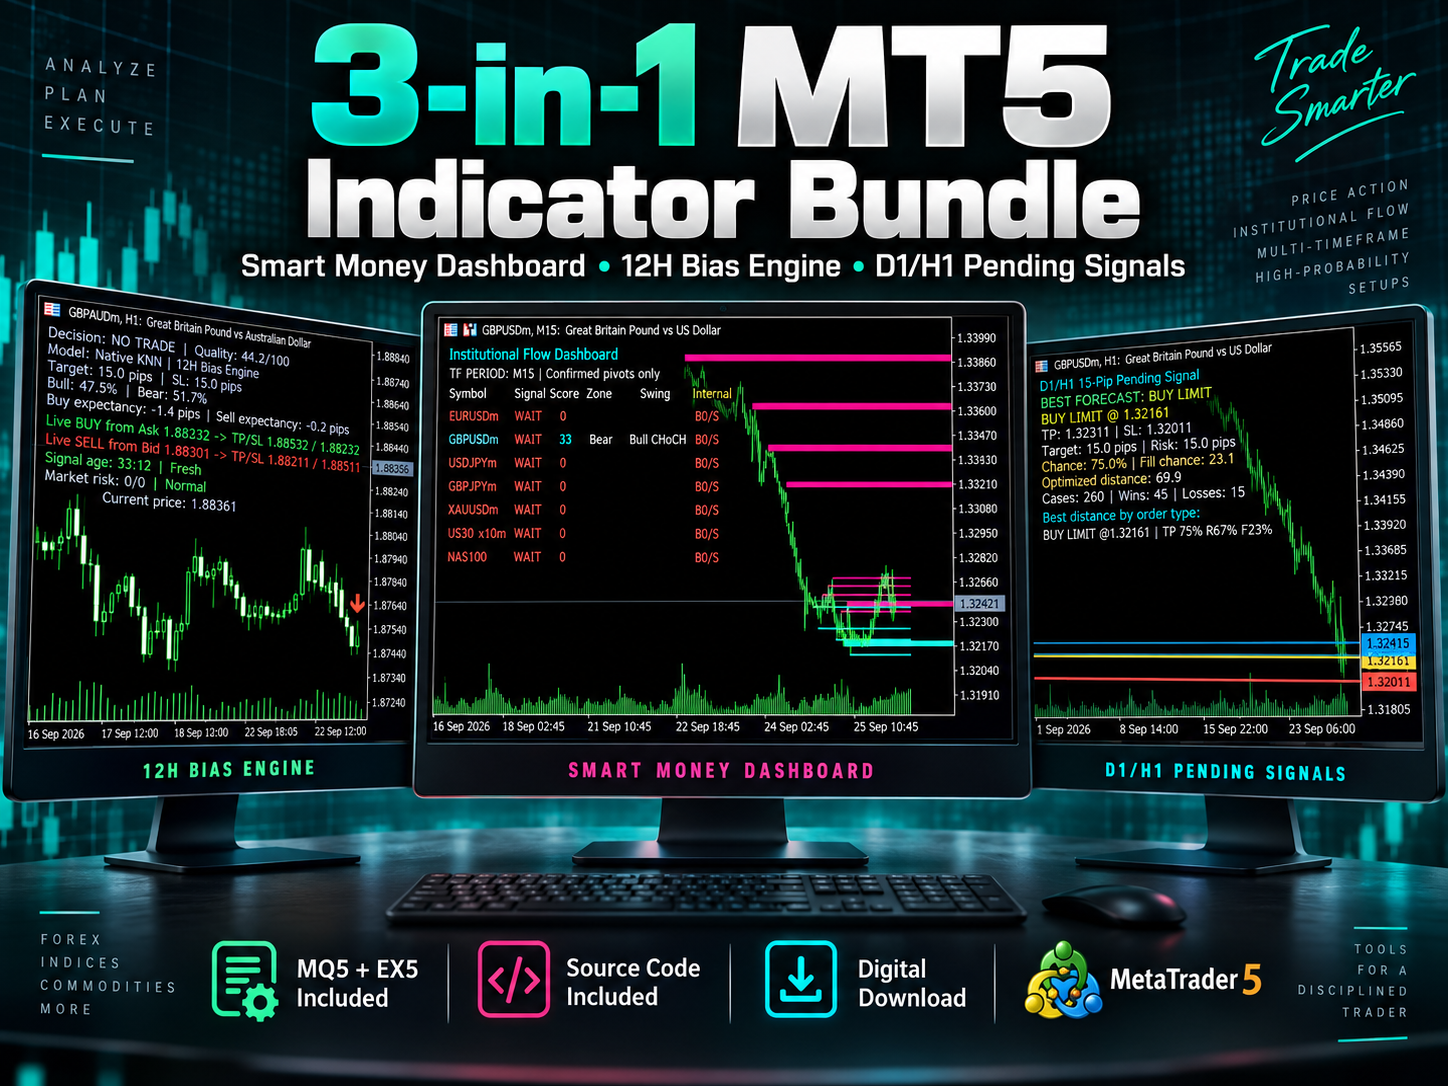
Free MT5 Bank Orders Institutional Flow Dashboard
A multi-symbol MetaTrader 5 smart money dashboard for traders who want a structured view of supply and demand zones, liquidity pools, BOS/CHoCH structure, fair value gaps, equal highs/lows, premium and discount context, signal score, alerts and a clean trade-plan status.
Compiled indicator only. The MQ5 source code and private ZIP package are not included on this free download page.
Important Accuracy Notice
This tool does not claim access to hidden bank orders, dealer inventory, interbank book depth or guaranteed institutional order flow. It models smart money style context from MetaTrader OHLC data: confirmed pivots, ATR-sized zones, structure breaks, fair value gaps, equal highs/lows, liquidity levels and price location. Use it as a decision-support dashboard, not as a guaranteed buy/sell machine.
How The Indicator Works Internally
The dashboard is built around a full scanning workflow instead of a single arrow rule. For every configured symbol, it resolves the broker symbol, loads historical candles, builds institutional-style zones, reads structure, checks liquidity, classifies current price location, scores the context, then decides whether there is a clean enough plan to show BUY, SELL or WAIT.
| Stage | What It Reads | Why It Matters |
|---|---|---|
| Symbol resolver | Input symbols plus broker Market Watch names | Handles suffixes such as XAUUSDm, EURUSDm, .pro and other broker-specific names before scanning. |
| Supply and demand engine | Confirmed pivot highs/lows, ATR, box width and history depth | Creates bearish supply and bullish demand zones around meaningful swing points, instead of drawing every random high/low. |
| SMC structure replay | Swing length, internal length, recent highs/lows and candle closes | Labels Bull/Bear BOS and CHoCH style context so the dashboard can separate continuation from possible reversal behavior. |
| Liquidity builder | Pivot highs/lows, left/right bar confirmation and mitigation rules | Builds visible liquidity levels and optionally removes mitigated areas so old zones do not keep misleading the trader. |
| FVG and equal-level counter | Three-candle gap conditions and equal high/low threshold | Adds fair value gap and equal-level context to support the institutional flow score. |
| Location classifier | Current price against supply, demand, liquidity and premium/discount | Answers whether price is inside, above, below or near a useful decision area. |
| Signal score | Zone, swing event, internal event, premium/discount, FVG and liquidity imbalance | Builds a weighted buy/sell score. Mixed context becomes WAIT rather than forcing a weak signal. |
| Trade plan | Bid/ask, zone boundaries, ATR buffer, minimum reward:risk | Generates entry type, stop loss, take profit and RR only when the setup has a legal technical structure. |
| Confirmed signal lock | Minimum score, lock bars, TP/SL release and opposite-signal flip rule | Reduces dashboard flicker by keeping a confirmed setup active until it expires, reaches outcome, or a stronger opposite signal appears. |
What The Dashboard Columns Mean
BUY, SELL or WAIT. WAIT is intentional when the setup does not pass the quality filters.
A weighted context score from the zone, structure, FVG, liquidity and premium/discount evidence.
Shows whether price is interacting with a bullish demand area, bearish supply area or no useful zone.
Higher structure reading such as Bull BOS, Bear BOS, Bull CHoCH or Bear CHoCH.
Shorter structure reading for faster price action shifts inside the main swing context.
Counts bullish/bearish fair value gaps and equal highs/lows so you can see imbalance and resting-liquidity context.
Reads nearby liquidity highs/lows and broken levels based on the configured left/right pivot confirmation.
The plain-English execution status. Example: no confirmed high-quality setup, BUY LIMIT, SELL NOW, or confirmed locked plan.
How A Trader Can Use It
The strongest use case is not blind entry. The professional use case is watchlist compression. Instead of opening 20 charts and manually drawing zones, the dashboard scans your chosen symbols and tells you where a clean institutional flow context may exist.
- Load the indicator on a clean MT5 chart and choose your scan timeframe, for example M15 for intraday or H1/H4 for swing context.
- Keep Use Closed Bar Only enabled if you want more stable, less noisy structure decisions.
- Use turquoise demand zones as areas where bullish reaction may matter and deep-pink supply zones as areas where bearish reaction may matter.
- Read the dashboard first. If the symbol says WAIT, treat that as a filter. The tool is telling you the evidence is incomplete or mixed.
- When a BUY or SELL appears, check the plan, RR, zone, swing and internal structure before deciding whether the trade fits your own risk model.
- Avoid using it around high-impact news, abnormal spread widening or illiquid session changes without extra confirmation.
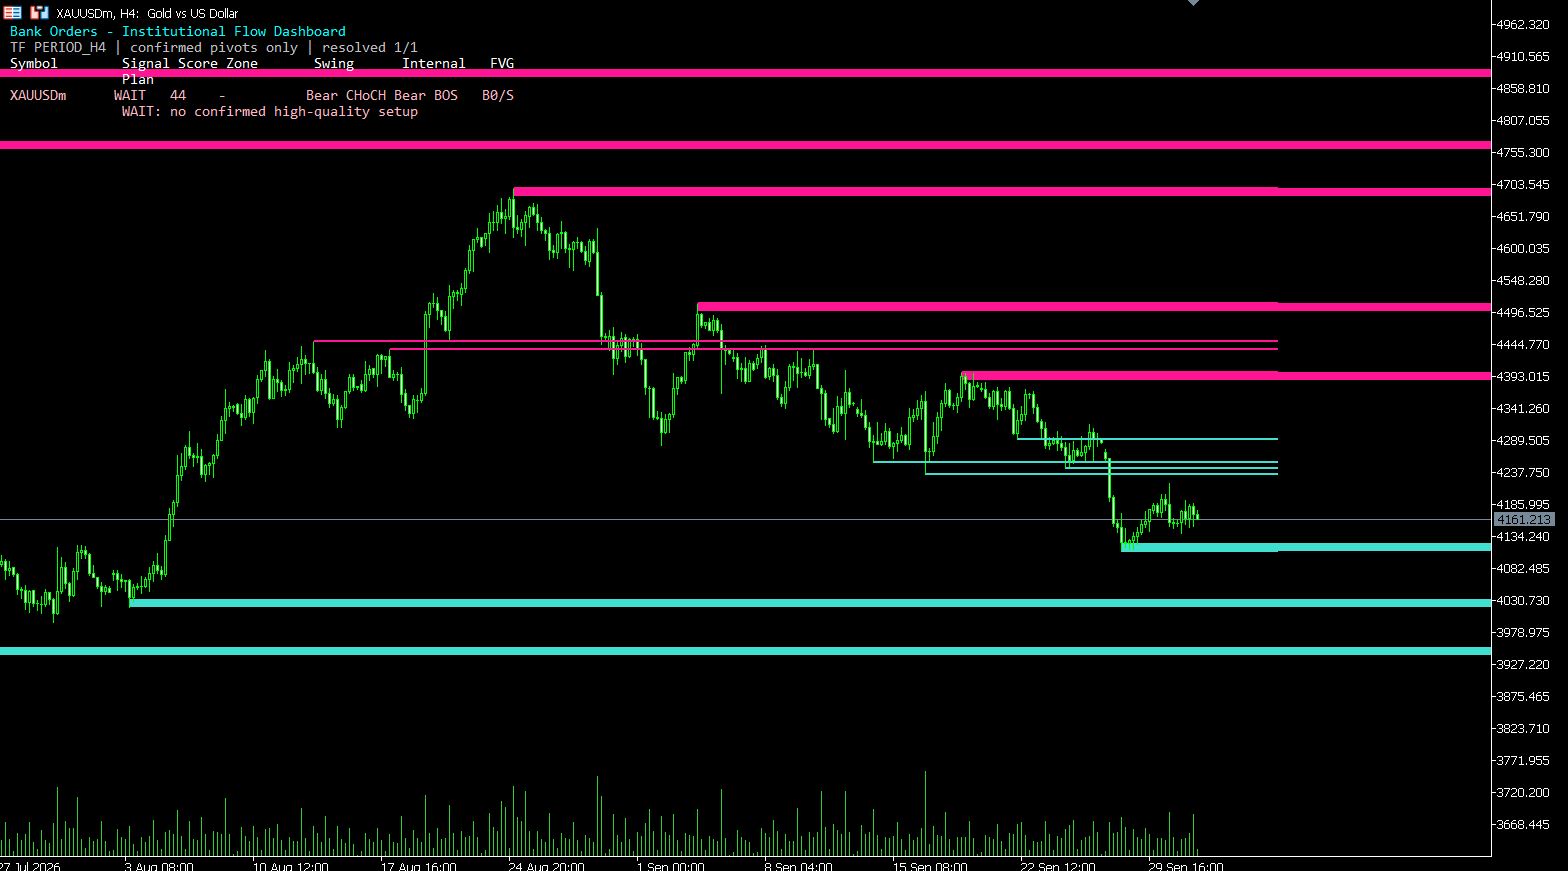
In the XAUUSD screenshot above, the dashboard shows XAUUSDm with WAIT and a score of 44 because the chart contains visible levels but not a confirmed high-quality execution plan. That is useful. Many weak indicators would still print an arrow, while this tool can refuse a trade when the context is not clean enough.
Input Parameters Explained
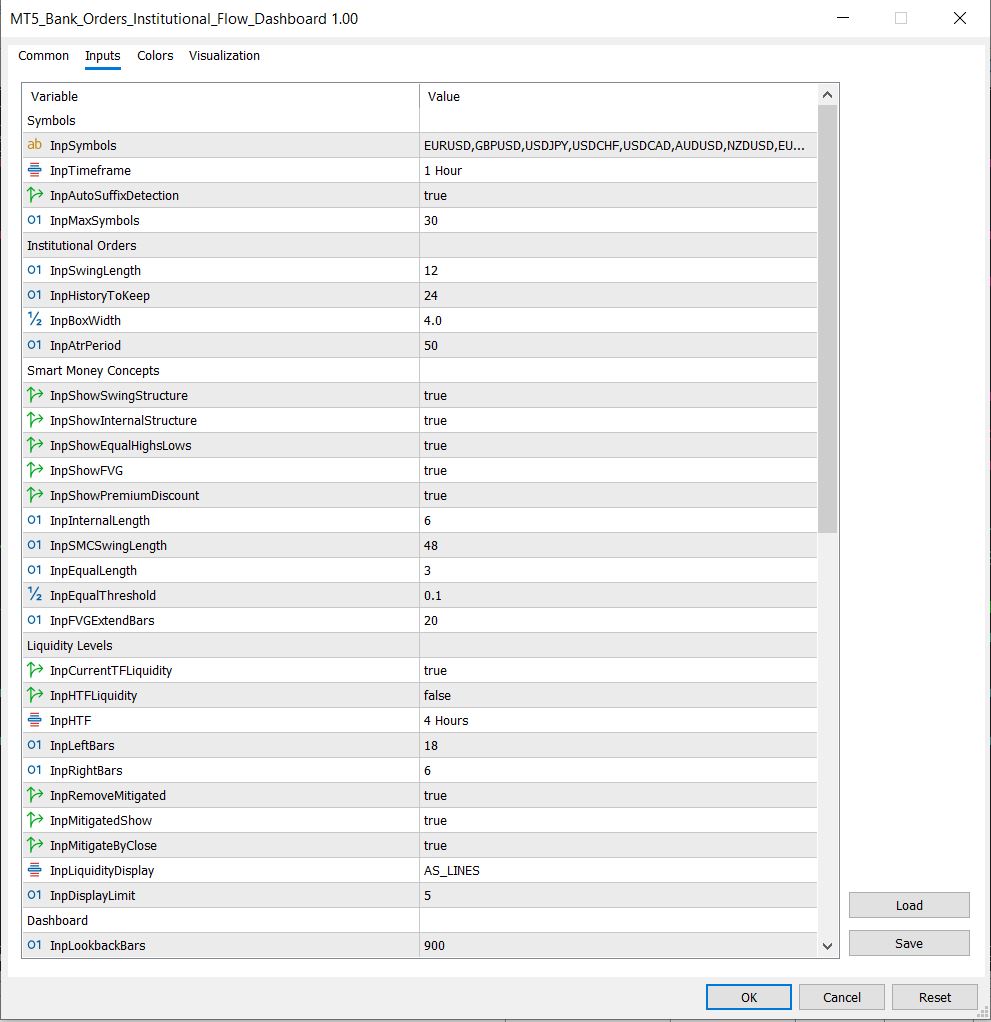
The preset file gives a fast starting configuration, but the indicator is built with many adjustable controls. The main inputs are grouped so you can tune the scanner for forex pairs, gold, indices, crypto CFDs or broker-specific symbols.
| Input Group | Purpose |
|---|---|
| Symbols | Comma-separated watchlist, target timeframe, auto suffix detection and maximum symbols to scan. |
| Institutional Orders | Swing length, number of zones to keep, box width and ATR period for supply/demand zone construction. |
| Smart Money Concepts | Toggles for swing structure, internal structure, equal highs/lows, FVG and premium/discount context. |
| Liquidity Levels | Current timeframe liquidity, optional higher timeframe liquidity, left/right pivot strength, mitigation behavior and display mode. |
| Dashboard | Lookback bars, update interval, panel position, font size, closed-bar mode, current-chart drawings and alert settings. |
| Trade Plan | SL buffer in pips, ATR buffer percentage, minimum reward:risk and fallback reward:risk logic. |
| Signal Lock | Minimum confirmed score, lock duration, opposite signal flip behavior and TP/SL release behavior. |
Why It Is Different From 95 Percent Of Basic SMC Indicators
Most indicators analyze only the active chart. This one scans a configurable list and prints context symbol by symbol.
Useful for brokers where symbols are named XAUUSDm, EURUSD.pro, GBPJPYm or similar variations.
The default closed-bar workflow helps reduce unstable live-candle noise.
The indicator can say WAIT if the setup is mixed. That is more professional than forcing constant arrows.
When context is strong enough, it can build entry, SL, TP and RR logic from zones and current bid/ask data.
Cooldown, state-change filtering and one-alert-per-bar logic help avoid repeated alert spam.
Installation
- Download MT5_Bank_Orders_Institutional_Flow_Dashboard.ex5.
- Open MetaTrader 5, then go to File > Open Data Folder.
- Copy the EX5 into MQL5 > Indicators.
- Restart MT5 or right-click Navigator and choose Refresh.
- Attach the indicator to a chart.
- Download the day trading SET file, open the indicator Inputs tab, click Load, and select the preset if you want the same starting configuration.
Best Keywords This Page Targets
This page is structured for long-tail searches around MT5 bank orders indicator, institutional flow dashboard MT5, free SMC indicator MT5, MT5 liquidity indicator, MT5 BOS CHoCH indicator, MT5 FVG indicator, XAUUSD institutional flow indicator, smart money concepts MT5 and ICT indicator MT5 free download.
Choose the next useful step
Most visitors arrive with one question: build, test, price, or trust. These shortcuts keep the path practical.