Bank Orders Dashboard — Institutional Order Flow Signals
Supply & demand order blocks, BOS/CHoCH structure, liquidity sweeps, fair value gaps and premium/discount positioning — converted into executable Buy Limit, Sell Limit, Buy Stop and Sell Stop plans with signal price, entry, TP1/TP2/TP3, stop loss, R:R, confidence and written reasoning.
AI reasoning — why this plan?
Bullish evidence: Price is inside a bullish order block (institutional demand). Swing structure confirms Bull CHoCH. Internal structure confirms Bull CHoCH. Price trades at Discount+ of the dealing range. Bullish fair value gaps dominate (8 vs 1). Sell-side liquidity swept (1 lows taken). Multi-timeframe alignment bullish (3/4).
AI reasoning — why this plan?
Bullish evidence: Bullish fair value gaps dominate (3 vs 1). Sell-side liquidity swept (2 lows taken). Multi-timeframe alignment bullish (3/4).
AI reasoning — why this plan?
Bullish evidence: Price is inside a bullish order block (institutional demand). Swing structure confirms Bull CHoCH. Bullish fair value gaps dominate (5 vs 4). Multi-timeframe alignment bullish (4/4).
Bearish evidence: Internal structure confirms Bear CHoCH. Price trades at Premium+ of the dealing range. Buy-side liquidity swept (1 highs taken).
Why not now: Score 63 is below the confirmation threshold 65. WAIT: no confirmed high-quality setup
AI reasoning — why this plan?
Bullish evidence: Swing structure confirms Bull BOS. Internal structure confirms Bull CHoCH. Price trades at Discount+ of the dealing range. Bullish fair value gaps dominate (1 vs 0). Multi-timeframe alignment bullish (2/4).
Why not now: Score 56 is below the confirmation threshold 65. WAIT: no confirmed high-quality setup
AI reasoning — why this plan?
Bullish evidence: Swing structure confirms Bull BOS. Internal structure confirms Bull CHoCH. Price trades at Discount+ of the dealing range. Sell-side liquidity swept (1 lows taken).
Why not now: Score 55 is below the confirmation threshold 65. Timeframes are not aligned. WAIT: no confirmed high-quality setup
AI reasoning — why this plan?
Bullish evidence: Price is inside a bullish order block (institutional demand). Price trades at Discount of the dealing range. Sell-side liquidity swept (5 lows taken).
Bearish evidence: Swing structure confirms Bear CHoCH. Internal structure confirms Bear BOS. Bearish fair value gaps dominate (4 vs 0).
Why not now: Score 52 is below the confirmation threshold 65. Timeframes are not aligned. WAIT: no confirmed high-quality setup
AI reasoning — why this plan?
Bullish evidence: Swing structure confirms Bull CHoCH. Internal structure confirms Bull BOS. Bullish fair value gaps dominate (8 vs 0). Multi-timeframe alignment bullish (4/4).
Bearish evidence: Price trades at Premium of the dealing range. Buy-side liquidity swept (5 highs taken).
Why not now: Score 44 is below the confirmation threshold 65. WAIT: no confirmed high-quality setup
AI reasoning — why this plan?
Bullish evidence: Swing structure confirms Bull CHoCH. Internal structure confirms Bull CHoCH. Bullish fair value gaps dominate (3 vs 2). Multi-timeframe alignment bullish (2/4).
Bearish evidence: Price trades at Premium+ of the dealing range. Buy-side liquidity swept (1 highs taken).
Why not now: Score 44 is below the confirmation threshold 65. WAIT: no confirmed high-quality setup
AI reasoning — why this plan?
Bullish evidence: Swing structure confirms Bull BOS. Internal structure confirms Bull CHoCH. Bullish fair value gaps dominate (7 vs 0). Multi-timeframe alignment bullish (4/4).
Bearish evidence: Price trades at Premium of the dealing range. Buy-side liquidity swept (5 highs taken).
Why not now: Score 44 is below the confirmation threshold 65. WAIT: no confirmed high-quality setup
AI reasoning — why this plan?
Bullish evidence: Swing structure confirms Bull CHoCH. Internal structure confirms Bull BOS. Bullish fair value gaps dominate (8 vs 0). Multi-timeframe alignment bullish (3/4).
Bearish evidence: Price trades at Premium of the dealing range. Buy-side liquidity swept (5 highs taken).
Why not now: Score 44 is below the confirmation threshold 65. WAIT: no confirmed high-quality setup
AI reasoning — why this plan?
Bullish evidence: Swing structure confirms Bull BOS. Internal structure confirms Bull BOS. Bullish fair value gaps dominate (3 vs 1).
Bearish evidence: Price trades at Premium+ of the dealing range.
Why not now: Score 44 is below the confirmation threshold 65. Timeframes are not aligned. WAIT: no confirmed high-quality setup
AI reasoning — why this plan?
Bullish evidence: Price trades at Discount of the dealing range. Sell-side liquidity swept (4 lows taken).
Bearish evidence: Swing structure confirms Bear BOS. Internal structure confirms Bear BOS. Bearish fair value gaps dominate (14 vs 0). Multi-timeframe alignment bearish (-4/4).
Why not now: Score 44 is below the confirmation threshold 65. WAIT: no confirmed high-quality setup
AI reasoning — why this plan?
Bullish evidence: Price trades at Discount of the dealing range. Sell-side liquidity swept (5 lows taken).
Bearish evidence: Swing structure confirms Bear BOS. Internal structure confirms Bear BOS. Bearish fair value gaps dominate (7 vs 0). Multi-timeframe alignment bearish (-4/4).
Why not now: Score 44 is below the confirmation threshold 65. WAIT: no confirmed high-quality setup
AI reasoning — why this plan?
Bullish evidence: Price trades at Discount+ of the dealing range. Sell-side liquidity swept (1 lows taken).
Bearish evidence: Swing structure confirms Bear CHoCH. Internal structure confirms Bear CHoCH. Bearish fair value gaps dominate (5 vs 1).
Why not now: Score 44 is below the confirmation threshold 65. Timeframes are not aligned. WAIT: no confirmed high-quality setup
AI reasoning — why this plan?
Bullish evidence: Price trades at Discount+ of the dealing range. Sell-side liquidity swept (2 lows taken).
Bearish evidence: Swing structure confirms Bear BOS. Internal structure confirms Bear CHoCH. Bearish fair value gaps dominate (4 vs 0). Multi-timeframe alignment bearish (-4/4).
Why not now: Score 44 is below the confirmation threshold 65. WAIT: no confirmed high-quality setup
AI reasoning — why this plan?
Bullish evidence: Price trades at Discount of the dealing range. Sell-side liquidity swept (5 lows taken).
Bearish evidence: Swing structure confirms Bear BOS. Internal structure confirms Bear CHoCH. Bearish fair value gaps dominate (7 vs 0). Multi-timeframe alignment bearish (-4/4).
Why not now: Score 44 is below the confirmation threshold 65. WAIT: no confirmed high-quality setup
AI reasoning — why this plan?
Bullish evidence: Price trades at Discount of the dealing range. Sell-side liquidity swept (4 lows taken).
Bearish evidence: Swing structure confirms Bear BOS. Internal structure confirms Bear CHoCH. Bearish fair value gaps dominate (2 vs 0). Multi-timeframe alignment bearish (-2/4).
Why not now: Score 44 is below the confirmation threshold 65. WAIT: no confirmed high-quality setup
AI reasoning — why this plan?
Bullish evidence: Price trades at Discount of the dealing range. Sell-side liquidity swept (5 lows taken).
Bearish evidence: Swing structure confirms Bear BOS. Internal structure confirms Bear CHoCH. Bearish fair value gaps dominate (2 vs 0). Multi-timeframe alignment bearish (-4/4).
Why not now: Score 44 is below the confirmation threshold 65. WAIT: no confirmed high-quality setup
AI reasoning — why this plan?
Bullish evidence: Price trades at Discount+ of the dealing range. Sell-side liquidity swept (4 lows taken).
Bearish evidence: Swing structure confirms Bear BOS. Internal structure confirms Bear CHoCH. Bearish fair value gaps dominate (4 vs 0). Multi-timeframe alignment bearish (-4/4).
Why not now: Score 44 is below the confirmation threshold 65. WAIT: no confirmed high-quality setup
AI reasoning — why this plan?
Bullish evidence: Price trades at Discount of the dealing range. Sell-side liquidity swept (3 lows taken).
Bearish evidence: Swing structure confirms Bear BOS. Internal structure confirms Bear CHoCH. Bearish fair value gaps dominate (2 vs 0). Multi-timeframe alignment bearish (-4/4).
Why not now: Score 44 is below the confirmation threshold 65. WAIT: no confirmed high-quality setup
AI reasoning — why this plan?
Bullish evidence: Swing structure confirms Bull BOS. Internal structure confirms Bull BOS. Bullish fair value gaps dominate (4 vs 0). Multi-timeframe alignment bullish (4/4).
Bearish evidence: Price trades at Premium of the dealing range. Buy-side liquidity swept (5 highs taken).
Why not now: Score 44 is below the confirmation threshold 65. WAIT: no confirmed high-quality setup
AI reasoning — why this plan?
Bullish evidence: Swing structure confirms Bull BOS. Internal structure confirms Bull CHoCH. Bullish fair value gaps dominate (2 vs 0). Multi-timeframe alignment bullish (2/4).
Bearish evidence: Price trades at Premium of the dealing range. Buy-side liquidity swept (4 highs taken).
Why not now: Score 44 is below the confirmation threshold 65. WAIT: no confirmed high-quality setup
AI reasoning — why this plan?
Bullish evidence: Price trades at Discount of the dealing range. Sell-side liquidity swept (5 lows taken).
Bearish evidence: Swing structure confirms Bear BOS. Internal structure confirms Bear BOS. Bearish fair value gaps dominate (10 vs 0). Multi-timeframe alignment bearish (-4/4).
Why not now: Score 44 is below the confirmation threshold 65. WAIT: no confirmed high-quality setup
AI reasoning — why this plan?
Bullish evidence: Swing structure confirms Bull CHoCH. Price trades at Discount+ of the dealing range. Sell-side liquidity swept (1 lows taken).
Bearish evidence: Internal structure confirms Bear CHoCH. Bearish fair value gaps dominate (4 vs 0). Multi-timeframe alignment bearish (-2/4).
Why not now: Score 39 is below the confirmation threshold 65. WAIT: no confirmed high-quality setup
AI reasoning — why this plan?
Bullish evidence: Swing structure confirms Bull CHoCH. Price trades at Discount+ of the dealing range. Sell-side liquidity swept (1 lows taken).
Bearish evidence: Internal structure confirms Bear CHoCH. Bearish fair value gaps dominate (3 vs 0). Multi-timeframe alignment bearish (-2/4).
Why not now: Score 39 is below the confirmation threshold 65. WAIT: no confirmed high-quality setup
AI reasoning — why this plan?
Bullish evidence: Swing structure confirms Bull CHoCH. Price trades at Discount+ of the dealing range. Sell-side liquidity swept (4 lows taken).
Bearish evidence: Internal structure confirms Bear BOS. Bearish fair value gaps dominate (3 vs 0). Multi-timeframe alignment bearish (-4/4).
Why not now: Score 39 is below the confirmation threshold 65. WAIT: no confirmed high-quality setup
AI reasoning — why this plan?
Bullish evidence: Price trades at Discount+ of the dealing range. Bullish fair value gaps dominate (4 vs 3). Sell-side liquidity swept (2 lows taken).
Bearish evidence: Swing structure confirms Bear CHoCH. Internal structure confirms Bear BOS. Multi-timeframe alignment bearish (-2/4).
Why not now: Score 38 is below the confirmation threshold 65. WAIT: no confirmed high-quality setup
AI reasoning — why this plan?
Bullish evidence: Internal structure confirms Bull CHoCH. Bullish fair value gaps dominate (3 vs 0). Multi-timeframe alignment bullish (2/4).
Bearish evidence: Swing structure confirms Bear CHoCH. Price trades at Premium+ of the dealing range.
Why not now: Score 34 is below the confirmation threshold 65. WAIT: no confirmed high-quality setup
AI reasoning — why this plan?
Bullish evidence: Internal structure confirms Bull CHoCH. Price trades at Discount+ of the dealing range. Sell-side liquidity swept (1 lows taken).
Bearish evidence: Swing structure confirms Bear BOS. Bearish fair value gaps dominate (3 vs 1).
Why not now: Score 33 is below the confirmation threshold 65. Timeframes are not aligned. WAIT: no confirmed high-quality setup
AI reasoning — why this plan?
Bullish evidence: Internal structure confirms Bull CHoCH. Price trades at Discount+ of the dealing range.
Bearish evidence: Swing structure confirms Bear BOS. Bearish fair value gaps dominate (9 vs 3). Multi-timeframe alignment bearish (-3/4).
Why not now: Score 28 is below the confirmation threshold 65. WAIT: no confirmed high-quality setup
AI reasoning — why this plan?
Bullish evidence: Swing structure confirms Bull CHoCH. Multi-timeframe alignment bullish (2/4).
Bearish evidence: Internal structure confirms Bear CHoCH. Bearish fair value gaps dominate (2 vs 1).
Why not now: Score 22 is below the confirmation threshold 65. WAIT: no confirmed high-quality setup
How to Read These Order Plans
Limit plans (pullback)
A Buy Limit sits at a demand order block below price; a Sell Limit sits at a supply order block above price. They wait for a pullback into institutional interest.
Stop plans (breakout)
A Buy Stop triggers above a liquidity high; a Sell Stop triggers below a liquidity low. They catch continuation after a sweep or BOS.
Confidence & reasoning
Confidence combines zone quality, structure events, premium/discount, FVG balance, liquidity sweeps and 4-timeframe alignment. Open "AI reasoning" on any card to see exactly why — or why not.
Read: Buy Limit vs Buy Stop vs Sell Limit vs Sell Stop → How the engine works →
Want This Dashboard on Your Own MT5?
The Bank Orders Institutional Flow dashboard is available as an MT5 product with the full supply/demand map, liquidity levels and order plan engine.
Choose the next useful step
Most visitors arrive with one question: build, test, price, or trust. These shortcuts keep the path practical.
Go deeper before you build, download or automate
Hand-picked engineering articles, indicator breakdowns and trading-system tools so visitors keep exploring instead of leaving after one page.
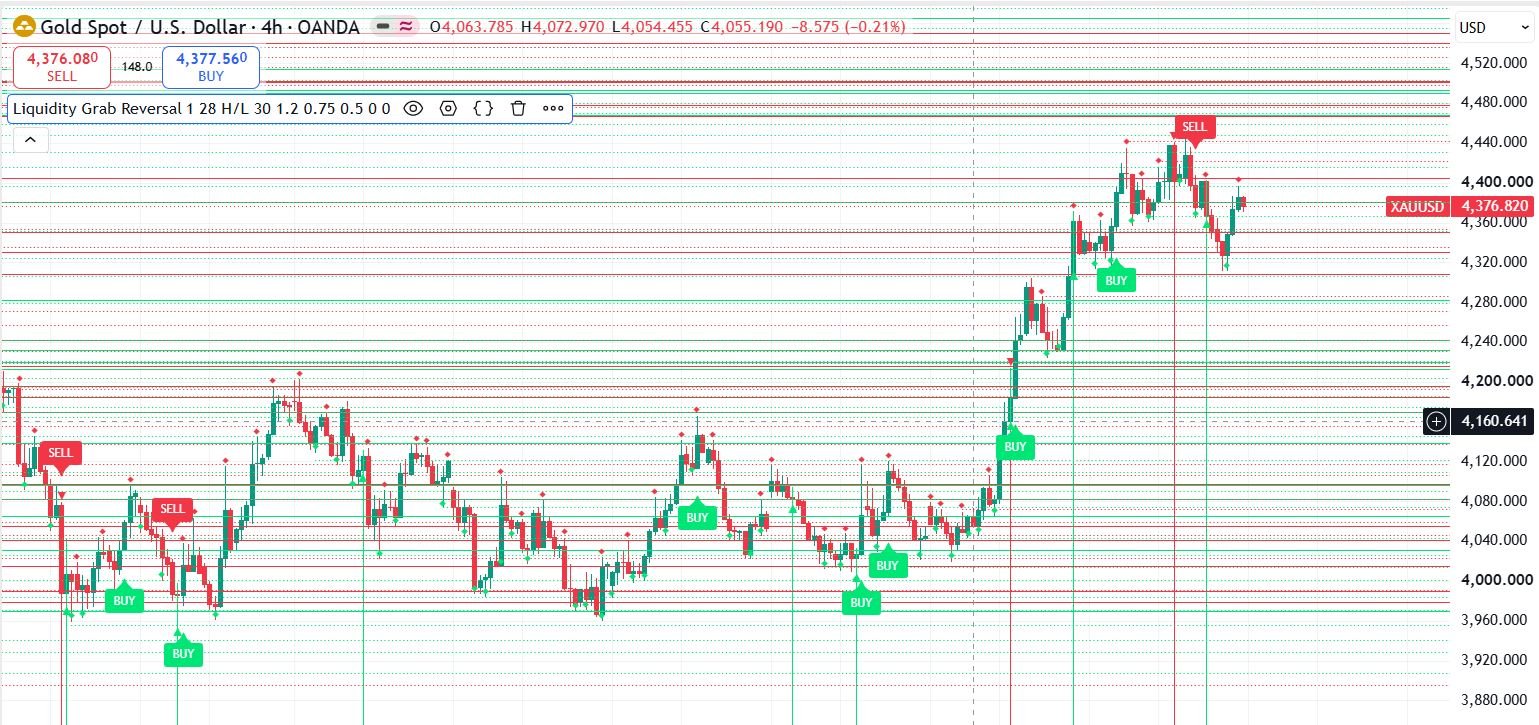
Pine Script to MT4/MT5 Conversion Planner
Analyze Pine strategies, repainting risk, TradingView alert bridges, MTF synchronization and the correct MQL4/MQL5 build path before paying for conversion.
Open planner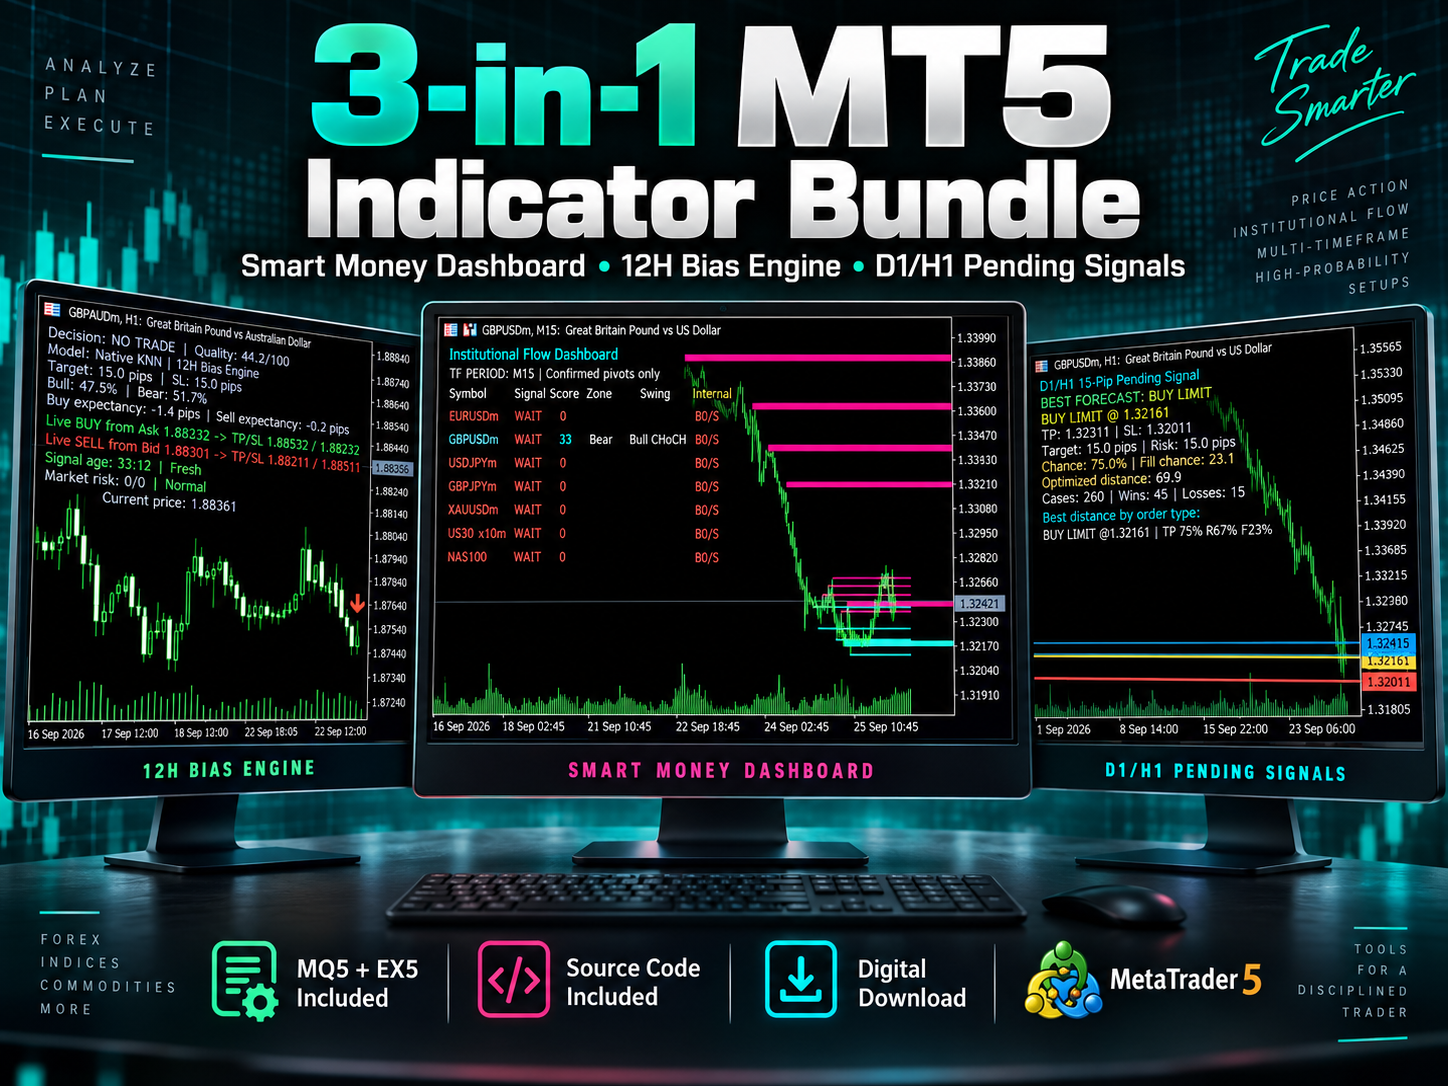
3-in-1 MT5 Indicator Bundle
12H Bias Engine, Smart Money Institutional Flow Dashboard and D1/H1 pending-signal logic with MQ5 + EX5 source included via Etsy.
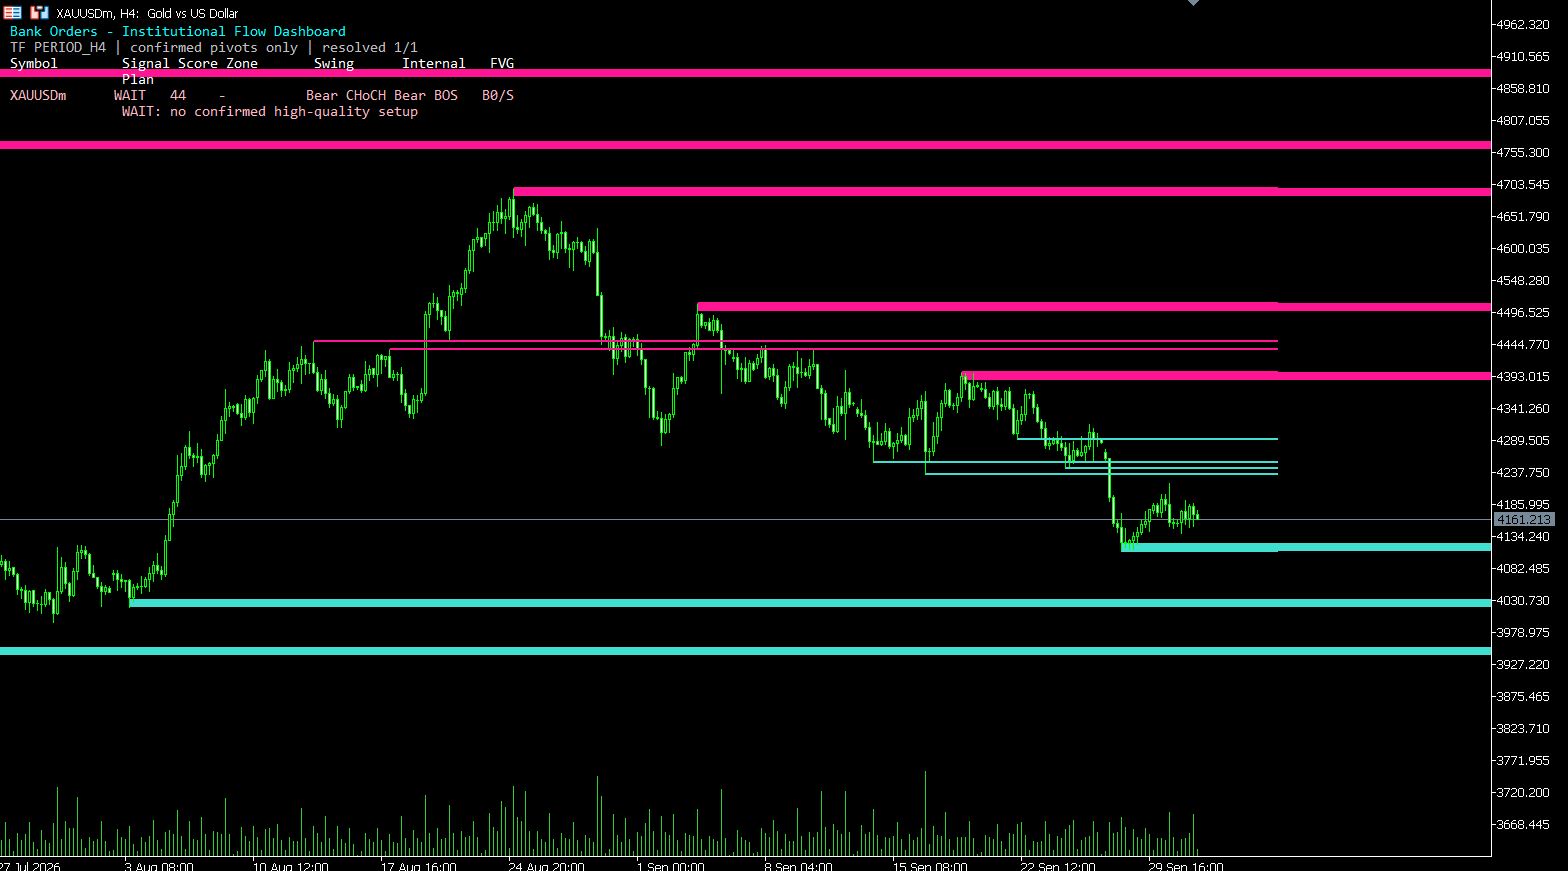
MT5 Bank Orders Institutional Flow Dashboard
Supply/demand zones, BOS/CHoCH, liquidity levels, FVG, equal highs/lows and confirmed trade-plan logic explained with EX5 download.
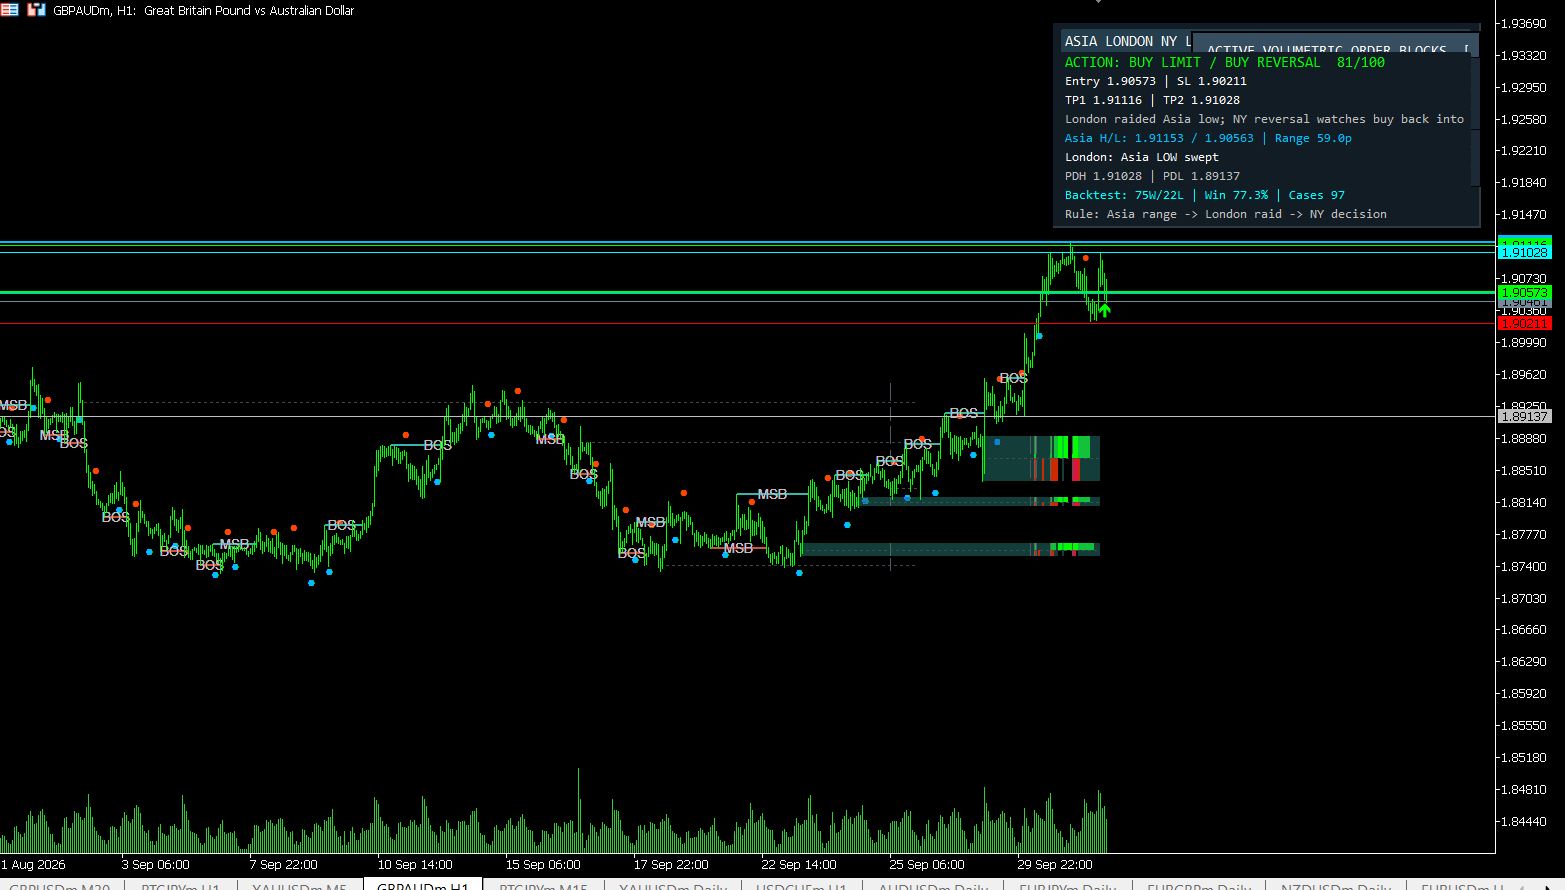
MT5 Asia London NY Liquidity Engine
Asia range, London raid and New York continuation/reversal planning with internal session backtest stats and entry/SL/TP dashboard.
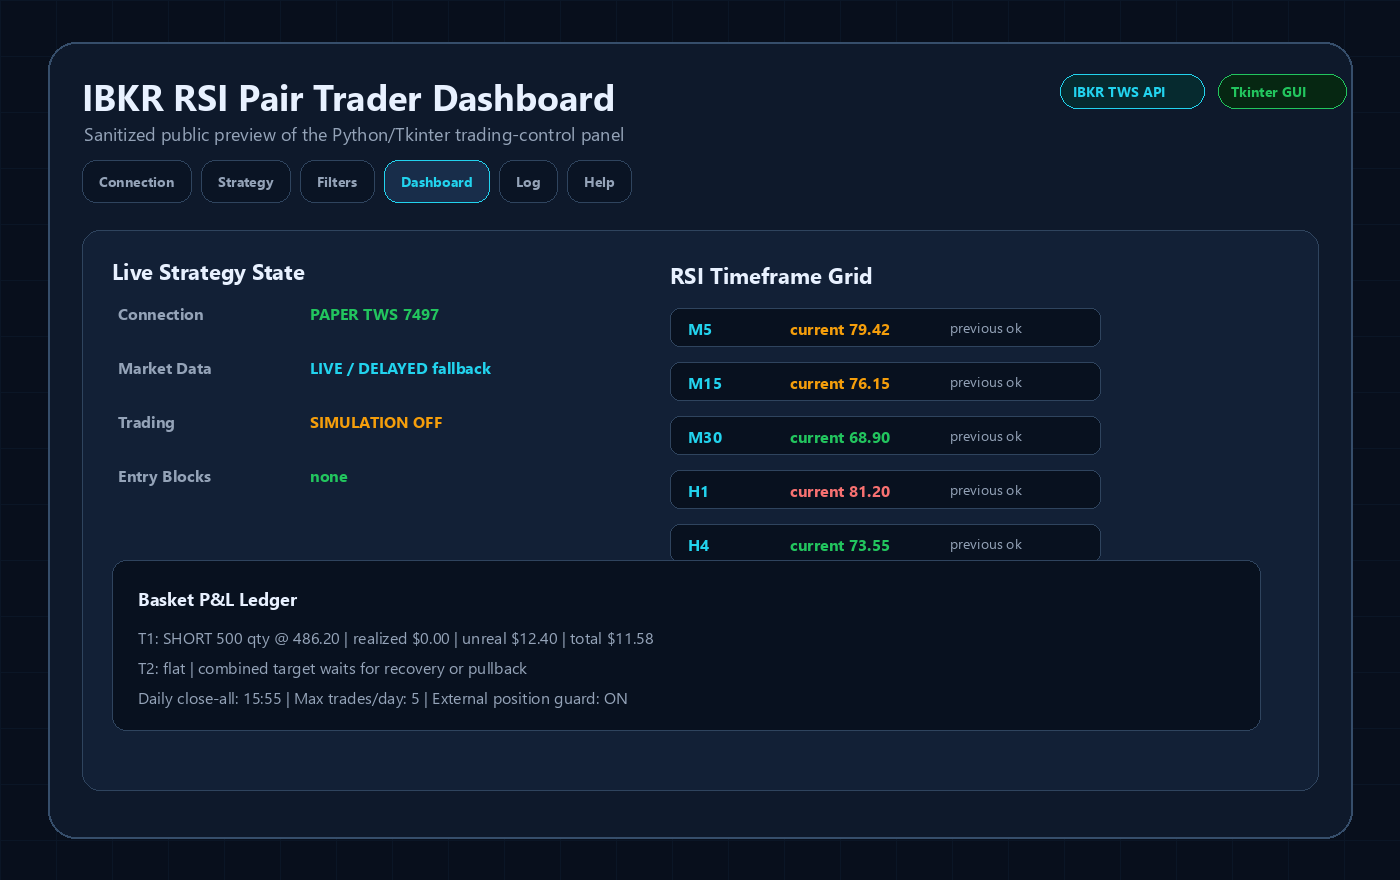
Interactive Brokers RSI Pair Trader
Tkinter desktop trading workflow, TWS API connection handling, RSI pair logic, risk controls and custom IBKR development positioning.
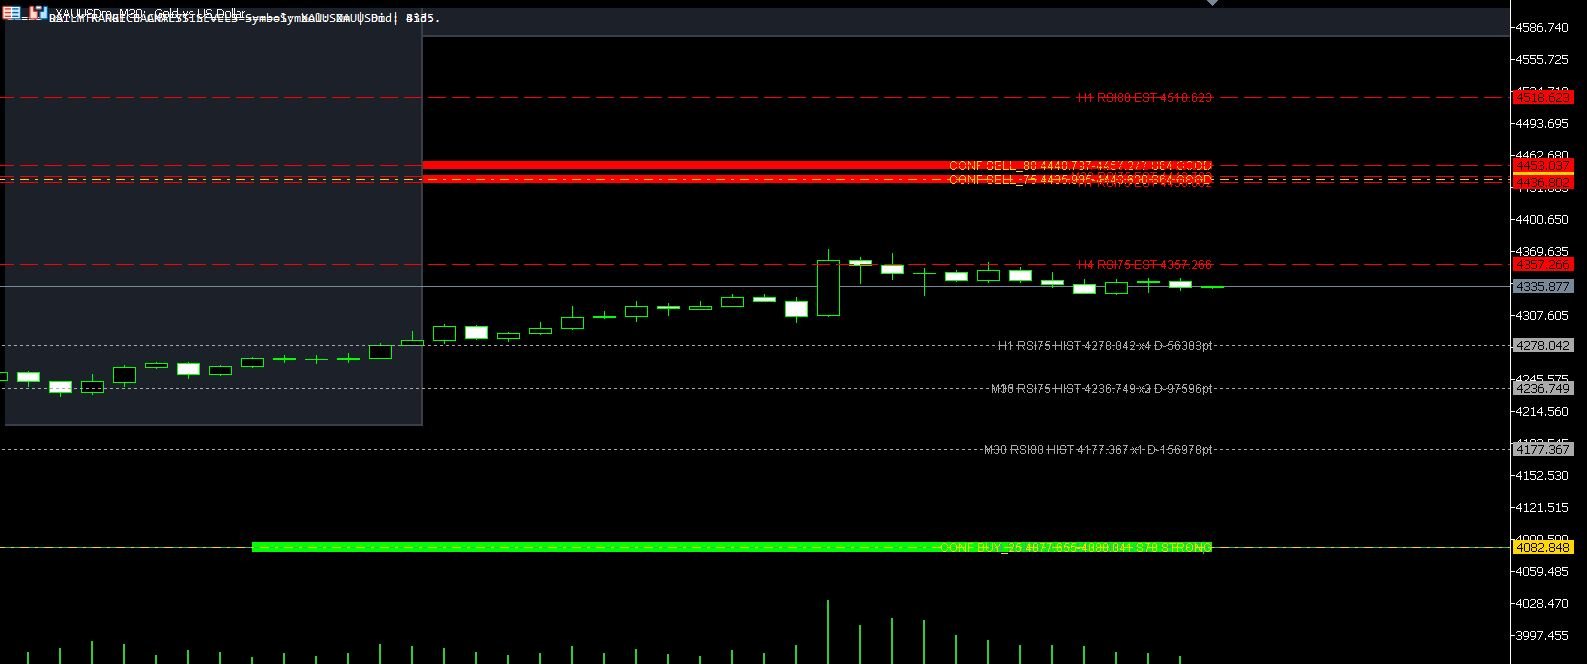
XAUUSD M30 CSV Data For Backtesting
Use clean MT5 historical data for Python backtests, strategy validation, spread checks and realistic gold EA research workflows.