Buy Limit vs Buy Stop vs Sell Limit vs Sell Stop
Four pending order types, four completely different jobs. This guide explains exactly when each one triggers, which market context it belongs to, and how the live Bank Orders dashboard picks between them automatically.
The Quick Comparison
| Order type | Placed | Triggers when | Market context |
|---|---|---|---|
| Buy Limit | Below price | Market falls into it | Pullback into a demand order block |
| Buy Stop | Above price | Market rallies through it | Breakout above liquidity / BOS continuation |
| Sell Limit | Above price | Market rallies into it | Pullback into a supply order block |
| Sell Stop | Below price | Market falls through it | Breakdown below liquidity / bearish continuation |
Buy Limit — the pullback entry
You believe the market is bullish, but price is currently above a demand zone. Instead of chasing, you place a Buy Limit at the zone. If price retraces into institutional demand, your order fills at a better price with a tight stop below the zone. If price never returns, nothing happens — the plan simply expires. The engine builds this plan when the bias is bullish and a fresh demand block sits below market.
Buy Stop — the breakout entry
You believe the market is bullish and about to break above a liquidity level (equal highs, swing high). A Buy Stop above that level fills only when the breakout actually happens — confirmation first, entry second. The engine switches to this plan when there is no valid demand zone below but buy-side liquidity sits above, typically after a sweep or a BOS.
Sell Limit — the supply rejection
The mirror image of the Buy Limit: bearish bias, price below a supply block. The Sell Limit waits above market for a rally into institutional supply, then shorts the rejection with a stop above the zone.
Sell Stop — the breakdown entry
The mirror of the Buy Stop: a Sell Stop below a liquidity low fills when price breaks down, confirming bearish continuation. Ideal for markets sweeping sell-side liquidity before extending lower.
How the Engine Chooses
1. Bias first
Structure (BOS/CHoCH), zones, premium/discount, FVG balance and liquidity sweeps produce a directional bias with a confidence score.
2. Location second
Where is price relative to the nearest demand/supply zone and the nearest liquidity pool? That decides pullback (limit) vs breakout (stop) vs instant (market).
3. Geometry last
Stop beyond structure with an ATR buffer, TP1 at the nearest opposing level, TP2/TP3 at R:R multiples. Plans that fail the minimum reward-to-risk are discarded as WAIT.
Order Types FAQ
What is the difference between a Buy Limit and a Buy Stop?
A Buy Limit is placed BELOW the current price and fills when the market drops into it — a pullback entry at a demand zone. A Buy Stop is placed ABOVE the current price and fills when the market rallies through it — a breakout entry above liquidity.
What is the difference between a Sell Limit and a Sell Stop?
A Sell Limit is placed ABOVE the current price and fills when the market rallies into it — a pullback entry at a supply zone. A Sell Stop is placed BELOW the current price and fills when the market drops through it — a breakdown entry below liquidity.
When should I use limit orders instead of stop orders?
Limit orders suit ranged or retracing markets where price is expected to revisit an order block. Stop orders suit trending markets where a liquidity sweep or structure break signals continuation. The engine reads structure, zones and liquidity to choose between them.
Do pending orders guarantee a better price?
No. Limit orders can miss if price never returns, and stop orders can suffer slippage in fast markets. Always combine them with a stop loss, position sizing and broker checks for minimum stop distance.
See Every Order Type Live
The dashboard labels every plan — Buy Limit, Sell Limit, Buy Stop, Sell Stop — with entry, TP ladder, stop and reasoning.
Open the Bank Orders DashboardChoose the next useful step
Most visitors arrive with one question: build, test, price, or trust. These shortcuts keep the path practical.
Go deeper before you build, download or automate
Hand-picked engineering articles, indicator breakdowns and trading-system tools so visitors keep exploring instead of leaving after one page.
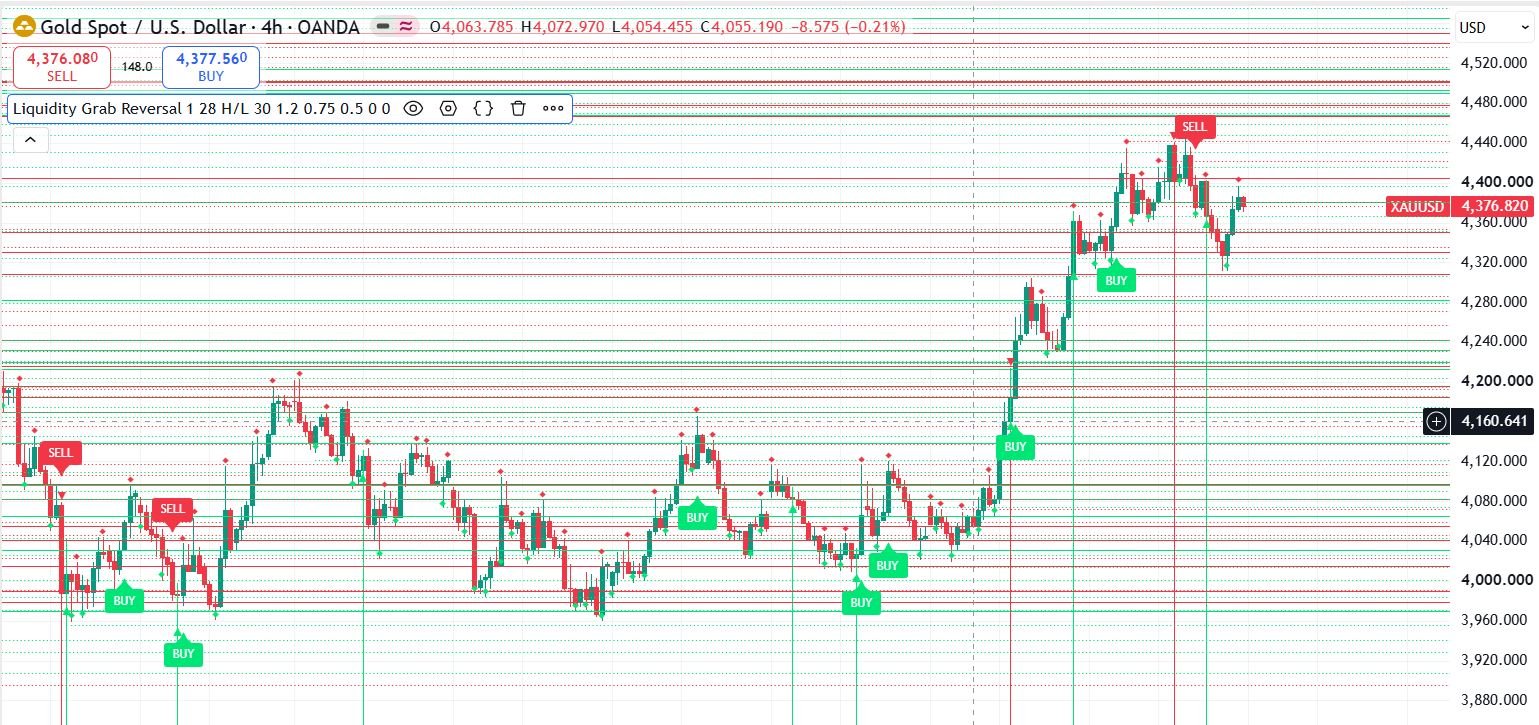
Pine Script to MT4/MT5 Conversion Planner
Analyze Pine strategies, repainting risk, TradingView alert bridges, MTF synchronization and the correct MQL4/MQL5 build path before paying for conversion.
Open planner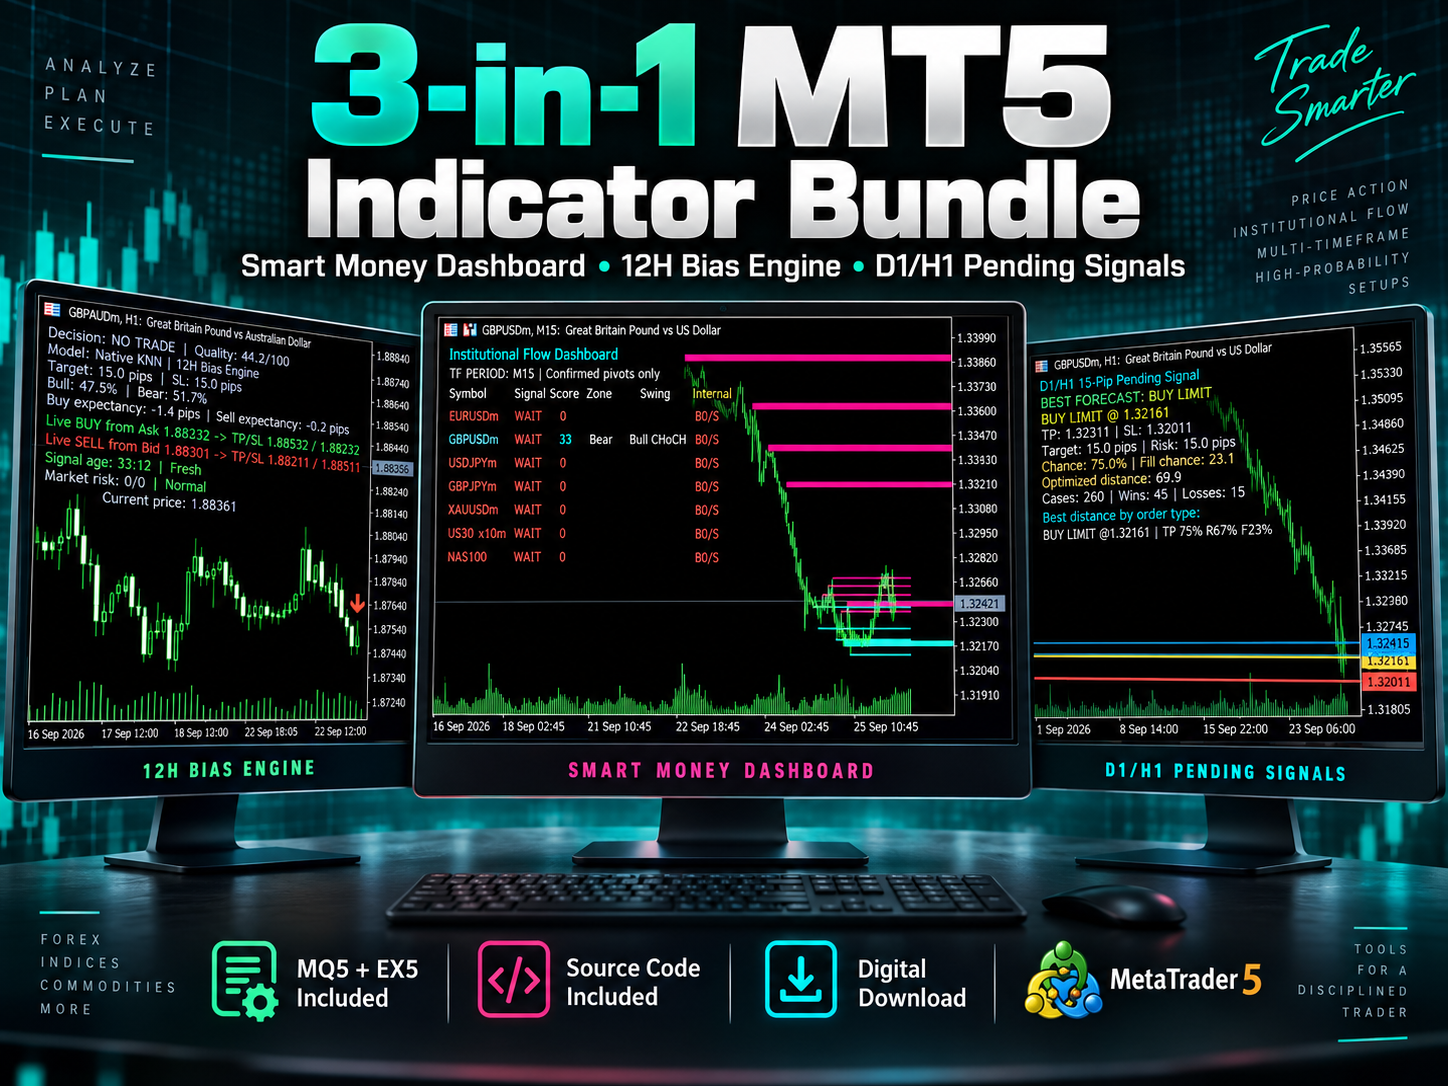
3-in-1 MT5 Indicator Bundle
12H Bias Engine, Smart Money Institutional Flow Dashboard and D1/H1 pending-signal logic with MQ5 + EX5 source included via Etsy.
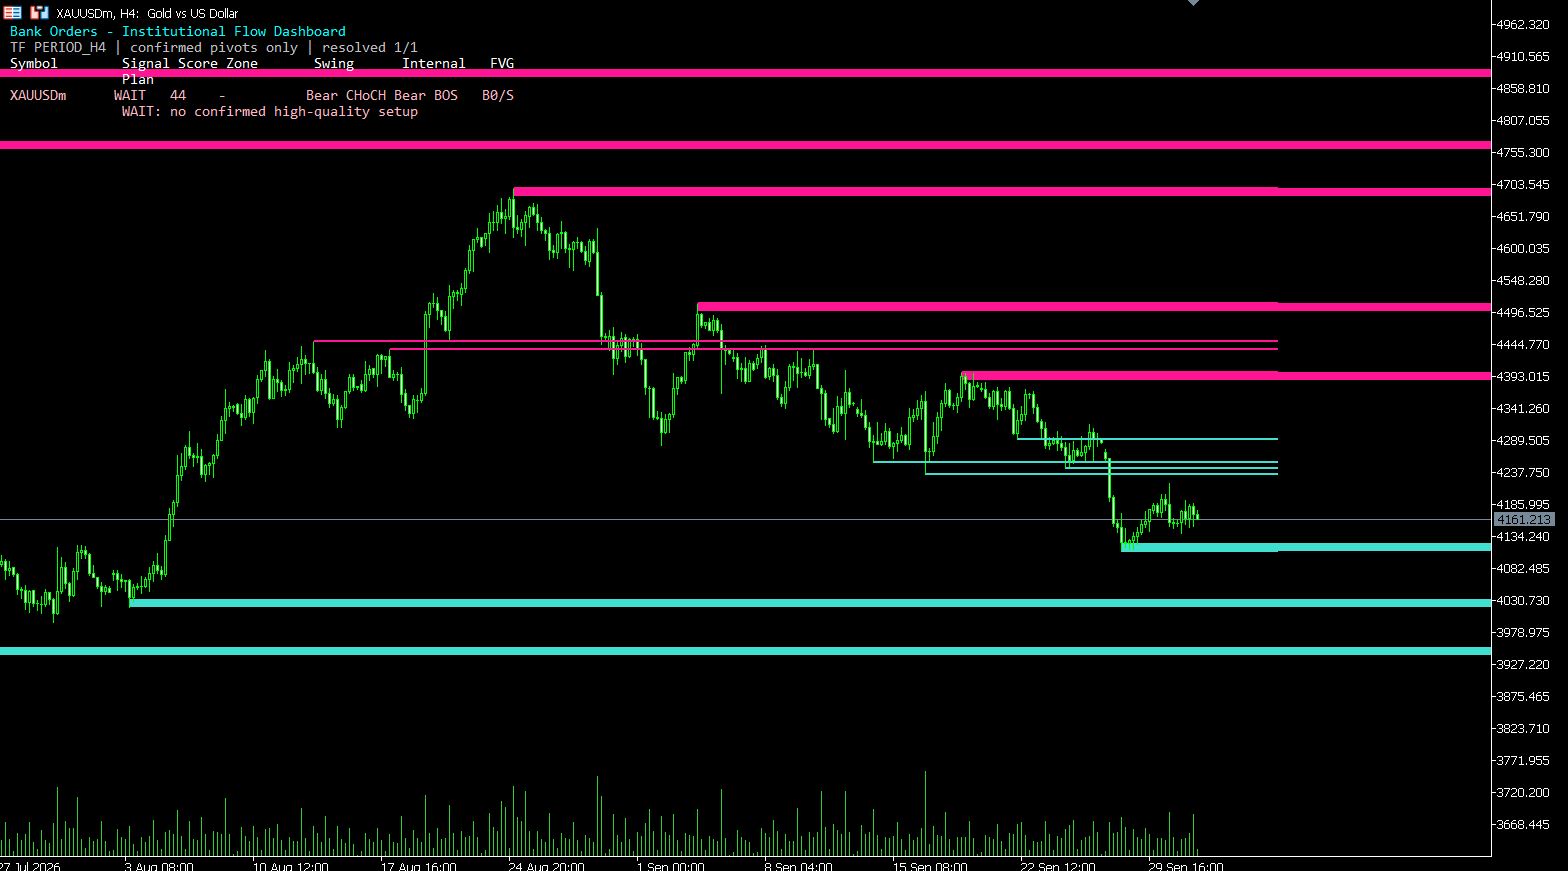
MT5 Bank Orders Institutional Flow Dashboard
Supply/demand zones, BOS/CHoCH, liquidity levels, FVG, equal highs/lows and confirmed trade-plan logic explained with EX5 download.
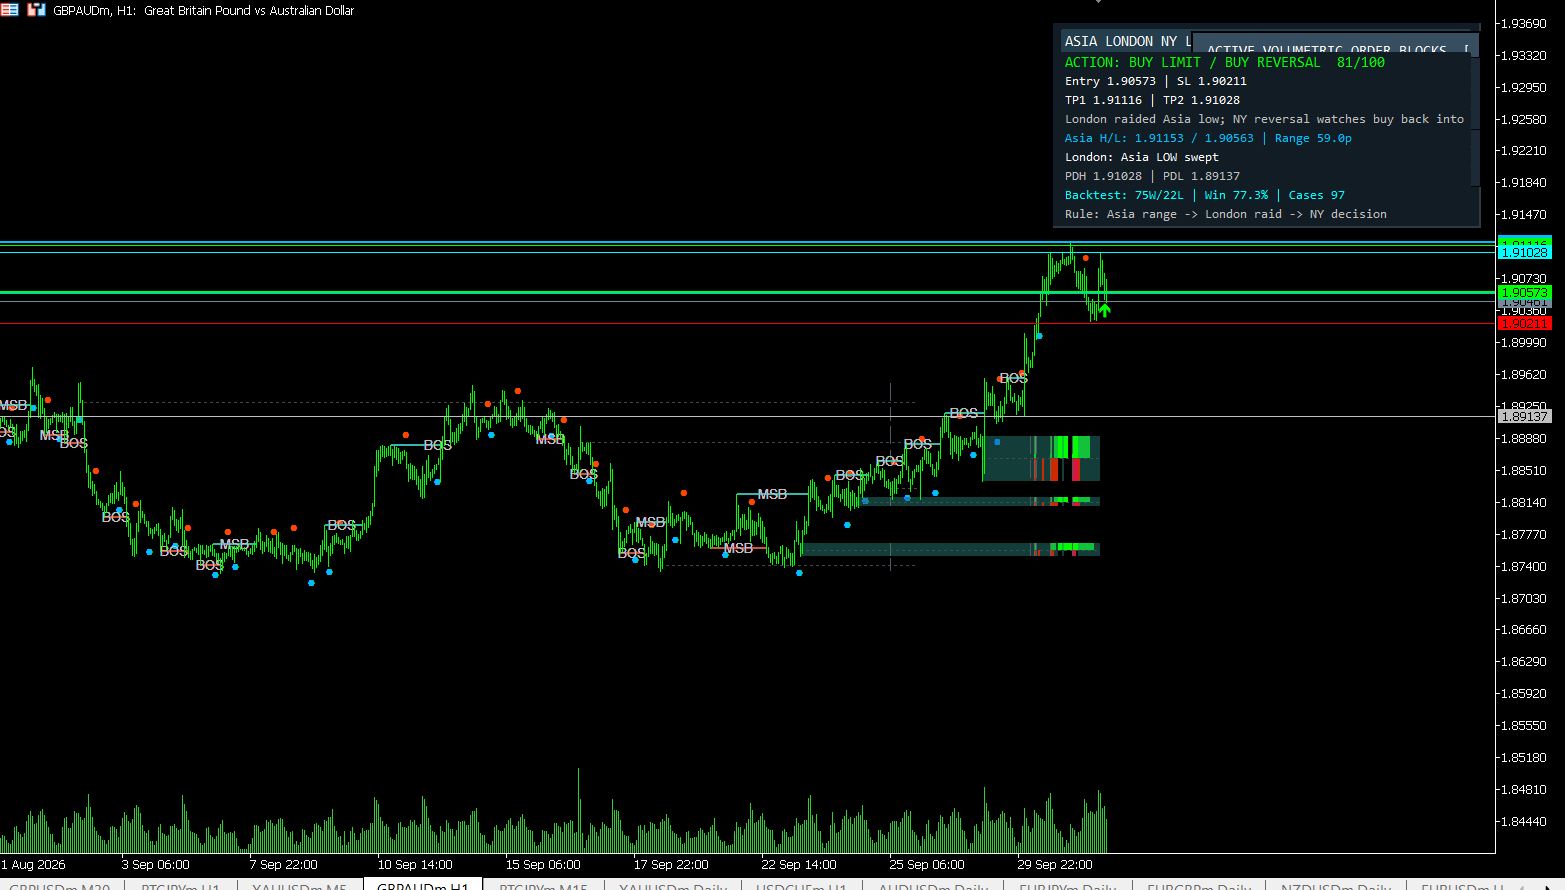
MT5 Asia London NY Liquidity Engine
Asia range, London raid and New York continuation/reversal planning with internal session backtest stats and entry/SL/TP dashboard.
Interactive Brokers RSI Pair Trader
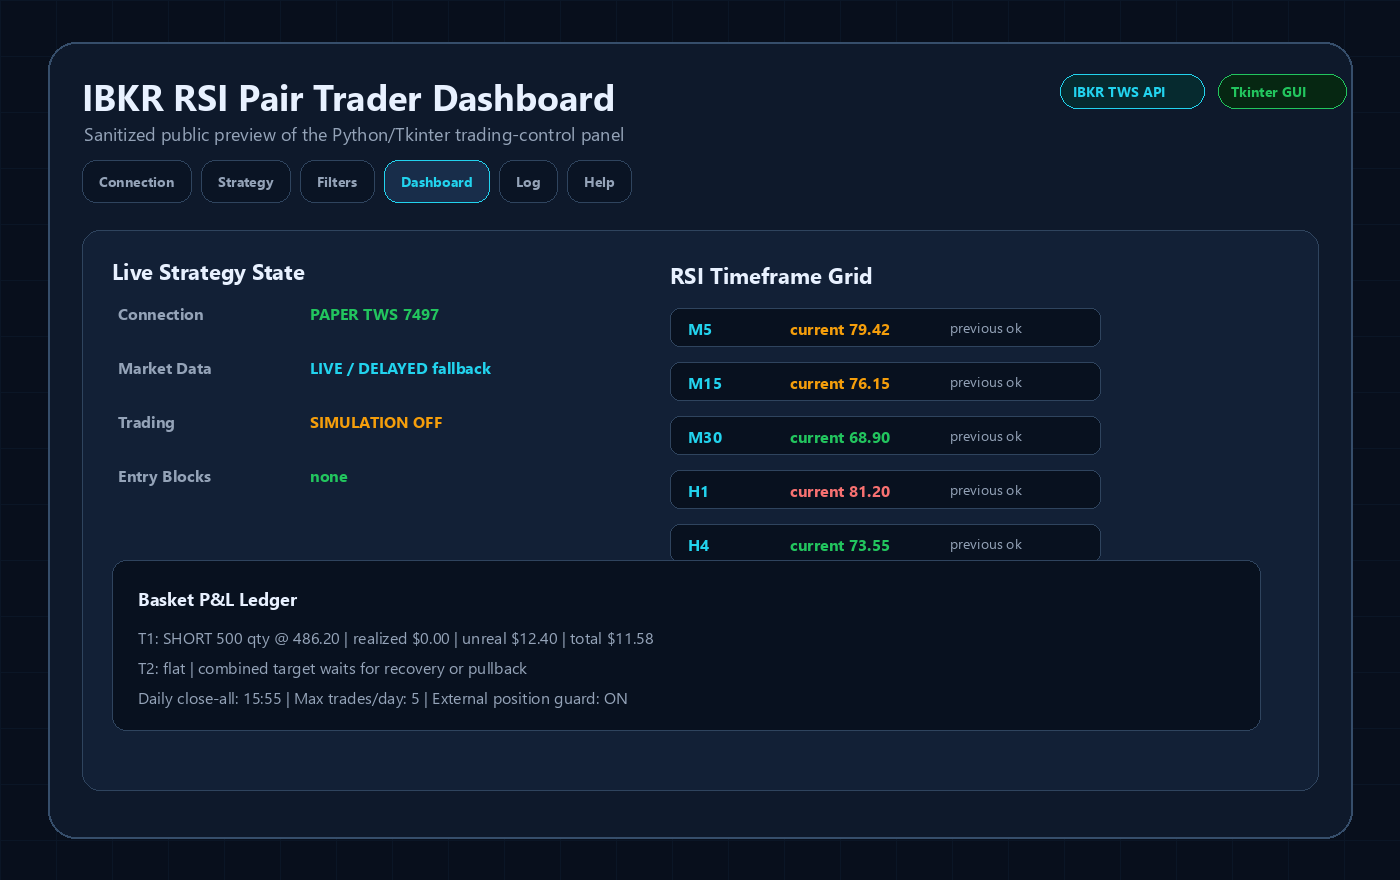
Tkinter desktop trading workflow, TWS API connection handling, RSI pair logic, risk controls and custom IBKR development positioning.
XAUUSD M30 CSV Data For Backtesting
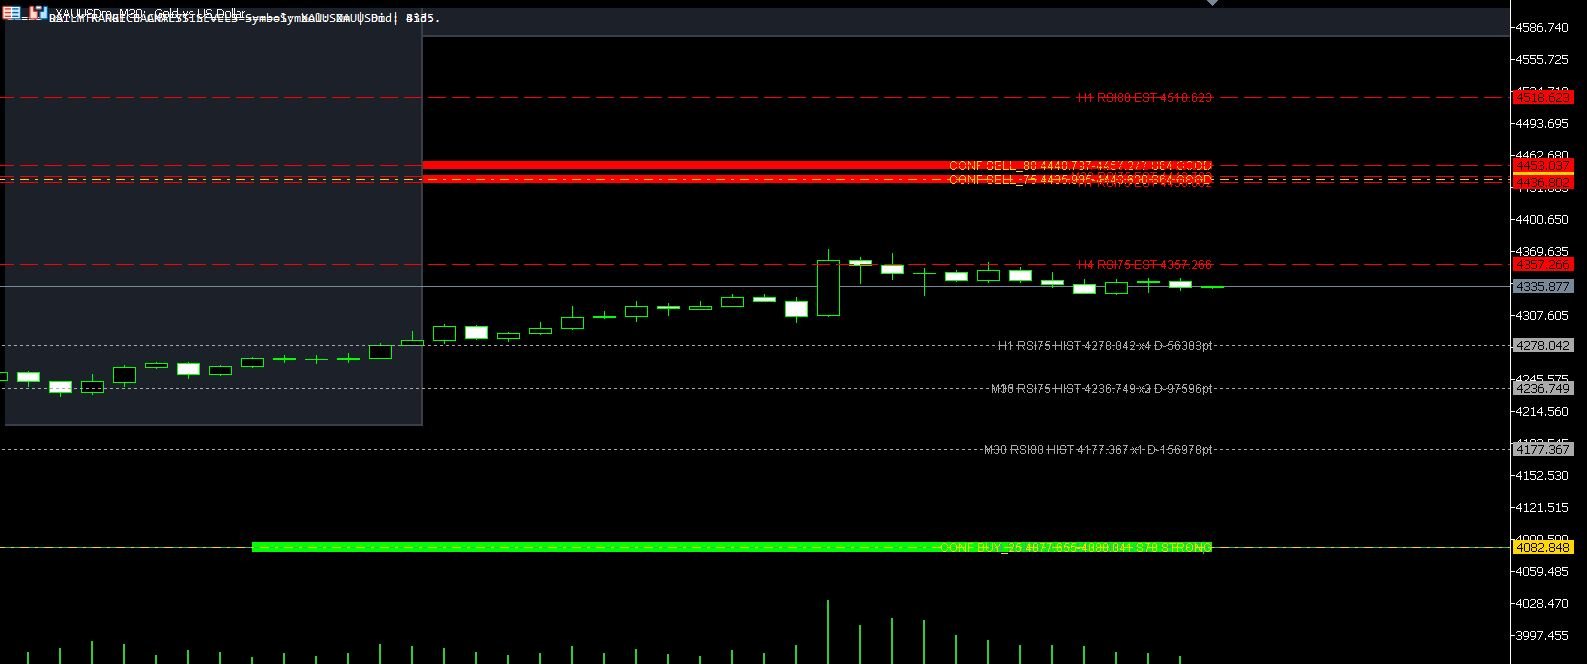
Use clean MT5 historical data for Python backtests, strategy validation, spread checks and realistic gold EA research workflows.