EMA Pullback Strategy — Exact Rules, the Math, and a Full Money Management Example
The most-watched dynamic support in trading, defined precisely: the EMA formula, the trigger, the stop, the target — and the complete arithmetic that turns a 16-pip stop into a sized position.
The exponential moving average is the most crowded level in retail trading — and crowded levels are where pullbacks end. That is the whole premise of this strategy: in a trend, price returns to the EMA, the stop cluster just beyond it gets consumed, and a defined trigger candle marks the resumption. This guide gives you the exact mathematics of the EMA itself, the exact Boolean rules of the setup, a verified worked example, and — the part most guides skip — the full money management arithmetic that converts the setup into a correctly sized position.
1. The Mathematics of the EMA (You Need This to Trust It)
The EMA is defined by a recursion. For period N and close price C:
$$\text{EMA}_t=C_t\cdot k+\text{EMA}_{t-1}\cdot(1-k),\qquad k=\frac{2}{N+1}$$
$$\text{For }N=50:\qquad k=\frac{2}{51}=0.039216$$
Two properties matter for trading:
Property 1 — The EMA is a weighted average of all past closes with geometrically decaying weights. The weight of a close that is n bars old is \(k(1-k)^n\). For N=50, yesterday's close carries 3.92% of the weight, the close 10 bars ago carries 3.92% x (0.9608)^10 = 2.64%, and so on. The average never fully forgets, it just remembers less. This is why the EMA turns faster than the SMA of the same period: recent prices genuinely dominate it.
Property 2 — The EMA moves proportionally to the distance between price and the average. Each new close drags the EMA 3.92% of the way toward itself (for N=50). A numerical example:
EMA(49) = 1.09400
New close = 1.09500  (100 pips above the average)

EMA(50) = 1.09500 x 0.039216 + 1.09400 x 0.960784
        = 0.0429459 + 1.0510977
        = 1.09404

The EMA moved +0.4 pips toward a close that was 100 pips away.
That sluggishness is the feature, not the bug. A slow-moving average produces a stable, predictable pullback destination: when price is 40 pips above a rising EMA50, the average will be near that level for many bars, giving you time to arm the setup. A fast average gives you a moving target.
Seeding (stated, because every backtest depends on it)
An EMA needs an initial value. Our convention throughout this series: seed with the SMA of the first 50 closes at bar 50, then run the recursion. Different seeds converge to the same value within roughly 3xN bars (about 150 bars for N=50), which is why we require at least 100 bars of context before trading any setup — the seeding difference is negligible by then, and you can state the convention without the result depending on it.
Why EMA50 specifically?
There is no mathematical optimum. EMA50 is a convention cluster: enough participants and systems watch it that order flow concentrates there, which makes pullbacks interact with it measurably. The honest framing: the EMA's power is reflexive (see Why Pullbacks Happen), not magical. Any of 20/50/100 would work if used consistently; the discipline is picking one and never re-fitting it to the last losing trade.
2. The Exact Rules
EMA50 Pullback — Complete Rule Set
- Context: uptrend — at least two confirmed higher highs and higher lows, pivots strict fractal L=3/R=3 confirmed 3 bars later. EMA50 rising (EMA(t) > EMA(t-5)). Higher timeframe (one step up) also trending up with its defining level intact.
- Setup: the pullback bar's low pierces the EMA50; the close of that bar stays within 2 pips of the EMA50 value.
- Trigger: a red bar followed by a green bar with: open of the green ≤ close of the red AND close of the green ≥ open of the red (bullish engulfing; equality permitted).
- Entry: market at the close of the trigger bar (ask side; costs excluded from illustrations).
- Stop: the pullback low minus buffer, where buffer = max(2 pips, 0.15 x ATR14).
- Target: TP = prior confirmed swing high HH + (HH − prior confirmed swing low HL) — a measured move with both anchors named.
- Invalidation: a close below the pullback low, or a close more than 5 pips below the EMA50 after entry. No negotiation; the close is the verdict.
Two rules deserve emphasis because they prevent 80% of the losses this setup produces in careless hands. First, a touch is not a trigger: price reaching the EMA arms the setup; only the engulfing close fires it. Second, the stop is structural plus buffer, never "the EMA minus X pips": the buffer exists to survive the sweep of the stop cluster sitting just below the average, and it scales with volatility so it behaves the same in quiet and violent regimes.
3. Worked Example — Verified Numbers
The following values are computed from a verified construction (synthetic EURUSD-like H1 data, 100 candles) used throughout this series. Every number is checkable against the chart's OHLC:
| Element | Value | Derivation |
|---|---|---|
| Structure | HL2 = 1.08778, HH2 = 1.09736 | Confirmed pivots (L=3, R=3) |
| Pullback low | 1.08990 | Pierced EMA50 by exactly 1 pip (the sweep) |
| Trigger | bar 69, engulfing close | o69 ≤ c68 and c69 ≥ o68 |
| Entry | 1.09119 | Market at trigger close |
| Stop | 1.08959 | Pullback low 1.08990 − buffer 3.1 pips (0.15 x ATR14 = 0.15 x 20.6 pips) |
| Risk | 16.0 pips | 1.09119 − 1.08959 = 0.00160 |
| Target | 1.10694 | HH2 + (HH2 − HL2) = 1.09736 + 0.00958 |
| Reward | 157.5 pips | 1.10694 − 1.09119 = 0.01575 |
| R-multiple | 9.84R | 157.5 / 16.0 |
The same setup, the losing version — and what it costs
A worked example that only shows the winner teaches nothing about the business. Here is the same structure with the opposite resolution, using the same rules:
Trigger fires at bar 69 as before. Entry 1.09119, stop 1.08959.
Three bars later the pullback resumes downward and closes at 1.08945 —
below the pullback low (1.08990) AND below the stop (1.08959).

Exit: stop fills at 1.08959 (assume no slippage beyond the spread).
P&L: -16.0 pips x 0.62 lots x $10 = -$99.20  (-1.00R)
Three lessons live in those four lines, and all three are arithmetic rather than attitude:
One: the loss was known before the entry. The stop distance defined the position size before the trade existed, so the account absorbed the event without any decision being made under pressure. Traders who size after the fact are the ones who discover, in the moment, that their "small" position was not small.
Two: the invalidation was structural, not emotional. The exit trigger was the close below the pullback low — a condition written before the trade, checkable on the chart, identical for every trader following the rules. The close-based rule also means the sweep wick (the 1-pip pierce at 1.08990) never threatened the position; only a genuine structural failure did.
Three: the recovery math. After the loss, the account stands at $9,900.80. Recovering to $10,000 requires +1.00% — exactly the risk unit. This symmetry is the entire argument for 1% risk: each loss is recovered by one average winner, and no single event can damage the compounding engine. At 5% risk the same event would cost $500 and require +5.56% to recover; a cluster of three would require +17.6%. The stop size is the market's decision; the risk percentage is yours, and it is the only variable in the chain you fully control.
4. Money Management — The Complete Arithmetic
This is the part that decides whether the strategy pays you. Every value below is computed, not asserted.
Step 1 — Risk budget
Account equity:        $10,000
Risk per trade:        1.0%
Risk budget:           10,000 x 0.01 = $100
Step 2 — Position size from the stop
EURUSD pip value for 1.00 standard lot = $10.00 per pip.
$$\text{Lots}=\frac{\text{Risk Budget}}{\text{Stop (pips)}\times\text{Pip Value per lot}}=\frac{100}{16.0\times 10}$$
Risk per lot = stop (pips) x pip value per lot
             = 16.0 x $10 = $160

Lots = risk budget / risk per lot
     = 100 / 160 = 0.625  ->  round DOWN to 0.62 lots

Actual risk = 0.62 x 16.0 x $10 = $99.20  (<= $100 budget)
Why round down? Because the budget is a ceiling, not a target. 0.62 lots risks $99.20; 0.63 lots would risk $100.80 — over budget. On a thousand trades, respecting the ceiling every time is what keeps the drawdown arithmetic honest.
Step 3 — Outcome arithmetic
| Outcome | Pips | R | P&L at 0.62 lots |
|---|---|---|---|
| Full stop | −16.0 | −1.00R | −$99.20 |
| Target reached | +157.5 | +9.84R | +$976.50 |
| Partial example: TP1 at +50 pips (half position) | +50.0 | +3.13R (on half) | +$155.00 on 0.31 lots |
| Breakeven after partial (runner stopped at entry) | 0.0 | +1.56R (blended) | +$155.00 |
Step 4 — Expectancy (the number that actually matters)
Reward-to-risk tells you the payoff; expectancy tells you the business. The formula:
$$E_R=p_{win}\cdot W_R-(1-p_{win})\cdot L_R$$
Hypothetical input (illustrative, NOT a claim):
  Win rate: 25%   (this setup fails often; that is why the geometry is wide)
  Avg win:  +6.0R (many winners stop before the full target)
  Avg loss: -1.0R

Expectancy = (0.25 x 6.0) - (0.75 x 1.0)
           = 1.50 - 0.75
           = +0.75R per trade
At $99.20 risk per trade, +0.75R = +$74.40 expected per trade. At 8 setups per month: +$595 expected monthly, on a $10,000 account — about +5.95% before costs. Now the two sensitivity checks every trader should run before believing any expectancy number:
If win rate is really 20%:  (0.20 x 6.0) - (0.80 x 1.0) = +0.40R  -> still positive
If avg win is really 4R:    (0.25 x 4.0) - (0.75 x 1.0) = +0.25R  -> thin but positive
If both degrade:            (0.20 x 4.0) - (0.80 x 1.0) =  0.00R  -> dead strategy

Costs: EURUSD spread ~1 pip round trip = 6.25% of the 16-pip risk
       Adjusted avg win: 6.0R - (1 pip / 16 pips) = 5.94R
       Adjusted expectancy: (0.25 x 5.94) - (0.75 x 1.0) = +0.735R
This sensitivity table is the entire discipline of position sizing and strategy evaluation compressed into six lines: your edge is a range, not a number, and the job of money management is to keep you solvent in the bad corner of that range while the good corner compounds.
5. Why This Example Is Sized the Way It Is
Notice three design choices in the arithmetic above, each with a reason:
The 16-pip stop is not chosen; it is derived. It is the distance from the trigger close to the pullback low plus the ATR-scaled buffer. If the market gives a 30-pip structural stop, you size to 30 pips — you never tighten the stop to keep the lot size up. Tightening stops to size up is how a positive-expectancy system becomes a negative one.
The risk is 1%, not 5%. At 1% risk, a 10-trade losing streak costs 9.6% of the account ((1-0.01)^10 = 0.904). At 5% risk, the same streak costs 40% ((0.95)^10 = 0.599) and the recovery math becomes brutal: recovering from −40% requires +67%. The stop size is a market variable; the risk percentage is the one variable you fully control, so it stays small.
The expectancy is computed at the trade level, not the chart level. One beautiful chart proves nothing; 100 logged trades with recorded R-multiples produce the win rate and average win that make the formula real. Our Python backtesting guide and the Backtest Reality Checker exist precisely to produce those inputs honestly.
6. The EMA Slope — Quantifying Trend Strength Instead of Eyeballing It
The rules say "EMA50 rising". Rising is not a feeling; it is an arithmetic condition, and quantifying it changes the quality of your setup selection. The slope of an EMA over k bars, measured in ATR units so it is comparable across regimes:
$$\text{Slope}_k=\frac{\text{EMA}_t-\text{EMA}_{t-k}}{k\cdot\text{ATR}_{14}}\qquad[\text{units: ATR per bar}]$$
EURUSD H1 example: EMA50 now 1.08960, 10 bars ago 1.08810, ATR14 = 15 pips
Slope(10) = (1.08960 - 1.08810) / (10 x 0.00150)
          = 0.00150 / 0.01500
          = 0.10 ATR per bar
Three regimes fall out of this one number, and each demands different behaviour:
| Slope (ATR/bar) | Trend state | Action for the EMA pullback |
|---|---|---|
| ≥ 0.08 | Strong trend | Arm the setup early — pullbacks will be shallow and fast. Accept smaller R-multiples or use tighter (still structural) stops. |
| 0.03 – 0.08 | Normal trend | The textbook zone. Full rules apply unchanged. |
| 0.00 – 0.03 | Flattening | Skip. A flat average is a range boundary, not a trend support — the "pullback" has no trend to continue. |
| < 0.00 | Down-sloping | No long setups. Mirror the rules for shorts or stand aside. |
The numerical example above (0.10 ATR/bar) is a strong trend: expect the pullback to be brief and the trigger to fire near the average rather than deep below it. A slope of 0.02 with the same structure produces a different trade entirely — a probable range touch, skipped by the filter before it becomes a losing entry. This single calculation, done in seconds, removes the most common source of bad EMA trades: correct pattern, absent trend.
7. Timeframe Selection and the Buffer, Per Instrument
The rules are timeframe-agnostic; the economics are not. The same 16-pip stop on the same pattern carries different cost burdens by timeframe and instrument, because spread is a fixed toll while the stop scales with the chart:
| Chart | Typical stop for this setup | Round-trip cost (spread) | Cost as % of risk |
|---|---|---|---|
| EURUSD M5 | 5–8 pips | 1.0 pip | 12.5–20% |
| EURUSD H1 | 14–20 pips | 1.0 pip | 5.0–7.1% |
| EURUSD H4 | 35–50 pips | 1.0 pip | 2.0–2.9% |
| XAUUSD H1 | 35–60 pips | 2.5–3.5 pips | 6.0–10% |
| NAS100 H1 | 60–120 pips | 8–15 pips | 10–15% |
Two conclusions follow directly from the table. First, H1 and above is where the EMA pullback is economically sound for most instruments: below that, the spread consumes a fifth of the risk budget and the expectancy math from Section 4 turns negative at the first degradation. Second, on wide-spread instruments (indices especially), the ATR-scaled buffer must be respected strictly — widening it costs less expectancy than the stop-outs it prevents, because index sweeps routinely run 10–20 pips beyond obvious levels.
A practical configuration for a one-person operation: trade the setup on H1 for forex and gold, H4 for indices, with the same rules, the same buffer formula, and a hard floor of 12-pip structural stops below which the trade is skipped regardless of how beautiful the trigger looks. The floor is not conservatism — it is the cost arithmetic of the table above turned into a rule.
8. Failure Modes Specific to EMA Pullbacks
Flat EMA, trend assumption. A pullback to a flat EMA50 is not a trend pullback — it is a range touch wearing a trend costume. Check the slope: EMA(t) − EMA(t−5) should be positive and material (on EURUSD H1, a rising EMA50 typically gains 10–30 pips over 5 bars in a real trend). Slope is a filter, not decoration.
The close-through warning. A pullback that closes 6+ pips beyond the EMA with an expanding body is not a pullback — it is the first phase of a possible reversal (see the five tests in Pullback or Reversal). The trigger requirement already protects you here: no engulfing close, no trade.
Third-touch decay. The first pullback to a rising EMA in a fresh trend is the highest-quality version. By the third or fourth touch, the average has flattened, the trend has aged, and the stop clusters under it have been consumed multiple times. Some traders limit themselves to the first two touches per trend leg — a reasonable rule that our own journaling supports.
Trading the EMA against the higher timeframe. An H1 EMA50 pullback long while H4 is in a downtrend is a counter-trend trade; the higher timeframe's flows will fight yours at exactly the levels you are trading. The context rule exists to keep you out of these.
9. FAQ
What is the EMA pullback strategy?
A trend-continuation setup: price pulls back to a rising EMA, pierces it slightly (the sweep), and a defined trigger candle gives the entry. Stop beyond the pullback low with an ATR-scaled buffer; target from structure or measured moves.
Which EMA is best?
No mathematical optimum exists. EMA20 for fast trends, EMA50 for standard continuation, EMA200 as a regime line. The value comes from consistency, not from the period.
How is the EMA calculated?
EMA(t) = C(t) x k + EMA(t-1) x (1−k), k = 2/(N+1). For N=50, each close moves the average 3.92% of its distance from it. Seeded with the SMA of the first 50 closes in our convention.
Does price have to touch the EMA exactly?
No — it usually pierces it by a few pips because stop clusters sit just beyond. Rule: wick pierces the average; the close stays within 2 pips of it.
What is a realistic position size?
Lots = (account x risk%) / (stop pips x pip value per lot). $10,000 at 1% with a 16-pip EURUSD stop = $100 / $160 = 0.62 lots. Same formula on every instrument.
Can I trade this setup without watching the screen?
Partially. Replace the market-at-trigger-close entry with a resting buy stop 2 pips above the trigger bar's high, valid for 3 bars. You will miss the triggers that gap away and you will occasionally fill on a failed trigger that would not have closed above the level — the trade-off is measurable: log both entries for fifty setups and compare fill-adjusted expectancy. What you cannot automate away is the trigger definition itself: the stop order only fires because the engulfing close happened, so the alert (or the bridge) must still watch closes.
Continue the Series
- Pullback Trading Strategy — The Complete Guide (pillar)
- Moving Average Pullback — 20/50/200
- Support/Resistance Flip Pullback
- Fibonacci Pullback Strategy
- All Pullback Guides
Run EMA Pullbacks on Your Charts
The MegaSignalX dashboard and our MT5 tools apply this exact structure logic — zones, triggers, stops and targets, computed live.
Go from article to implementation
Read the proof, then test the idea with calculators, free tools, case studies and a fixed-price build path.
Go deeper before you build, download or automate
Hand-picked engineering articles, indicator breakdowns and trading-system tools so visitors keep exploring instead of leaving after one page.
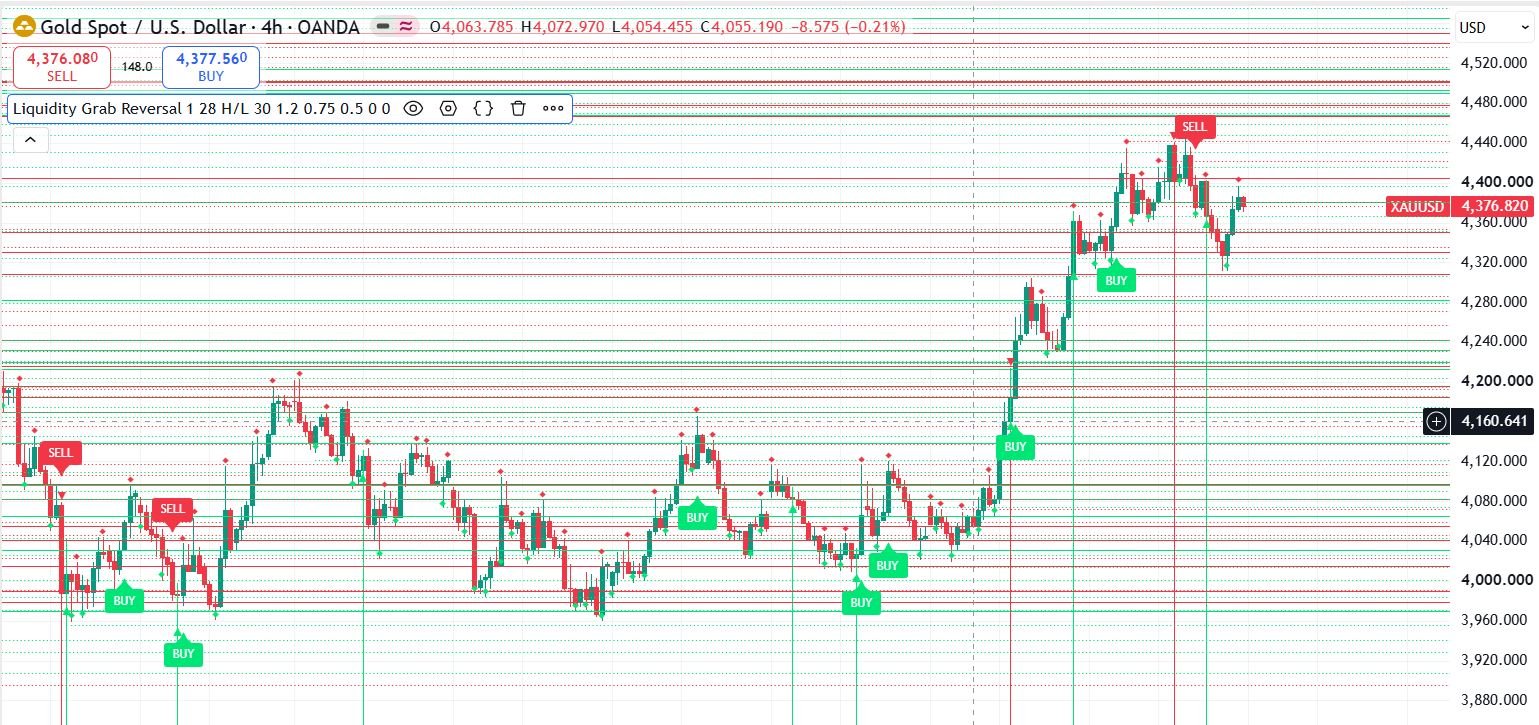
Pine Script to MT4/MT5 Conversion Planner
Analyze Pine strategies, repainting risk, TradingView alert bridges, MTF synchronization and the correct MQL4/MQL5 build path before paying for conversion.
Open planner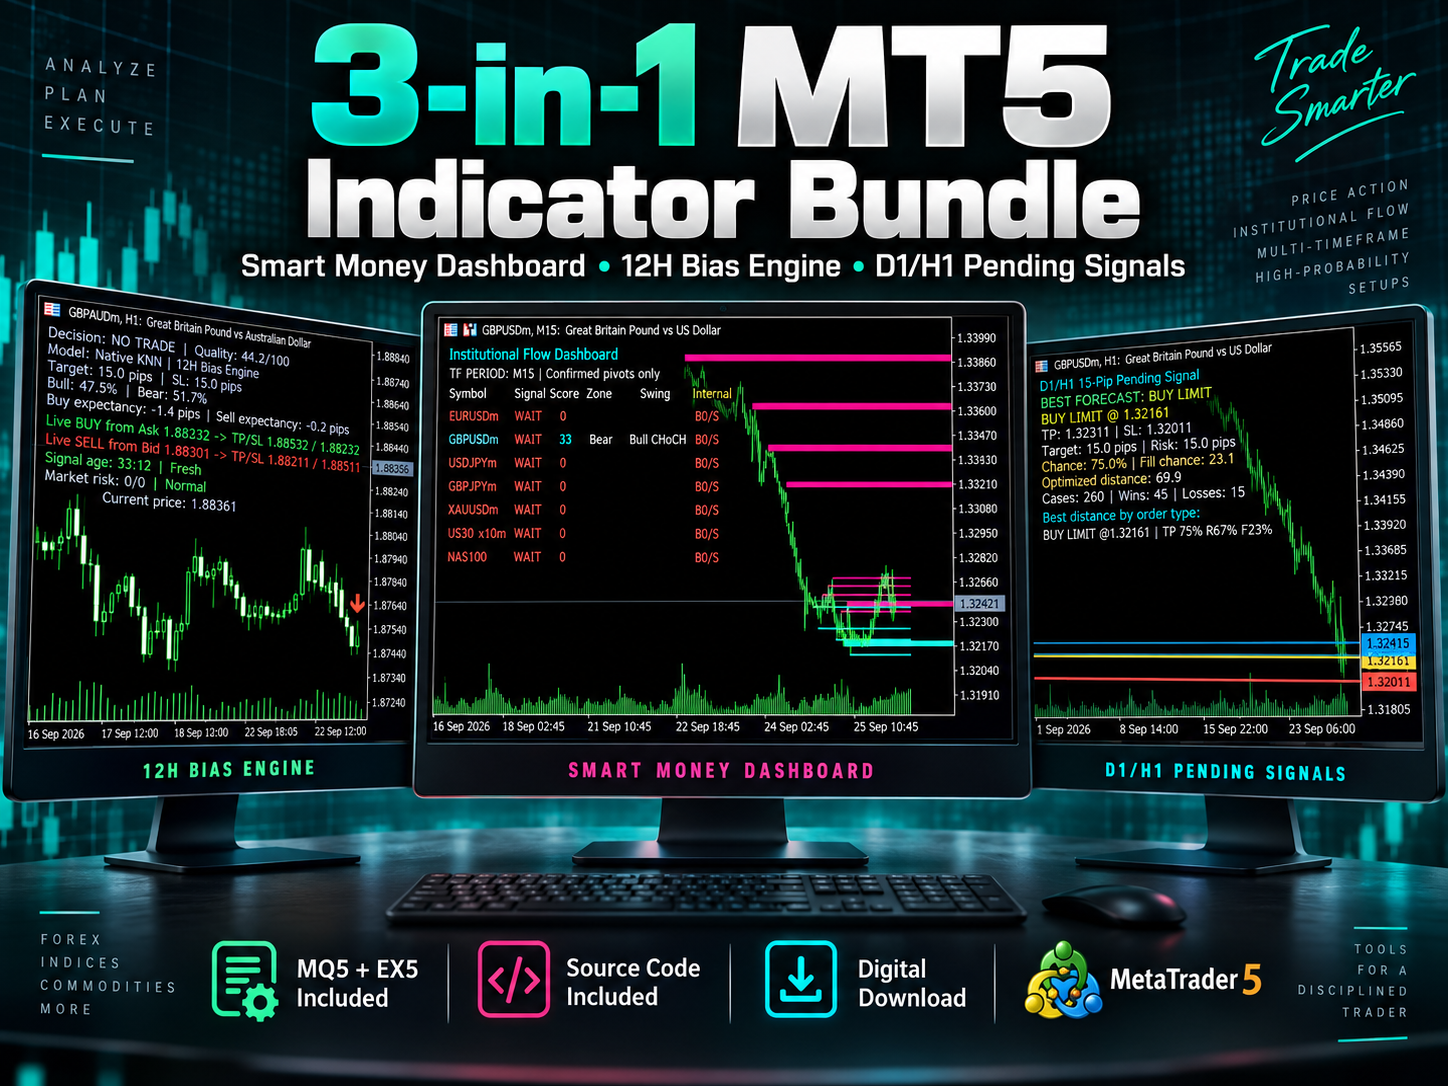
3-in-1 MT5 Indicator Bundle
12H Bias Engine, Smart Money Institutional Flow Dashboard and D1/H1 pending-signal logic with MQ5 + EX5 source included via Etsy.
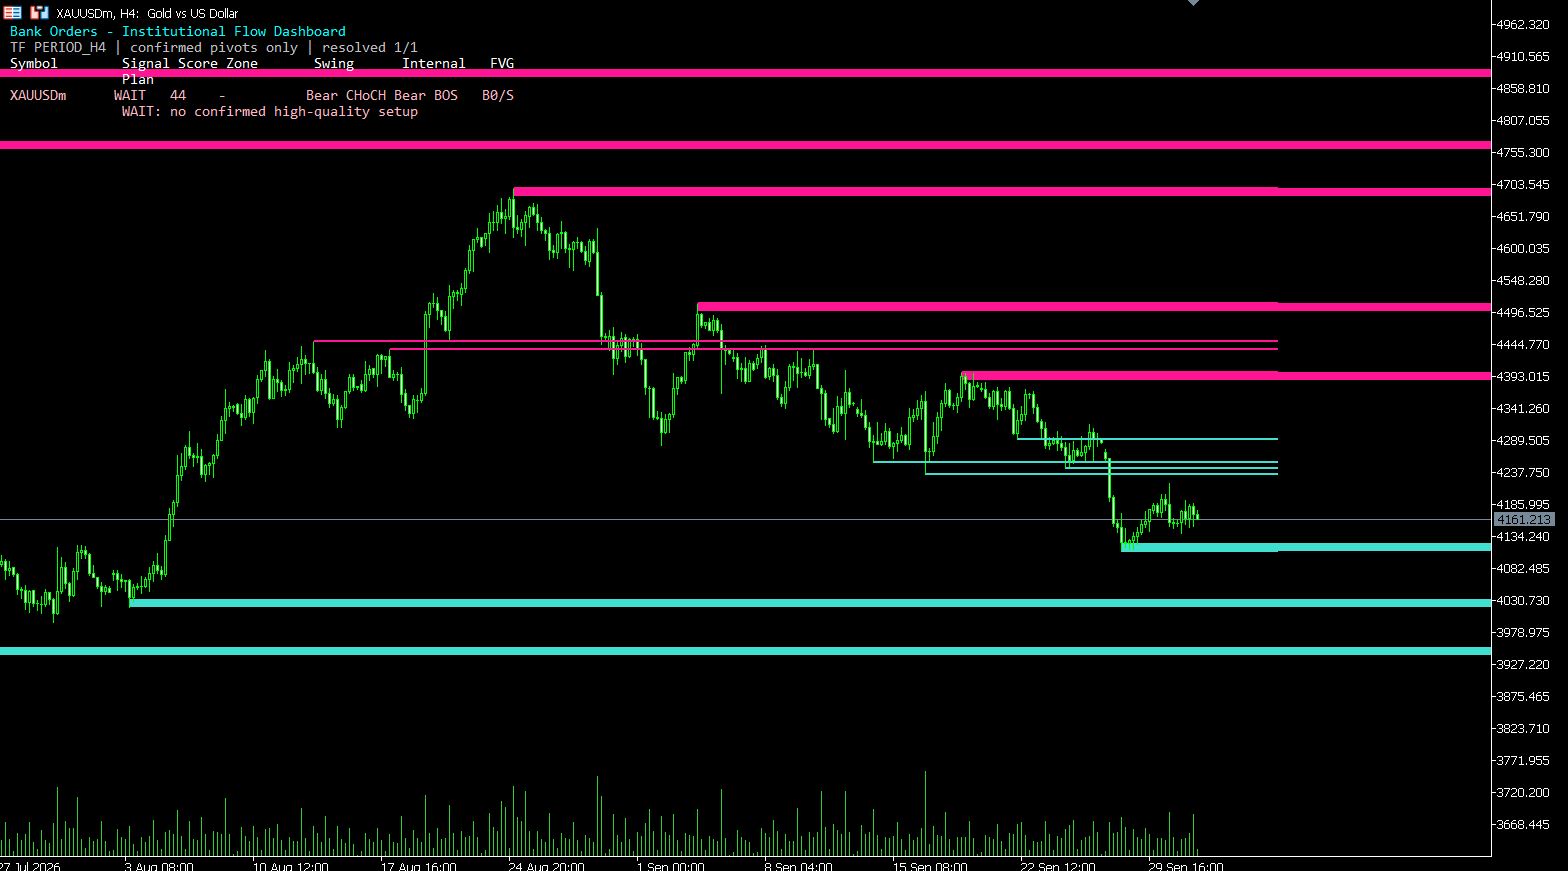
MT5 Bank Orders Institutional Flow Dashboard
Supply/demand zones, BOS/CHoCH, liquidity levels, FVG, equal highs/lows and confirmed trade-plan logic explained with EX5 download.
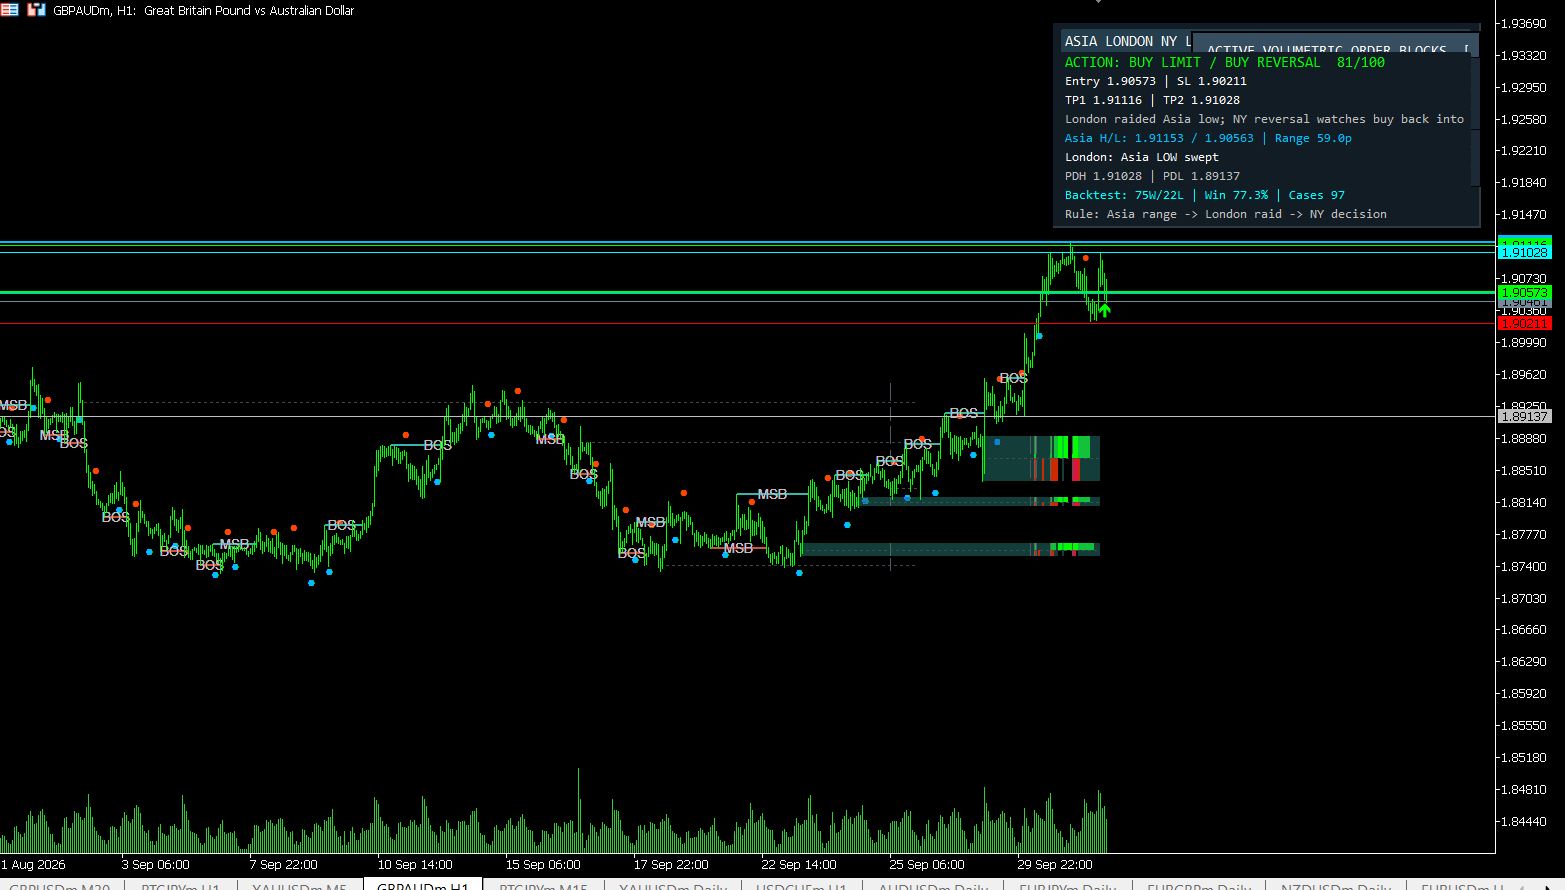
MT5 Asia London NY Liquidity Engine
Asia range, London raid and New York continuation/reversal planning with internal session backtest stats and entry/SL/TP dashboard.
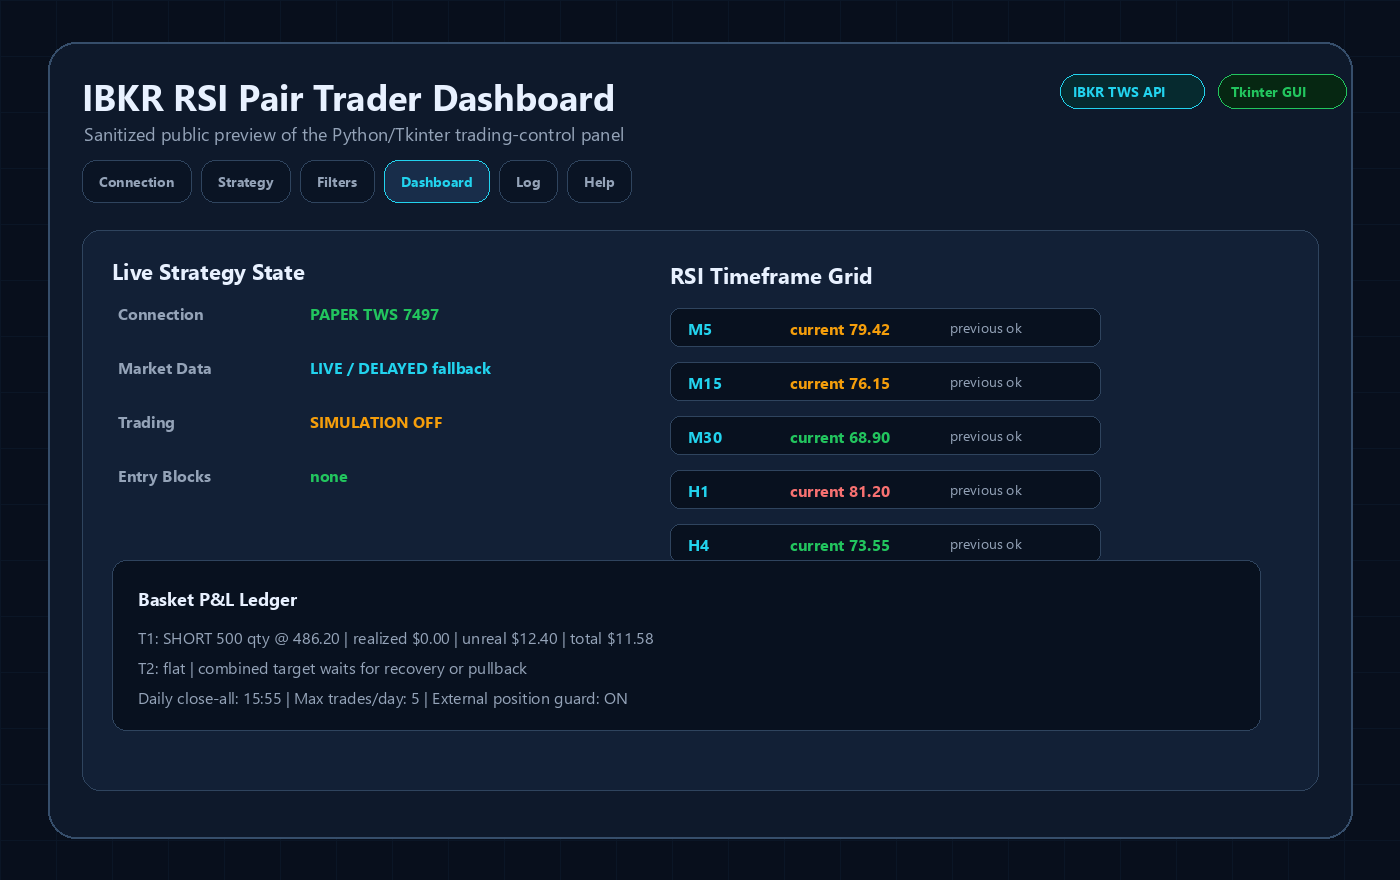
Interactive Brokers RSI Pair Trader
Tkinter desktop trading workflow, TWS API connection handling, RSI pair logic, risk controls and custom IBKR development positioning.
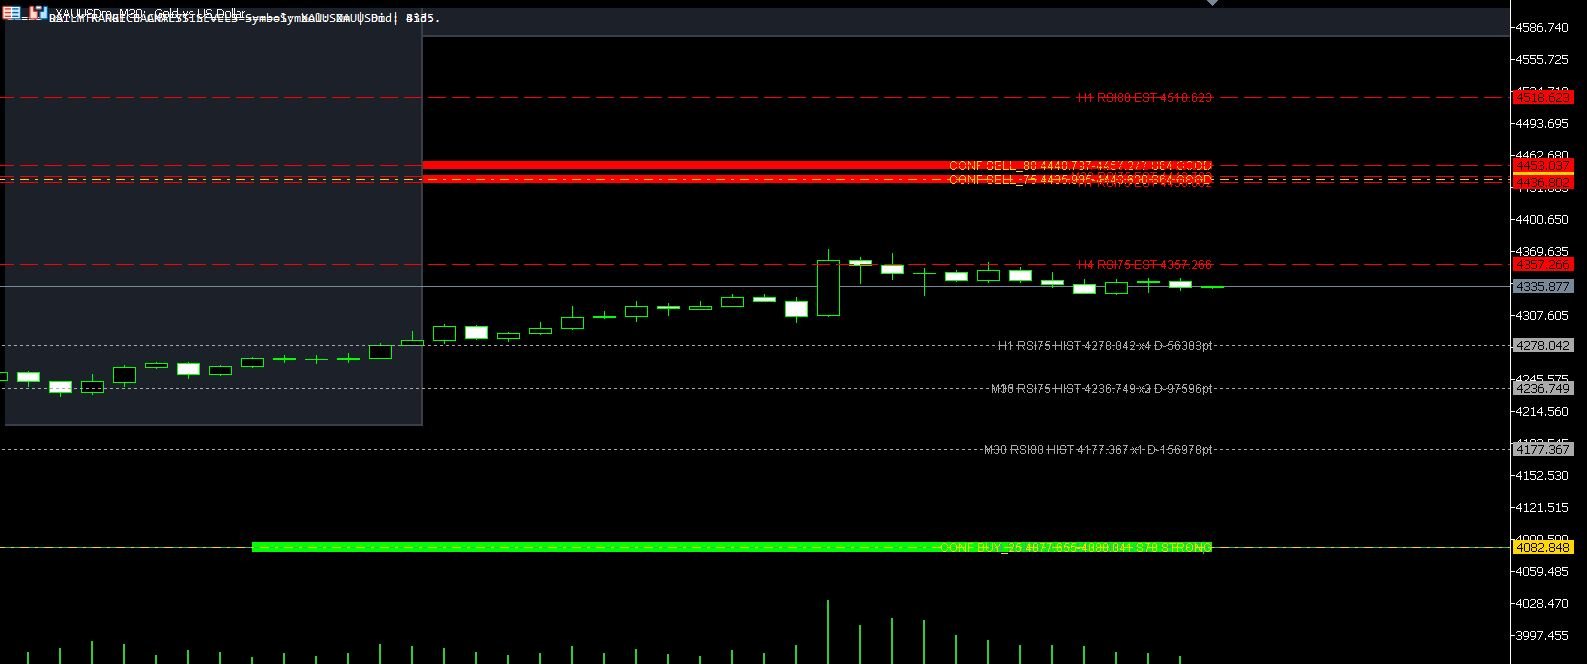
XAUUSD M30 CSV Data For Backtesting
Use clean MT5 historical data for Python backtests, strategy validation, spread checks and realistic gold EA research workflows.