Moving Average Pullback — The 20/50/200 Stack, the Math, and a Full GBPJPY Sizing Example
Three averages, three jobs: regime, alignment, and entry zone. With the SMA/EMA/WMA comparison computed, the ribbon rules defined exactly, and the pip-value arithmetic worked end to end on GBPJPY.
One moving average answers one question. Three moving averages answer three — and the three questions are exactly the ones a pullback trader must ask before risking money: Is this instrument in a regime where trend trading works at all? Is the trend aligned? And where is the entry zone? This guide defines the 20/50/200 stack with exact rules, shows the arithmetic difference between SMA, EMA and WMA so you understand what each average actually computes, and closes with a complete GBPJPY money-management example where every lot and every dollar is derived from the formulas.
1. The Mathematics — SMA vs EMA vs WMA, Computed Side by Side
All moving averages are weighted sums of closes. The difference is the weights:
$$\text{SMA}_N=\frac{1}{N}\sum_{i=1}^{N}C_i\qquad\text{(equal weights)}$$
$$\text{EMA}_t=C_t\cdot k+\text{EMA}_{t-1}\cdot(1-k),\qquad k=\frac{2}{N+1}\qquad\text{(geometric decay)}$$
$$\text{weight of the close }n\text{ bars old}\;=\;k\,(1-k)^n$$
$$\text{WMA}_N=\frac{\sum_{i=1}^{N}w_iC_i}{\sum_{i=1}^{N}w_i},\qquad w_i=N-i+1,\qquad \sum_{i=1}^{N}w_i=\frac{N(N+1)}{2}\qquad\text{(linear weights)}$$
Now compute all three on the same five closes (oldest first): 1.0900, 1.0910, 1.0920, 1.0930, 1.0940 — with an assumed previous EMA5 of 1.0915:
SMA(5) = (1.0900 + 1.0910 + 1.0920 + 1.0930 + 1.0940) / 5
       = 5.4600 / 5 = 1.09200

WMA(5) = (1x1.0900 + 2x1.0910 + 3x1.0920 + 4x1.0930 + 5x1.0940) / 15
       = (1.0900 + 2.1820 + 3.2760 + 4.3720 + 5.4700) / 15
       = 16.3900 / 15 = 1.09267

EMA(5), k = 2/6 = 0.3333:
       = 1.0940 x 0.3333 + 1.0915 x 0.6667
       = 0.36463 + 0.72765 = 1.09229
| Average | Value | Distance below newest close (1.0940) | Reaction speed |
|---|---|---|---|
| WMA(5) | 1.09267 | 13.3 pips | Fastest |
| EMA(5) | 1.09229 | 17.1 pips | Middle |
| SMA(5) | 1.09200 | 20.0 pips | Slowest |
The practical translation for pullback trading: WMA hugs price and produces the tightest pullback zones with the most false touches; SMA lags and produces the cleanest zones with the fewest touches; EMA sits between and is the retail convention — which, by the reflexivity argument from Why Pullbacks Happen, makes its touches the most heavily traded. We use EMAs in this series for exactly that reason, and because our EMA is fully specified (seeded SMA50 at bar 50, recursion thereafter) so every number is reproducible.
One more formula worth having: the centroid lag — where the average's "center of mass" sits in time. SMA lag = (N−1)/2 bars; WMA lag = (N−1)/3 bars; EMA lag is also (N−1)/2 but with the mass concentrated toward the recent end. For N=50: SMA and EMA centroid lag is 24.5 bars — the average you are trading is, in mass terms, about a day old on H1. That is the price of smoothness, and it is why MAs always feel "late" at reversals: they are built to be.
2. The Three Jobs and the Exact Stack Rules
| Average | Job | Rule (long side) |
|---|---|---|
| EMA200 | Regime filter | Close above EMA200; EMA200 not falling steeply (slope over 20 bars ≥ 0). Below it: no long pullback setups, period. |
| EMA50 | Alignment | EMA50 above EMA200, and rising: EMA50(t) − EMA50(t−10) > 0. |
| EMA20 | Entry zone | EMA20 above EMA50. The ribbon (zone between EMA20 and EMA50) is where pullbacks are bought. |
Ribbon Pullback — Complete Rule Set
- Context: full stack aligned — Close > EMA200, EMA50 > EMA200, EMA20 > EMA50, all with non-negative slopes as defined above. Higher timeframe agrees.
- Setup: a pullback enters the ribbon — the bar's low reaches or pierces the EMA20, and the lowest point stays above the EMA50 (a pullback that closes through the whole ribbon is a warning, not a setup).
- Trigger: a close back above the EMA20 with the bar closing in its upper half (close position in range ≥ 0.6), within 3 bars of the ribbon touch.
- Entry: market at the trigger close.
- Stop: the ribbon low (lowest low of the pullback) minus buffer = max(2 pips, 0.15 x ATR14).
- Target: TP1 = prior confirmed swing high; TP2 = measured move (prior swing high + the last impulse leg). Scale 50% at TP1, trail the rest behind EMA20 closes.
- Invalidation: any close below the ribbon low, or two consecutive closes below the EMA50.
3. Worked Example — GBPJPY, Complete Money Management
Now the arithmetic that turns the setup into a position. Instrument: GBPJPY. Account: $5,000. Risk: 1.5% per trade. USDJPY = 150.00 (needed for the pip value).
Step 1 — The pip value (this is where most traders guess and get it wrong)
GBPJPY is quoted in JPY, so a pip is 0.01 JPY per unit. For one standard lot (100,000 GBP):
Pip value (JPY) = 0.01 x 100,000 = 1,000 JPY
Pip value (USD) = 1,000 / USDJPY = 1,000 / 150.00 = $6.67 per pip
Step 2 — The trade and the risk budget
Entry (trigger close):     209.85
Stop (ribbon low - buffer): 209.55
Risk:                       30 pips
Risk budget:                5,000 x 1.5% = $75.00

Risk per lot = 30 x $6.67 = $200.10
Lots = 75.00 / 200.10 = 0.375  ->  round DOWN to 0.37 lots
Actual risk = 0.37 x 30 x 6.67 = $74.04  (within the $75 ceiling)
Step 3 — Outcomes and R-multiples
TP1 = +45 pips (1.5R):  half off (0.19 lots) = 0.19 x 45 x 6.67 = +$57.03
TP2 = +75 pips (2.5R):  runner (0.18 lots) = 0.18 x 75 x 6.67 = +$90.05
Full stop:              -30 pips (1.0R) = -$74.04

Scenario A: TP1 hit, runner trailed to +60 pips
  P&L = 57.03 + 0.18 x 60 x 6.67 = 57.03 + 72.04 = +$129.07  (1.74R)
Scenario B: TP1 hit, runner stopped at breakeven
  P&L = +$57.03  (0.77R)
Scenario C: stopped before TP1
  P&L = -$74.04  (-1.00R)
Step 4 — Expectancy with costs, computed honestly
Hypothetical inputs (illustrative, not claims):
  P(scenario A) = 25%,  P(scenario B) = 15%,  P(scenario C) = 60%
  Wait - that sums to 100% with three outcomes; expectancy:

E = 0.25 x 1.74R + 0.15 x 0.77R + 0.60 x (-1.00R)
  = 0.435 + 0.1155 - 0.600
  = -0.05R   <-- NEGATIVE. Read the next paragraph before closing the tab.
That negative number is the most valuable result in this article, so let it land: with those hypothetical probabilities, the scaled exit plan loses money even though every individual trade "looks professional". The strategy's survival depends entirely on the actual distribution of outcomes — if scenario A's probability is 30% and C's is 50%, the same plan becomes E = 0.30 x 1.74 + 0.20 x 0.77 + 0.50 x (-1.00) = +0.176R, which at $74.04 risk is +$13.03 per trade. The distance between −0.05R and +0.18R is not strategy quality — it is probability estimation, and the only honest way to estimate it is logging your own trades. This is why every article in this series refuses to print a win rate: the number belongs to your journal, not to a marketing page.
Step 5 — Same risk budget, three instruments (the sizing table you can reuse)
With a $75 risk budget, the universal formula lots = budget / (stop x pip value) produces:
| Instrument | Stop | Pip value / lot | Lots | Actual risk |
|---|---|---|---|---|
| EURUSD | 20 pips | $10.00 | 0.37 | $74.00 |
| GBPJPY (@150.00) | 30 pips | $6.67 | 0.37 | $74.04 |
| USDJPY (@150.00) | 25 pips | $6.67 | 0.44 | $73.37 |
| XAUUSD | 40 pips | $10.00 | 0.18 | $72.00 |
The table is the entire money-management system: one budget, one formula, different outputs per instrument. The moment you find yourself sizing by "confidence" instead of by stop distance, the formula is dead and the account is next.
4. The Alignment Score — Turning the Stack Into a Number
"The stack is aligned" is a sentence; an alignment score is a number you can threshold, log and compare. Here is a scoring model that takes thirty seconds to compute and removes the ambiguity:
Score components (long side), each 0 or 1:

A1: Close > EMA200                              (regime)
A2: EMA50 > EMA200                              (stack)
A3: EMA20 > EMA50                               (stack)
A4: EMA20 slope(10) >= 0.03 ATR/bar             (trend quality)
A5: EMA50 slope(10) >= 0.02 ATR/bar             (trend quality)
A6: Higher timeframe stack aligned              (context)

Alignment Score = A1 + A2 + A3 + A4 + A5 + A6   (0..6)
Applied to the verified H1 scenario from this series: close above EMA200 (A1 = 1), EMA50 above EMA200 (A2 = 1), EMA20 above EMA50 (A3 = 1), EMA20 slope measured at 0.10 ATR/bar (A4 = 1), EMA50 slope at 0.05 ATR/bar (A5 = 1), H4 stack aligned (A6 = 1) — score 6/6, full size per the money-management formula. Now the useful part: the score's behaviour when conditions degrade.
| Score | State | Action |
|---|---|---|
| 6/6 | Full alignment | Full planned size (1.5% in the Section 3 example). |
| 5/6 | One component missing (usually slope or HTF) | Half size. The missing component is the one to watch during the trade. |
| 4/6 | Partial | Observe only. The stack exists but the quality filters disagree. |
| ≤ 3/6 | No stack | No long pullback setups. Range logic applies, if any. |
Why score instead of judgment? Because judgment drifts with the last trade's outcome, and the score does not. The score also produces a testable hypothesis: after fifty logged trades, split them by score bucket and compare expectancy per bucket. In most traders' journals, the 6/6 bucket carries the entire edge, the 5/6 bucket hovers near zero after costs, and the 4/6 bucket is negative. That discovery — made from personal data, not an article — is what converts a discretionary stack into a measurable system.
5. The Golden Cross in Pullback Context — What It Is and What It Is Not
The golden cross is EMA50 crossing above EMA200 (death cross, the reverse). Mathematically it is trivial: a comparison of two weighted averages with different memory lengths, which can only cross when the medium-term average's recency advantage overwhelms the long-term average's inertia. Two facts about it deserve precision, because the pattern is marketed with myths:
It is a lagging event by construction. At the crossing bar, EMA50 equals EMA200 — both have fully absorbed the move that caused the cross. The centroid lags computed in Section 1 apply: the event confirms a trend that has already travelled. This is not a flaw to fix; it is a property to price in.
Its value for pullback traders is the event, not the signal. The tradeable consequence of a golden cross is that it drags a large population of systems and discretionary traders onto the long side of the instrument. That new flow creates exactly the two conditions this series trades: aligned stacks (Section 2) and defended pullback zones. The pattern that matters is therefore the first clean ribbon pullback after the cross — after the alignment score reaches 6/6 for the first time, take the next valid trigger with full size. In the verified H1 scenario, the stack achieved alignment several bars before the pullback arrived; the setup traded was the first ribbon test after full alignment, which is precisely this rule in action.
The counter-warning is equally important: a cross that happens at the END of a long move (price already 15+ ATR from the 200) is an alignment of exhausted flows, not fresh ones. Combine the cross event with the distance filter from the failure-modes section: crosses within 8 ATR of the average are fresh; crosses at 15+ ATR are late-cycle confirmations to be traded smaller or skipped.
6. Failure Modes Specific to MA Stacks
The stack is aligned but aging. Three stacked, rising averages after a 300-bar advance is not the same regime as the same stack after 50 bars. Track the distance price has travelled from the EMA200 in ATR units: beyond ~12–15 ATR, pullbacks into the ribbon are more likely to be the end of the move than a continuation. The stack tells you direction; distance tells you maturity.
Ribbon slices. A pullback that closes through the entire ribbon (below the EMA50) invalidates the setup for that touch. The rule exists because "the ribbon is support" and "the ribbon was sliced" are different statements — and the close decides which one is true.
Mixed families. EMA200 as regime, SMA20 as entry zone: the two averages measure different weightings and produce touches that do not correspond to any cluster traders actually watch. One family, everywhere.
The slope filter ignored. A flat 200 with price oscillating around it is a range, and range logic beats trend logic there. Slope rules are cheap insurance; the two-line computation (value now vs value 10 bars ago) takes seconds.
6. The Distance Filter — Measuring Trend Maturity in ATR Units
The alignment score says the stack points up. It says nothing about how far the trend has already travelled — and distance is what separates the first ribbon pullback (the trade you want) from the fifth (the one that ends the move). The measurement is one line:
$$ \text{Distance}_{ATR}=\frac{\text{Close}-\text{EMA}_{200}}{\text{ATR}_{14}} $$
Verified H1 scenario, near the setup: Close 1.09119, EMA200 approx. 1.0885,
ATR14 = 20.6 pips:
Distance = (1.09119 - 1.08850) / 0.00206 = 0.00269 / 0.00206 = 1.31 ATR
One and a third ATR from the 200: the trend is young, the averages have just stacked, and a ribbon pullback is the fresh-flow entry described in the golden-cross section. Now the thresholds that matter:
| Distance from EMA200 | Trend maturity | Ribbon pullback treatment |
|---|---|---|
| 0 – 4 ATR | Young | Full size. Ribbon pullbacks here are first tests of a new regime. |
| 4 – 8 ATR | Established | Full size with TP1 emphasized — take the first partial at the prior high rather than holding for measured moves. |
| 8 – 12 ATR | Mature | Half size. The pullback has higher odds of being a distribution phase rather than accumulation. |
| 12+ ATR | Extended | No new ribbon entries. Manage existing positions; a mean-reversion move toward the 50 is the more probable flow. |
The math behind the thresholds is not mystical. A distance of 12 ATR means the average distance of the last 14 bars of movement, repeated twelve times, separates price from its regime line — historically the territory where two-way flow and profit-taking dominate continuation. Combining the distance filter with the alignment score produces a two-dimensional selection grid: score 6/6 at 1.3 ATR is an A-plus setup; score 6/6 at 11 ATR is a half-size trade with tight management; and the combination of a partial score at high distance is an automatic skip. Two numbers, computed in under a minute, replace the entire "does it look tired?" debate. And both numbers are logged, which means the journal can later tell you which corner of the grid your edge actually lives in — the only version of this analysis that matters is the one computed on your own trades rather than on a chart chosen to illustrate the point.
7. FAQ
What is the 20/50/200 moving average strategy?
A stacked-trend framework: 200 = regime filter, 50 = alignment, 20 = entry zone. Pullbacks into the 20–50 ribbon with a trigger close are the entries; stops sit below the ribbon low with the ATR buffer; targets are structure-derived.
What is the difference between SMA, EMA and WMA?
Equal weights, geometric decay, and linear weights respectively. Computed on the same data: WMA 1.09267, EMA 1.09229, SMA 1.09200 — WMA reacts fastest, SMA slowest. Use one family consistently.
Which moving average should I use?
EMA for the retail convention (measurable pullback reactions) or SMA for maximum smoothness. The error is mixing families between filters and zones.
How do I calculate GBPJPY pip value?
1,000 / USDJPY per standard lot. At 150.00: $6.67 per pip. Then lots = budget / (stop x pip value) — shown end to end in Section 3.
What is the ribbon entry?
The zone between a stacked EMA20 and EMA50. Pullback enters the ribbon, trigger closes back above the EMA20, stop below the ribbon low. The whole rule set is in Section 2.
What is the distance filter?
(Close − EMA200) / ATR14, in ATR units. Under 4 ATR: full size. 4–8: full size with early partials. 8–12: half size. 12+: no new ribbon entries — the trend is extended and mean-reversion toward the 50 is the more probable flow.
How many ribbon pullbacks should I take per trend?
The first two touches of the ribbon after full alignment are the highest-quality versions; the third and fourth carry declining odds as the stop clusters beneath the averages are consumed and the averages flatten. Limiting to the first two per leg is a defensible rule our own journaling supports.
Does the stack work on crypto and indices?
Yes, with two adaptations. Crypto trades 24/7, so the regime filter does more work: weekend drift can hold price above a rising 200 while the stack is internally diverging — require the full alignment score of 6/6 rather than 5/6 before arming setups. Indices mature faster: intraday trends reach the 8-ATR distance zone within a session, so apply the distance filter at half the thresholds (4 ATR instead of 8) and treat the cash-session open as a mandatory context check — a ribbon pullback that begins before the opening range has formed is gap noise, not structure. Position sizing does not change: the universal formula in Section 3 absorbs the different pip values and stop sizes automatically, which is precisely why the formula is built on stop distance rather than lot conventions.
Continue the Series
- Pullback Trading Strategy — The Complete Guide (pillar)
- EMA Pullback Strategy
- Support/Resistance Flip Pullback
- ATR-Based Stops and Targets
- All Pullback Guides
Automate Your Sizing Math
Free calculators for pip value, lot size and prop-firm risk — the formulas from this article, ready to use.
Go from article to implementation
Read the proof, then test the idea with calculators, free tools, case studies and a fixed-price build path.
Go deeper before you build, download or automate
Hand-picked engineering articles, indicator breakdowns and trading-system tools so visitors keep exploring instead of leaving after one page.
Pine Script to MT4/MT5 Conversion Planner
Analyze Pine strategies, repainting risk, TradingView alert bridges, MTF synchronization and the correct MQL4/MQL5 build path before paying for conversion.
Open planner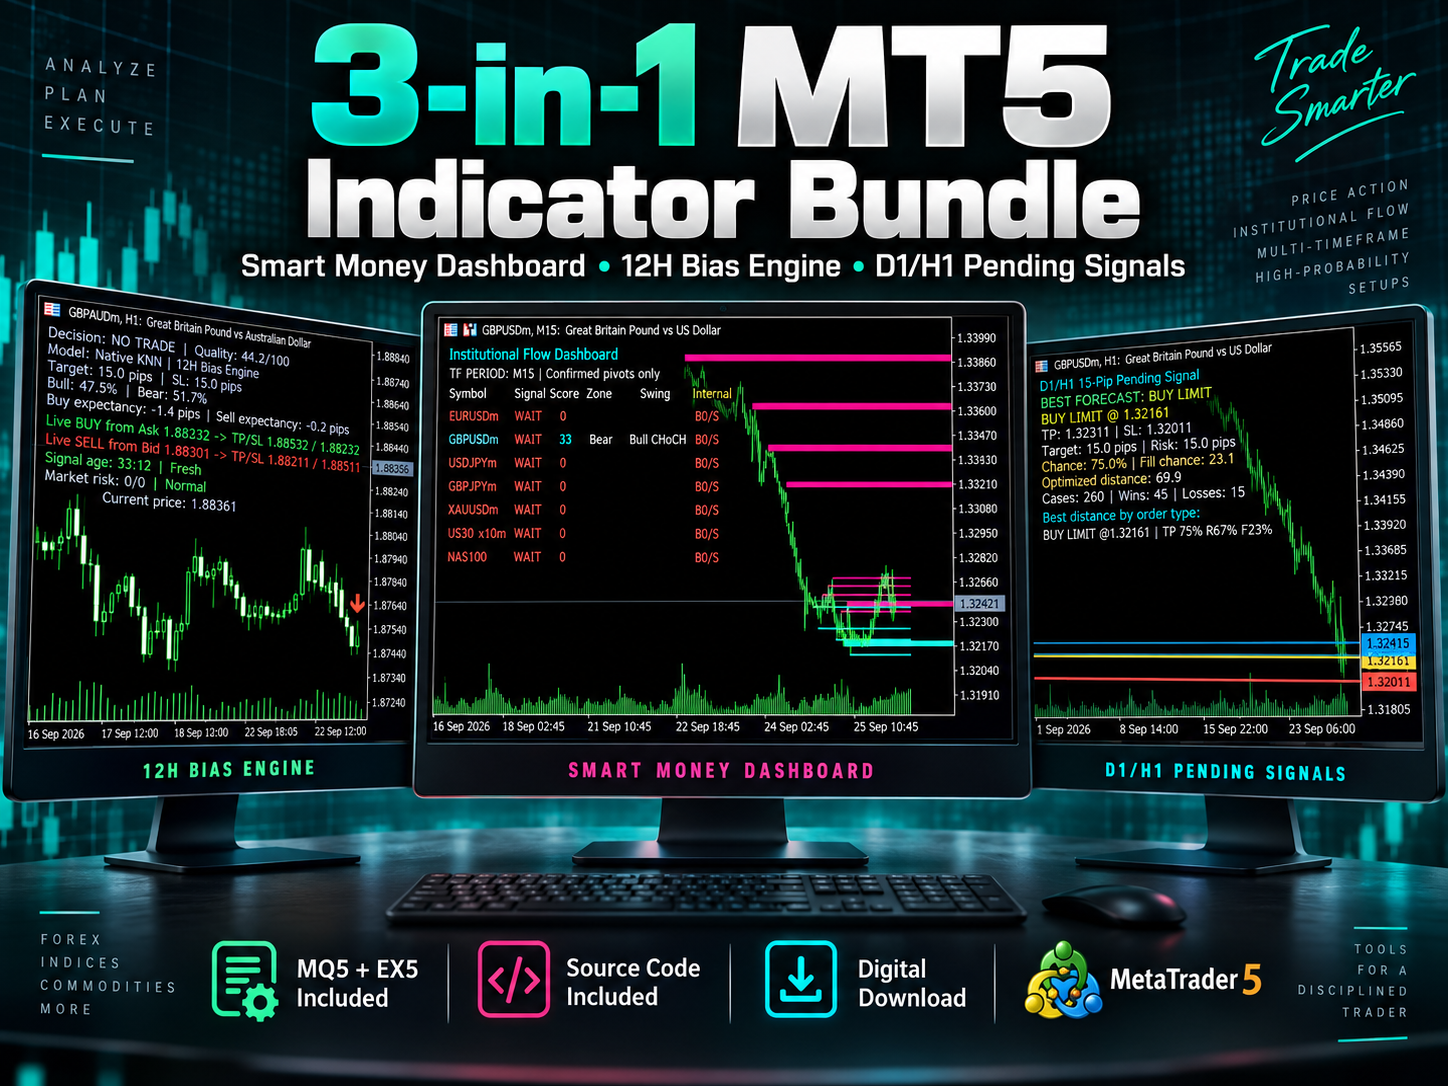
3-in-1 MT5 Indicator Bundle
12H Bias Engine, Smart Money Institutional Flow Dashboard and D1/H1 pending-signal logic with MQ5 + EX5 source included via Etsy.
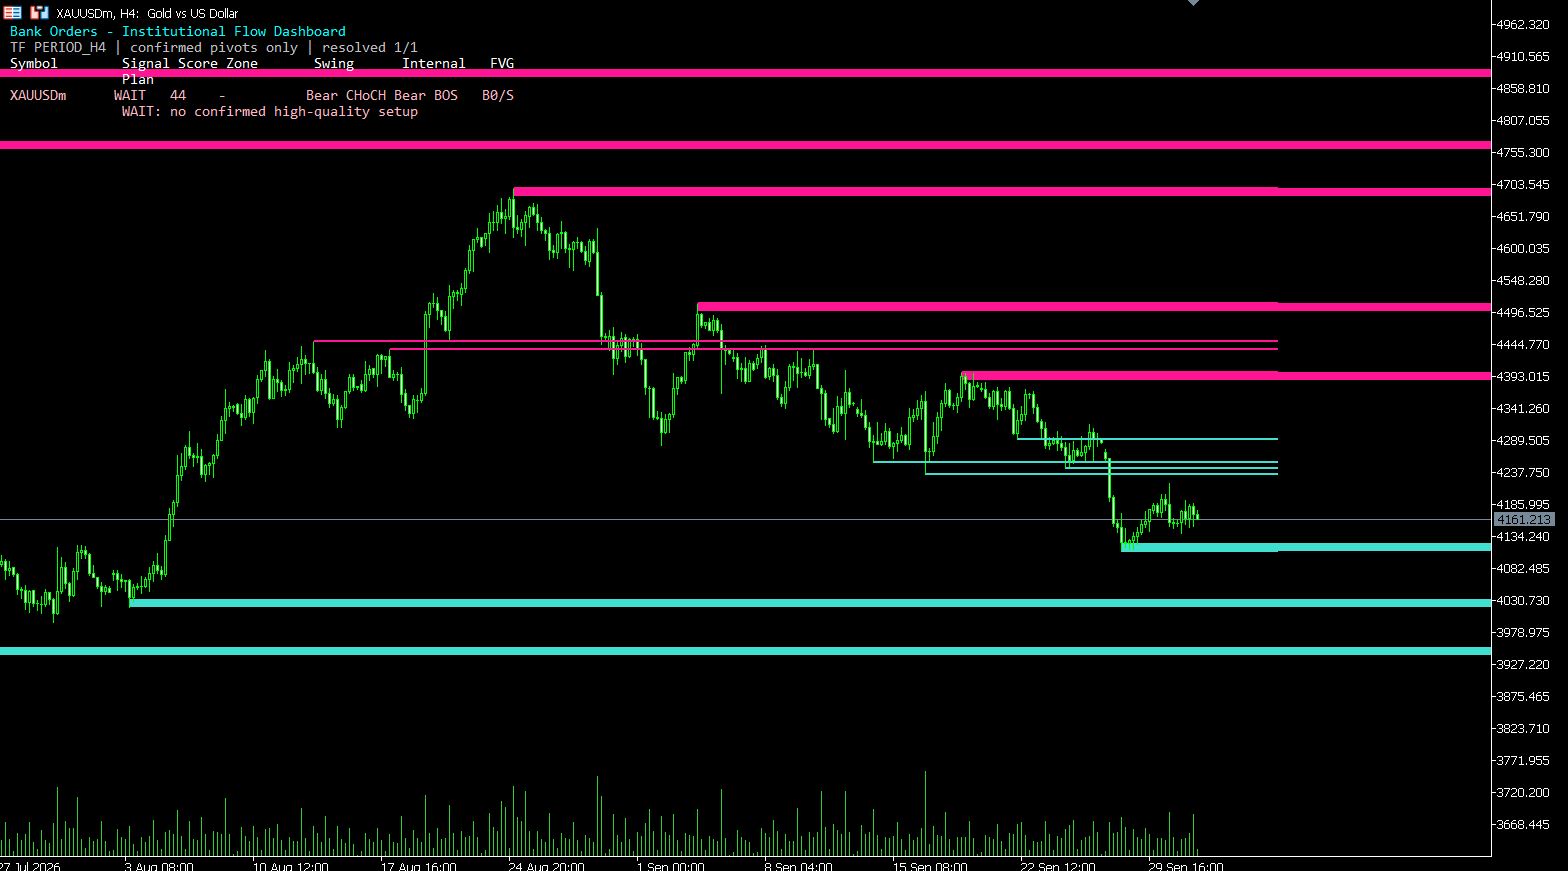
MT5 Bank Orders Institutional Flow Dashboard
Supply/demand zones, BOS/CHoCH, liquidity levels, FVG, equal highs/lows and confirmed trade-plan logic explained with EX5 download.
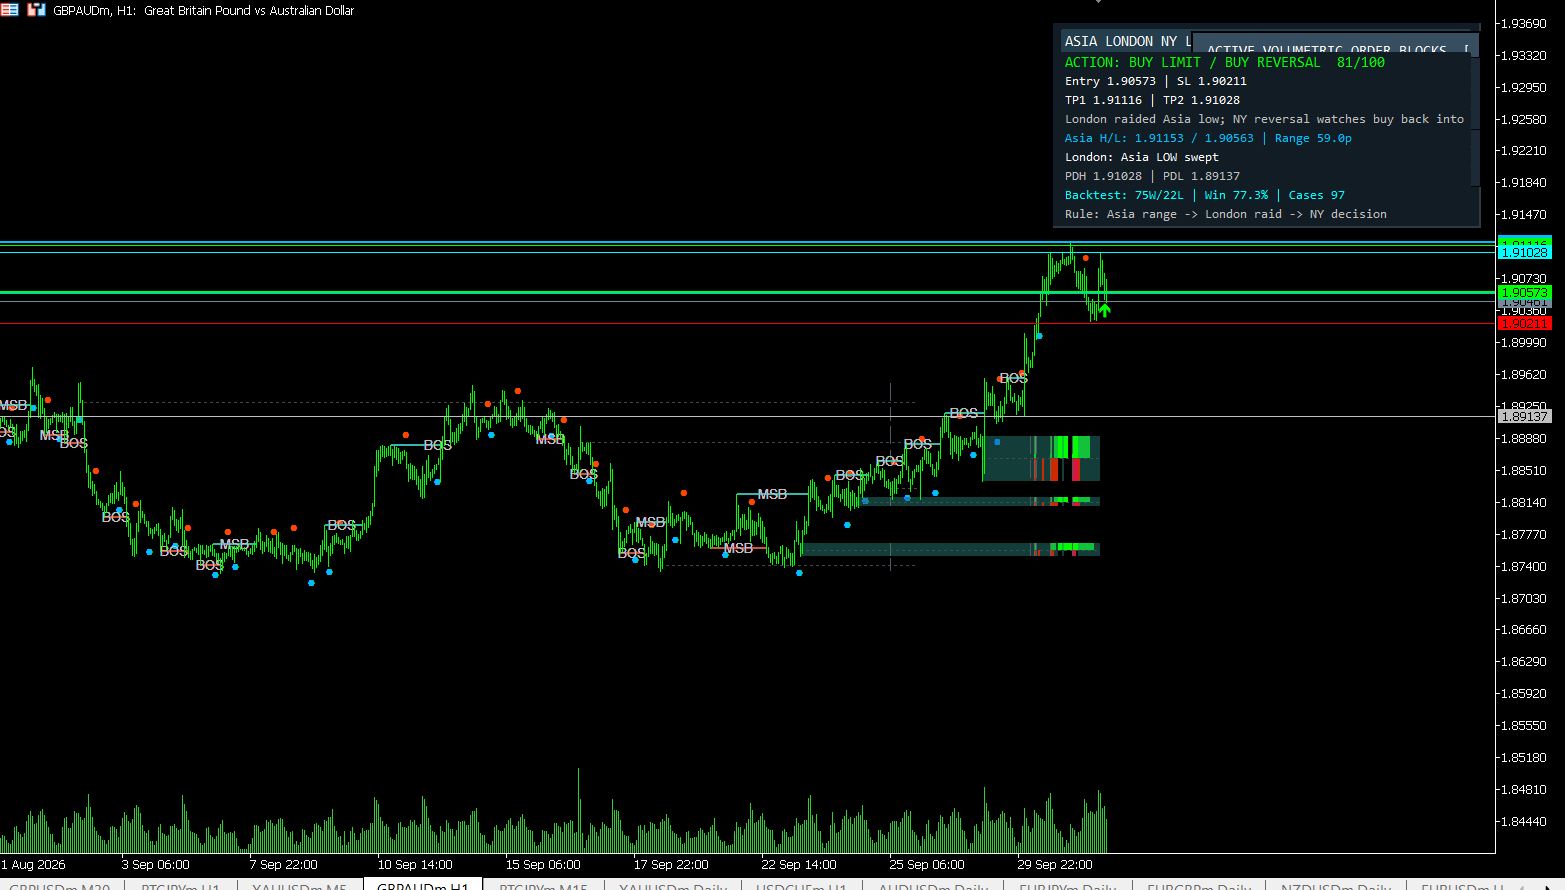
MT5 Asia London NY Liquidity Engine
Asia range, London raid and New York continuation/reversal planning with internal session backtest stats and entry/SL/TP dashboard.
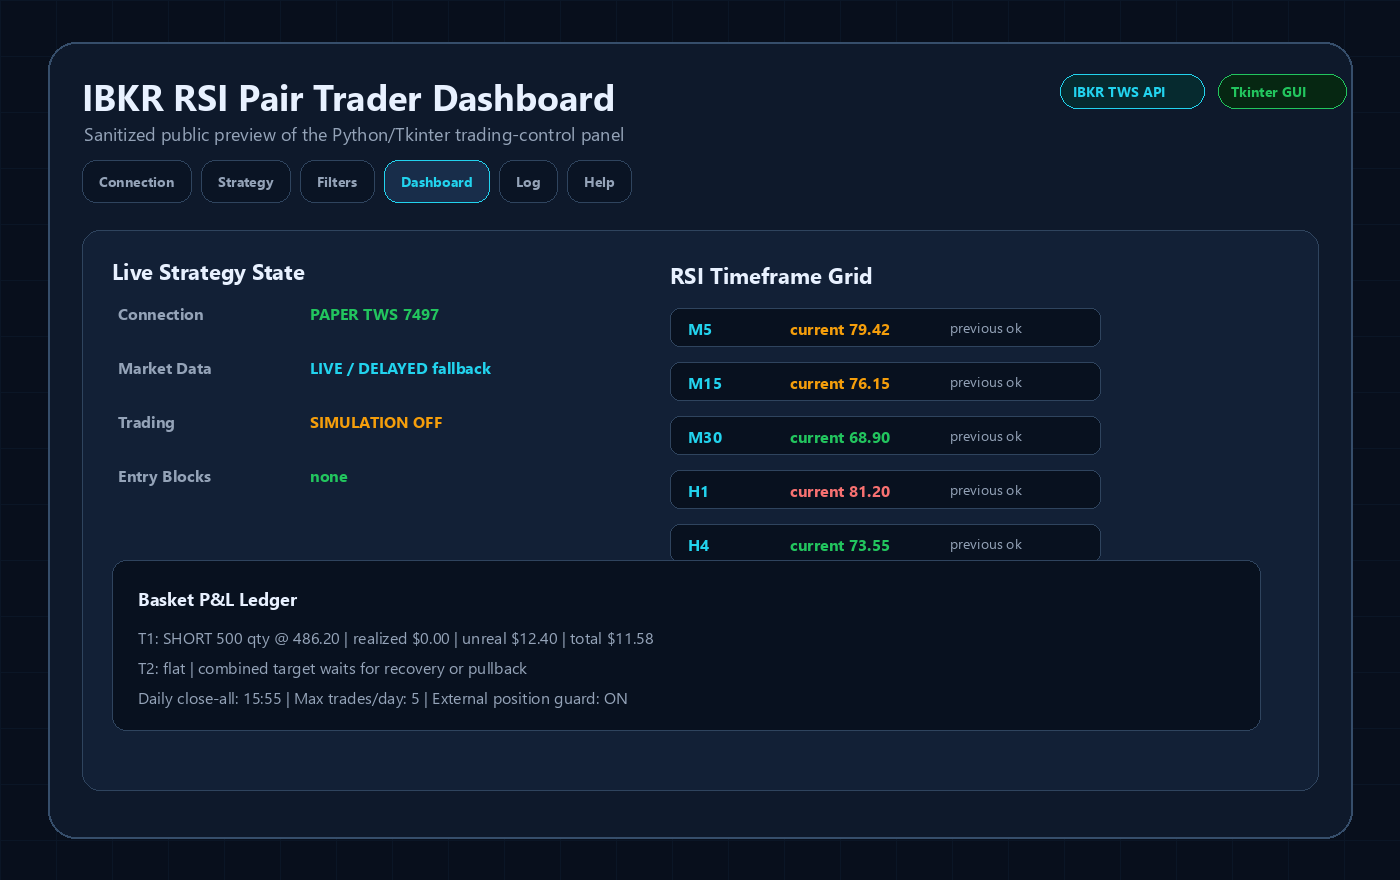
Interactive Brokers RSI Pair Trader
Tkinter desktop trading workflow, TWS API connection handling, RSI pair logic, risk controls and custom IBKR development positioning.
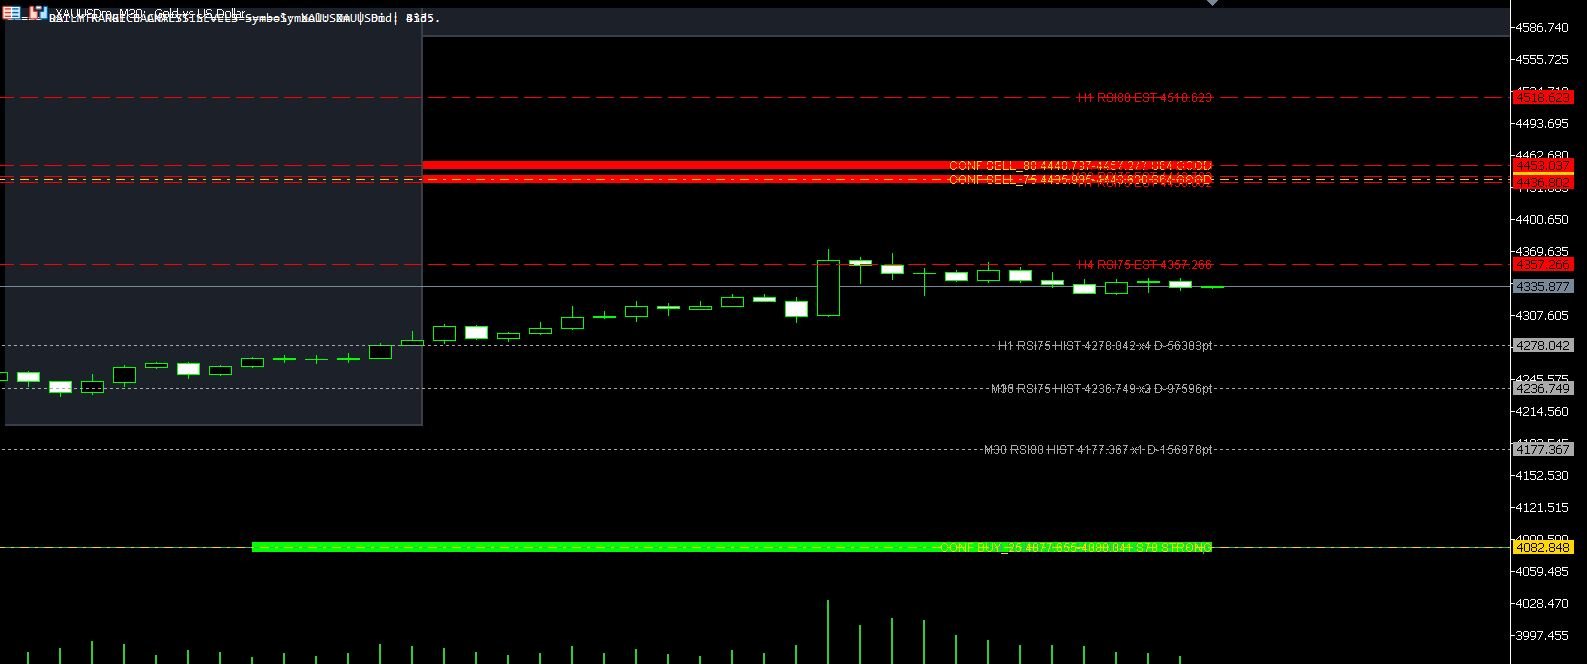
XAUUSD M30 CSV Data For Backtesting
Use clean MT5 historical data for Python backtests, strategy validation, spread checks and realistic gold EA research workflows.