Support Resistance Flip Pullback — Level Math, Exact Rules, Full Money Management
The most-watched pattern in trading, defined like an engineer would: how the level is constructed numerically, when the retest is valid, where the stop and target come from — and the complete $25,000 sizing arithmetic.
Every trader knows the phrase "broken resistance becomes support". Almost nobody can define the level numerically, state the tolerance, or explain why the pattern exists. This guide fixes all three: the order-flow reason, the level-construction mathematics, the exact entry rules with a verified worked example, and the full money-management chain from account size to lot size to expectancy — including the spread-cost trap that tight stops create.
1. Why the Flip Works — Order Flow, Not Folklore
A resistance level is a price where sellers previously overwhelmed buyers. When price finally closes through it, the composition of participants at that price changes in two specific ways:
The trapped sellers cover. Traders who shorted at the level are underwater once price holds above it. Their stop-losses sit just above the level — and their covering is buying. The retest is where their pain becomes your demand.
The breakout buyers defend. Participants who bought the break have entries at or near the level. On the retest, they add or hold; either way their orders cluster where they bought. Two independent flows — covering shorts and defending longs — produce the same effect: the level, which was supply, becomes demand.
This is the same mechanics as every pullback: a cluster of resting orders at a predictable location. The flip is simply the cleanest example of a location where the cluster's direction has reversed.
2. Level Construction — The Mathematics
"Draw a line at resistance" is not a rule; it is a drawing. The rule set we use:
Level Construction Rules
- Touch: a confirmed pivot high (strict fractal L=3/R=3) whose high lies within tolerance of the candidate level.
- Tolerance: \(0.3\times\text{ATR}_{14}\). It scales with volatility — a fixed pip tolerance is too wide in quiet regimes and too narrow in violent ones.
- Level price: the arithmetic mean of the touch prices. Two touches at 1.08598 and 1.08602 produce the level (1.08598 + 1.08602) / 2 = 1.08600.
- Minimum touches: two. One touch is a candidate; two make it tradeable; three or more make it a major level (and a magnet for sweeps).
- Separation: touches at least 5 bars apart. Adjacent-bar "touches" are one touch.
- Freshness: the most recent touch within 40 bars of the breakout. Older levels decay — the participants who made them have moved on.
- Flip zone: level ± tolerance. The retest is evaluated against this zone, not the line.
Numerical example with ATR14 = 6.67 pips: tolerance = 0.3 x 6.67 = 2.0 pips. The flip zone around 1.08600 is 1.08580 to 1.08620. A retest low of 1.08610 is inside the zone — valid; a retest low of 1.08635 never reached the zone — no setup; a retest low of 1.08550 — the retest failed the zone entirely, which is the beginning of a different story (failed breakout).
Level quality scoring — rank levels before trading them
Two levels can both satisfy the construction rules and still differ enormously in quality. Score each candidate before it reaches your watchlist:
Level Quality Score (0..6), one point each:

Q1: >= 3 touches (not just the minimum 2)
Q2: touches separated by 8+ bars (distinct tests, not one cluster)
Q3: level sits on a higher timeframe (H4/D1) as well
Q4: level coincides with a round number within tolerance
Q5: breakout closed beyond the level by >= 0.5 ATR (a decisive break)
Q6: breakout direction agrees with the higher timeframe trend
The verified example scores Q1 = 0 (two touches), Q2 = 1 (touches well separated), Q3 = 0 (H1 construction only), Q4 = 0 (1.0860 is not a major round handle), Q5 = 1 (the breakout close at 1.08680 exceeded the level by 8 pips versus a 0.5-ATR threshold of 3.3 pips), Q6 = 1 (H4 trending up) — a 3/6 level. A practical sizing ladder: 5–6 levels at 100% of the risk budget, 4 at 75%, 3 at 50%, and below 3 skip the setup regardless of how clean the trigger looks. Applied to the verified level, that means the $25,000 example from Section 5 represents the full-budget ceiling case; at the honest 3/6 score the trade runs at half budget — $93.75 risk, lots = 93.75 / 110 = 0.85, actual risk $93.50, target profit 0.85 x 26.8 x $10 = $227.80. Same rules, same R-multiples, half the dollars. The score exists because level selection, not entry technique, is where most flip trades are won or lost — the entry rules are identical for a 6/6 level and a 2/6 level, and only the score knows the difference.
3. The Exact Rules
S/R Flip Pullback — Complete Rule Set
- Level: constructed per Section 2. Context: the breakout should be in the direction of the higher timeframe's trend (a flip in the trend direction is a continuation setup; against it, a counter-trend gamble).
- Breakout: the first close above the level. Wick breaks do not count. No entry at the breakout.
- Retest: price returns and a bar's low comes within the flip zone (level + tolerance) without closing below the level.
- Confirmation: the next bar closes above the level AND above the retest bar's close.
- Entry: market at the confirmation close.
- Stop: retest low minus buffer = max(2 pips, 0.15 x ATR14).
- Target: measured move \(\text{Target}=L+(L-SL_{pre})\), where \(L\) is the level and \(SL_{pre}\) is the most recent confirmed pivot low before the breakout.
- Invalidation: any close back below the level after the retest.
4. Worked Example — Verified Numbers
From a verified construction (synthetic EURUSD-like H4 data; every value derivable from the OHLC):
| Element | Value | Derivation |
|---|---|---|
| Touches | 1.08598 and 1.08602 | Two confirmed pivot highs, 0.4 pips apart |
| Level R | 1.08600 | Mean of the touches; tolerance 2.0 pips (0.3 x ATR14 = 6.67 pips) |
| Breakout close | 1.08680 (bar 26) | First close above R |
| Retest low | 1.08610 | Inside the flip zone (1.08580–1.08620), no close below R |
| Confirmation close | 1.08700 (bar 28) | Above R and above the retest close |
| Entry | 1.08700 | Market at confirmation close |
| Pre-breakout swing low | 1.08232 | Confirmed pivot low before the breakout |
| Stop | 1.08590 | Retest low 1.08610 − buffer 2.0 pips |
| Risk | 11.0 pips | 1.08700 − 1.08590 |
| Target | 1.08968 | R + (R − 1.08232) = 1.08600 + 0.00368 |
| Reward | 26.8 pips | 1.08968 − 1.08700 |
| R-multiple | 2.44R | 26.8 / 11.0 |
5. Money Management — $25,000 Account, Complete Arithmetic
Step 1 — Risk budget and position size
Account:        $25,000
Risk per trade: 0.75%   (a lower percentage at higher equity - drawdowns in dollars grow)
Risk budget:    25,000 x 0.0075 = $187.50

EURUSD pip value per 1.00 lot = $10.00
Risk per lot = 11.0 x $10 = $110

Lots = 187.50 / 110 = 1.7045  ->  round DOWN to 1.70 lots
Actual risk = 1.70 x 11.0 x $10 = $187.00  (<= $187.50 ceiling)
Step 2 — Outcomes
Full stop:      -11.0 pips = -$187.00  (-1.00R)
Target:         +26.8 pips = +$455.60  (+2.44R)

Scaled exit plan: TP1 at +14 pips (1.27R), half off; runner to target.
  TP1 (0.85 lots): 0.85 x 14 x $10 = +$119.00
  Runner to TP (0.85 lots): 0.85 x 26.8 x $10 = +$227.80
  Both reached: +$346.80 total (1.85R)
  TP1 then runner stopped at breakeven: +$119.00 (0.64R)
  Stopped before TP1: -$187.00 (-1.00R)
Step 3 — Cost-adjusted expectancy (the tight-stop tax)
EURUSD round-trip spread is about 1 pip. On an 11-pip stop that is 1/11 = 9.1% of the risk — and unlike fees, it lands on every trade, win or lose:
Adjusted win  = (26.8 - 1.0) / 11.0 = 2.35R
Adjusted loss = (11.0 + 1.0) / 11.0 = 1.09R

Expectancy at a hypothetical 50% win rate:
E = 0.50 x 2.35 - 0.50 x 1.09
  = 1.175 - 0.545
  = +0.63R per trade

At $187.00 risk: +0.63R = +$117.81 expected per trade
At 12 setups per month: +$1,413.72 expected (about +5.7% of $25,000)

Sensitivity: at a 40% win rate: 0.40 x 2.35 - 0.60 x 1.09 = +0.286R (+$53.48/trade)
             at a 60% win rate: 0.60 x 2.35 - 0.40 x 1.09 = +0.974R (+$182.14/trade)
Note the cost math's lesson, which is general: the tighter the stop, the larger the spread's share of your risk. The 11-pip flip stop pays a 9.1% tax rate per trade; a 30-pip setup on the same instrument pays 3.3%. This does not make the flip a bad setup — its 2.44R geometry compensates — but it does mean the flip must be traded with tighter filtering (higher-quality levels, HTF agreement) precisely because its margin for error is thinner.
6. Multiple Timeframe Levels — The Confluence Mathematics
Levels exist on every timeframe, and the interesting question is what happens when they coincide. The arithmetic first: two levels merge when their distance is within the combined tolerance.
$$T_{\text{combined}}=T_1+T_2$$
$$L_{\text{merged}}=\frac{\sum_i n_i\,L_i}{\sum_i n_i}\qquad\text{(weighted mean by touch count)}$$
Level A (H1):    1.08600, tolerance 2.0 pips  ->  zone [1.08580, 1.08620]
Level B (H4):    1.08630, tolerance 6.0 pips  ->  zone [1.08570, 1.08690]

Distance between levels = 3.0 pips
Combined tolerance      = 2.0 + 6.0 = 8.0 pips

3.0 < 8.0  ->  the levels overlap; merge into one zone [1.08570, 1.08690]
Merged level = weighted mean by touch count, e.g. 3 H1 touches + 2 H4 touches:
             = (3 x 1.08600 + 2 x 1.08630) / 5 = 1.08612
A merged multi-timeframe level is not just "a stronger line" — it changes the trade in three measurable ways:
- Deeper sweeps are normal. More touches means more stops resting beyond the zone. The ATR buffer should use the LARGER of the two timeframes' ATR values; in the example, the H4 buffer (0.15 x H4 ATR) dominates and widens the stop to survive the bigger sweep.
- The retest tolerance uses the merged zone (8 pips here), not the H1 tolerance. A retest low at 1.08590 is inside the merged zone even though it is outside the H1 zone — valid under the merged rules, invalid under the naive ones.
- The measured-move target uses the pre-breakout swing low of the LOWER timeframe that produced the breakout, because that is the structure the breakout actually consumed. Mixing anchors across timeframes produces targets with no structural meaning.
One practical guardrail: do not merge more than two timeframes. H1 + H4 is a level; H1 + H4 + D1 within one zone is usually a sign that the zone is so wide it contains the trade's entire risk budget. Wide merged zones are better traded as range boundaries than as flip entries.
7. Adaptations — Indices, Gold and Session Windows
The flip rules transfer to every instrument, but three adaptations are not optional:
Indices (US30, NAS100, GER40): gap discipline. Index CFDs gap at the cash open, and a gap through your level is not a retest — it is a different trade. Rule: any level within 0.5 x daily ATR of the previous close is re-evaluated after the first 15 minutes of the cash session. The retest clock only starts once the opening range has formed. Without this rule, you will be filled on gap noise and stopped on the retrace that follows every open.
Gold (XAUUSD): buffer scaling. Gold sweeps are deep — routinely 10–20 pips beyond obvious levels on H1. The ATR-scaled buffer handles this automatically (0.15 x ATR14 on gold H1 is typically 6–9 pips versus 2–3 on EURUSD), but only if you resist the urge to tighten it after a stop-out. A tightened gold buffer converts a survivable sweep into a systematic stop harvest.
Session windows. Retests that resolve during the instrument's high-liquidity sessions carry the flows the setup needs; retests that stall in the lull between sessions are the ones that drift and eventually break the level. Practical rule: if the confirmation close has not occurred by the end of the instrument's second session after the breakout, cancel the setup and wait for a fresh level. The session clock maps the windows; the economic logic is in the cost table of the EMA guide — thin-liquidity fills pay wider spreads at the exact moment your tight stop is closest.
8. The Failed Flip — The Mirror Setup
Every rule set has a mirror, and the flip's mirror is one of the most reliable setups in the family: when a retest closes back below the level, the failed flip becomes a short setup at the same level. The mechanics are symmetric: the trapped breakout buyers' stops sit below the level; their covering is selling; the sellers who defended the original resistance are validated and re-engage. The failure of one trade becomes the premise of another.
The tradeable version, stated exactly: after a breakout and a retest, a CLOSE back below R is the trigger (the invalidation of the flip). Entry at that close; stop above the retest high plus buffer; target = measured move downward using R − (retest high − R)... the honest version: target = the pre-breakout swing low itself, or a measured move from the failed breakout's range. What makes this mirror attractive is the geometry: the invalidation level of the failed trade is, by construction, a few pips from the new entry — you are trading a location the market has just proven it cares about.
The discipline requirement is psychological, not technical: taking the mirror means accepting the first trade failed and immediately acting on the same level in the opposite direction. Traders who cannot flip bias within minutes should skip this section's content — but they should still keep the invalidation rule, because that rule is what bounds the cost of the original flip at a known, small number. The full anatomy of failed continuation is in Failed Pullbacks — When Continuation Dies.
9. Failure Modes Specific to Flips
The single-touch level. One rejection is not resistance; it is a swing high. Levels built from one touch have no evidence of a defended cluster, and their "flips" are coin flips. The two-touch minimum is not bureaucracy — it is the difference between a level and a line.
The unconfirmed retest entry. Placing a limit order at R on the retest fills you on the touches that hold AND on the ones that keep going. The confirmation close exists to separate the two — its cost is a few pips of entry price; its benefit is skipping the breakdowns. The arithmetic of that trade-off is favourable, and the fill-rate discussion shows the general framework.
Stale levels. A level from 300 bars ago has been "used" already; the trapped participants have long since covered. Freshness windows (40 bars) keep the setups tied to current positioning. A useful diagnostic when a level feels stale but scores well otherwise: count how many times price has crossed it since the last touch. More than two crossings means the trapped flow has been recycled — the level is scenery, not structure.
Flips inside ranges. In a range, every boundary break flips and un-flips repeatedly. The higher-timeframe context rule filters most of these; the invalidation rule (close back below R) handles the rest at a bounded cost.
Ignoring the measured-move anchor. The target is level + (level − swing low). If you cannot identify the pre-breakout swing low as a confirmed pivot, the measured move is undefined — and an undefined target means an undefined trade. No anchor, no trade.
10. FAQ
Why does broken resistance become support?
Two flows: trapped shorts covering (their stops become buying) and breakout buyers defending their entries. The retest is where both appear — that is the mechanical reason the flip works.
How do I construct the level precisely?
Two or more confirmed pivot highs within 0.3 x ATR14 of each other, at least 5 bars apart; level = mean of touch prices; flip zone = level ± tolerance. Rules in Section 2.
Do I enter on the retest or wait for confirmation?
Wait for confirmation: retest holds (no close below R), then the next bar closes above R and above the retest close. The confirmation skips the breakdowns that a raw limit order would catch.
What stop and target does the flip use?
Stop = retest low − ATR-scaled buffer. Target = level + (level − pre-breakout swing low). Verified example: risk 11.0 pips, reward 26.8 pips, 2.44R.
Why does the spread matter so much here?
Because the stop is tight: 1 pip on an 11-pip stop is a 9.1% cost per trade — roughly triple the tax rate of a 30-pip setup. Tight stops are not free; the cost percentage rises as the stop shrinks.
What if the level sits inside a larger range?
Then it is a range boundary, not a flip candidate — and the distinction is checkable: if the higher timeframe's structure is a range (no sequence of higher highs and higher lows, or lower highs and lower lows), every internal level will break and un-break repeatedly. The treatment for range-internal levels is range logic: fade the extremes with tight invalidation, or stand aside entirely. The flip model needs the breakout to be a trend event, which is why the context rules (Q6 in the quality score) require the higher timeframe to agree with the breakout direction. A clean-looking retest inside a range is the most common way flip traders donate spreads — the level has no trapped flow behind it, only oscillation.
Continue the Series
- Pullback Trading Strategy — The Complete Guide (pillar)
- EMA Pullback Strategy
- Fibonacci Pullback Strategy
- Order Block Pullback Entry
- All Pullback Guides
Flipped Levels, Scanned Live
The Institutional Flow dashboard constructs levels, tracks breakouts and retests, and labels order plans across 50+ symbols.
Go from article to implementation
Read the proof, then test the idea with calculators, free tools, case studies and a fixed-price build path.
Go deeper before you build, download or automate
Hand-picked engineering articles, indicator breakdowns and trading-system tools so visitors keep exploring instead of leaving after one page.
Pine Script to MT4/MT5 Conversion Planner
Analyze Pine strategies, repainting risk, TradingView alert bridges, MTF synchronization and the correct MQL4/MQL5 build path before paying for conversion.
Open planner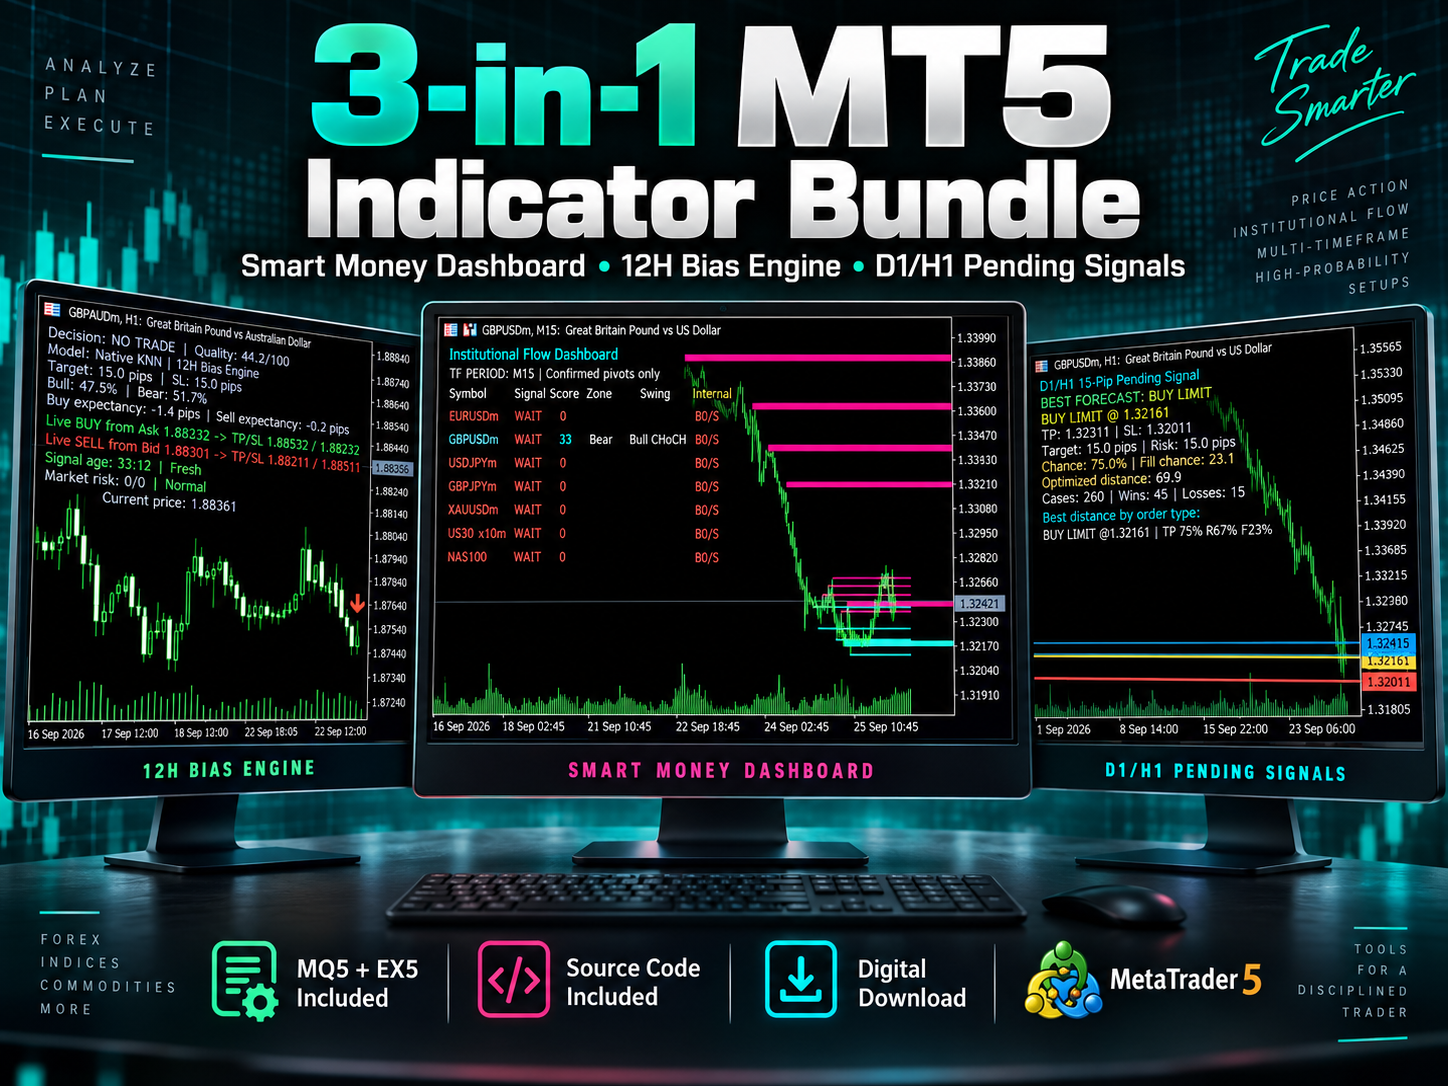
3-in-1 MT5 Indicator Bundle
12H Bias Engine, Smart Money Institutional Flow Dashboard and D1/H1 pending-signal logic with MQ5 + EX5 source included via Etsy.
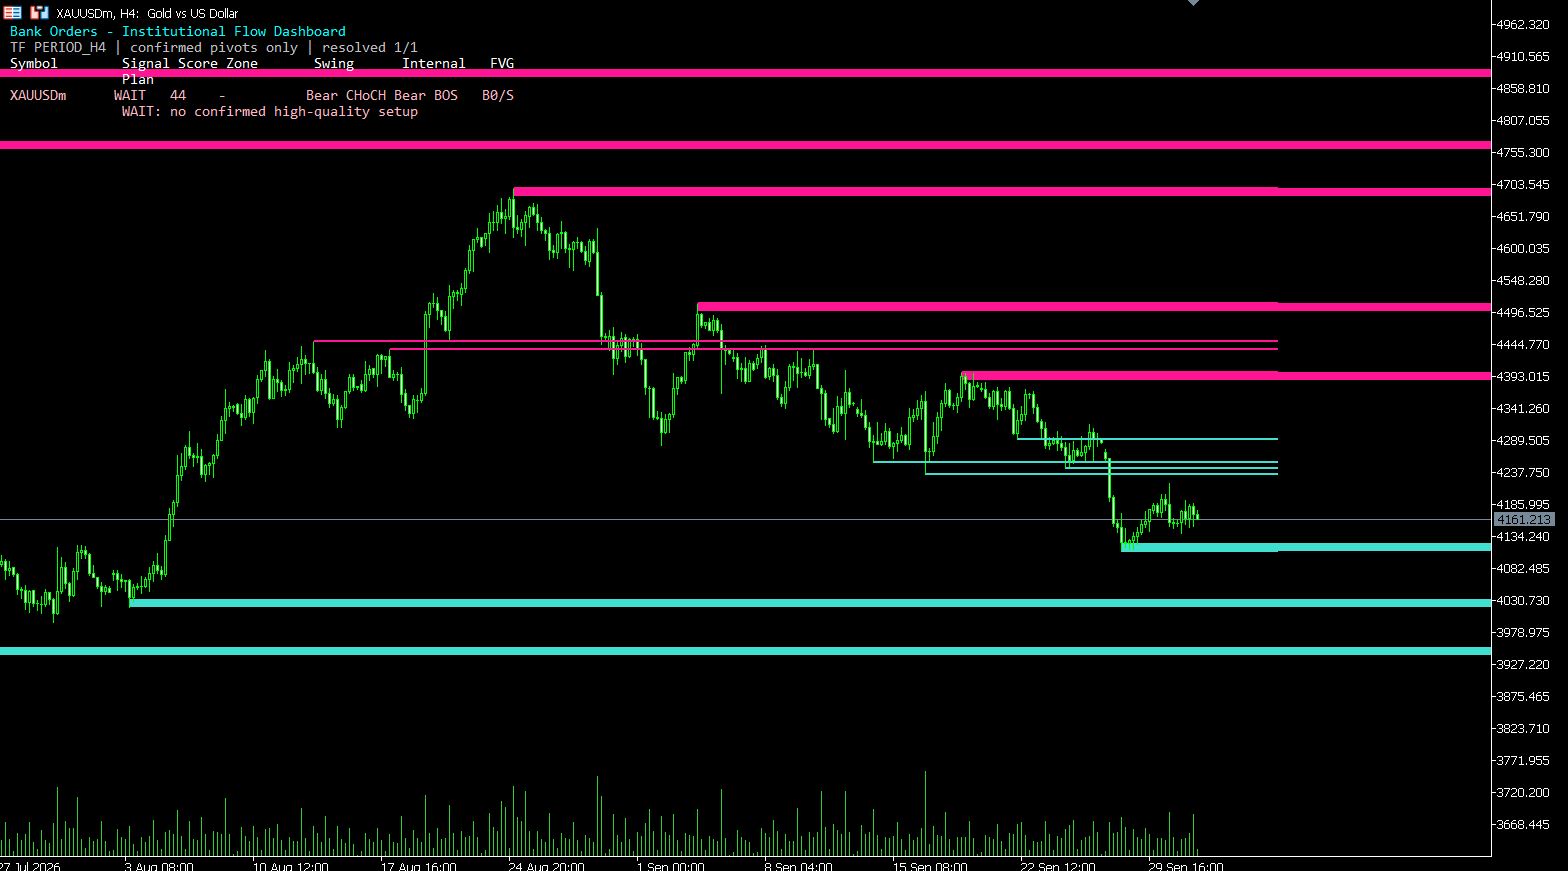
MT5 Bank Orders Institutional Flow Dashboard
Supply/demand zones, BOS/CHoCH, liquidity levels, FVG, equal highs/lows and confirmed trade-plan logic explained with EX5 download.
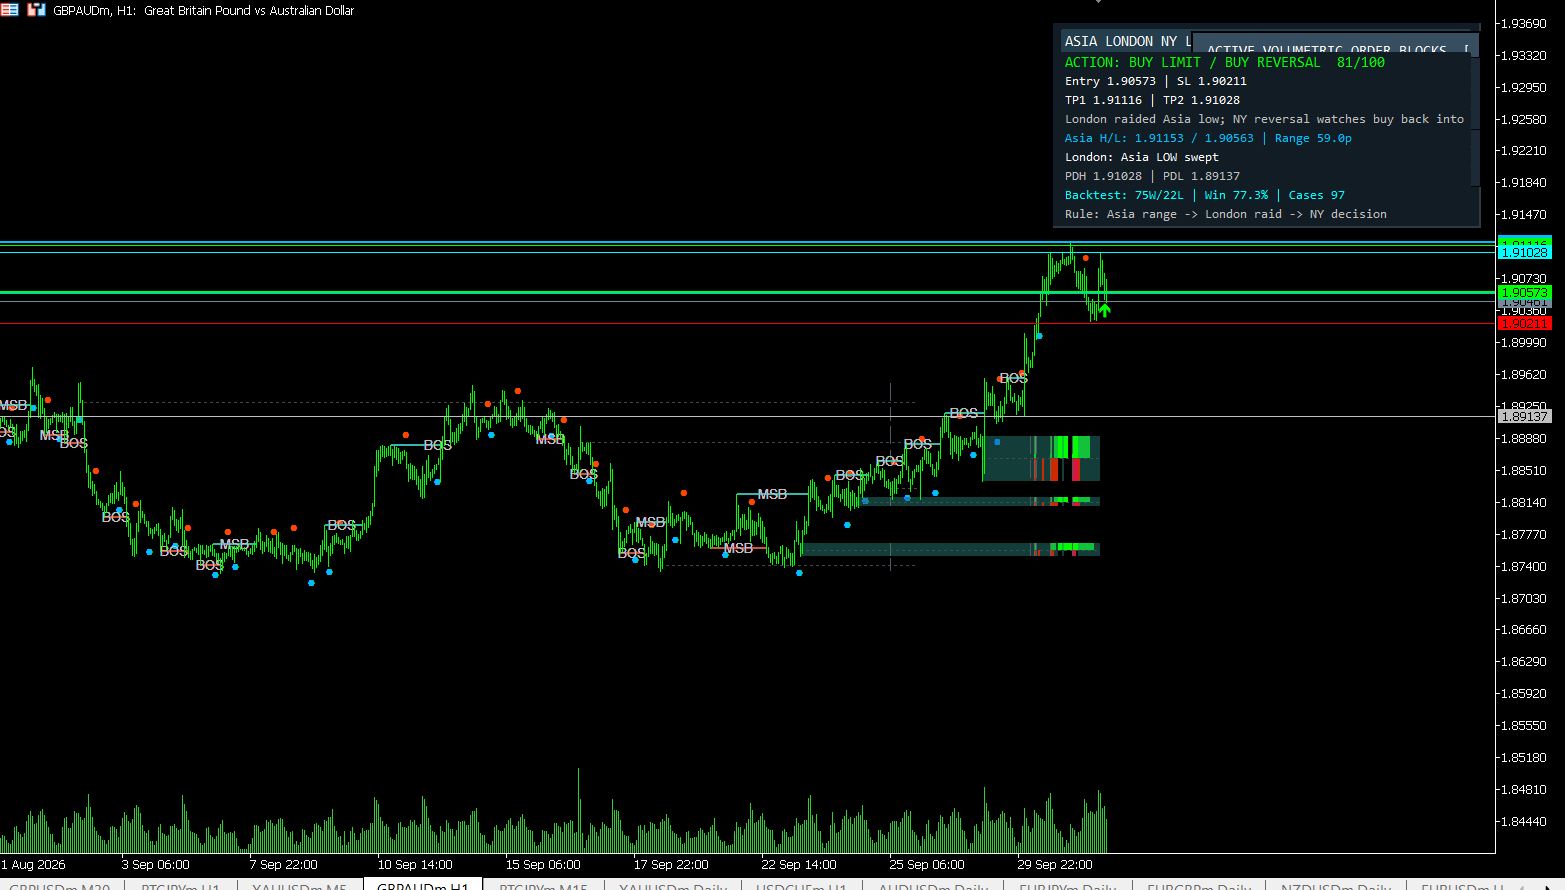
MT5 Asia London NY Liquidity Engine
Asia range, London raid and New York continuation/reversal planning with internal session backtest stats and entry/SL/TP dashboard.
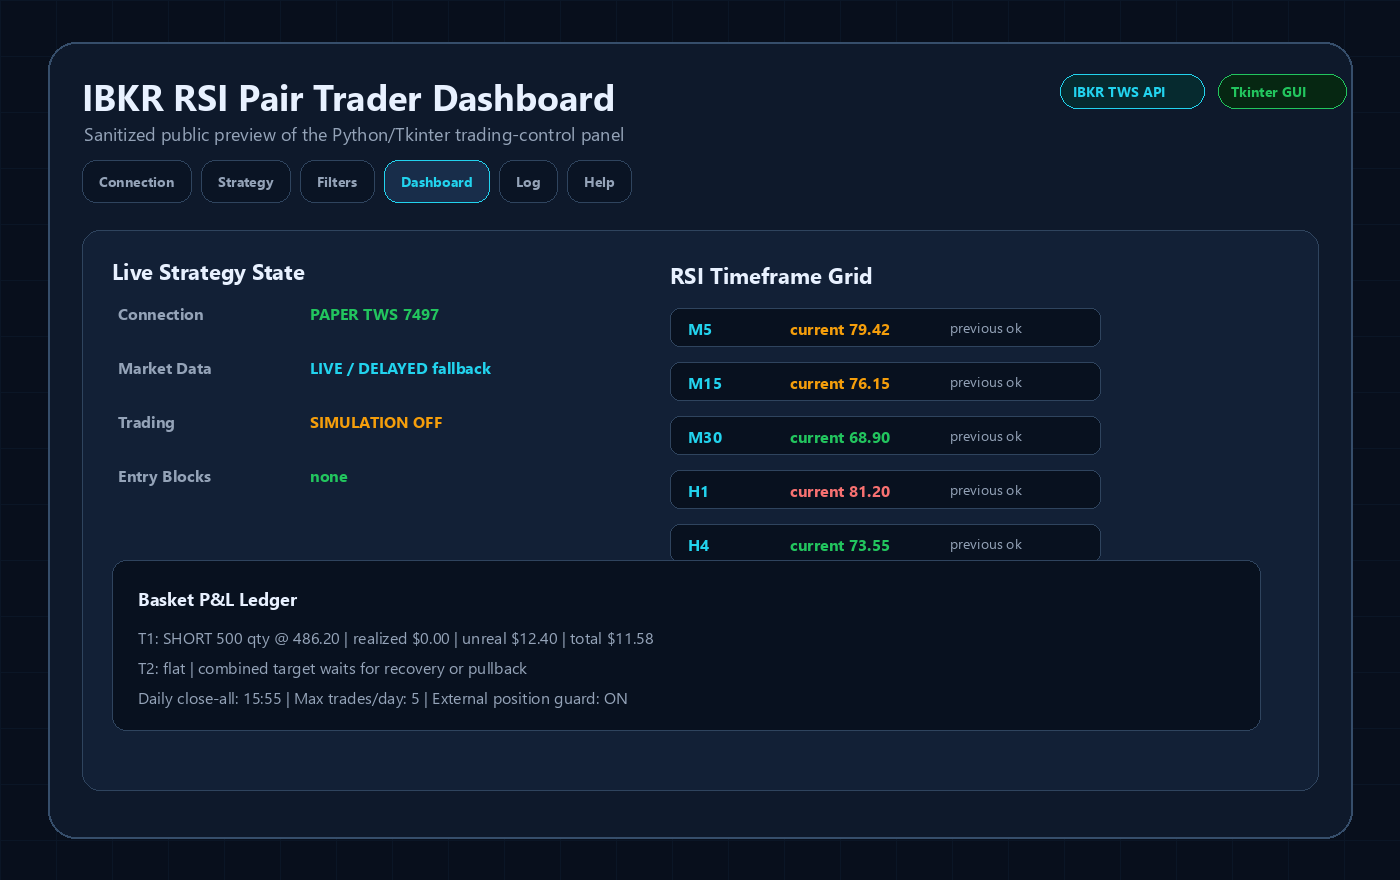
Interactive Brokers RSI Pair Trader
Tkinter desktop trading workflow, TWS API connection handling, RSI pair logic, risk controls and custom IBKR development positioning.
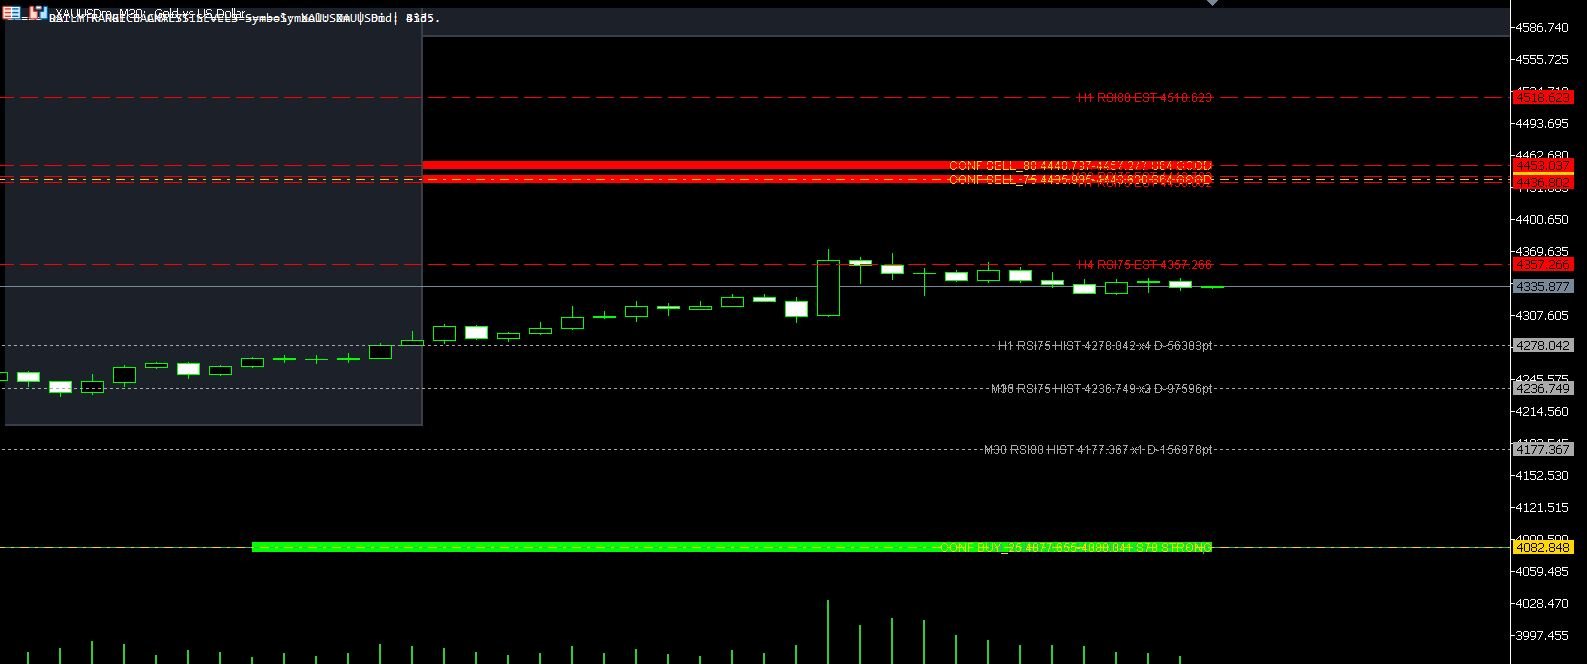
XAUUSD M30 CSV Data For Backtesting
Use clean MT5 historical data for Python backtests, strategy validation, spread checks and realistic gold EA research workflows.